User Manual
24
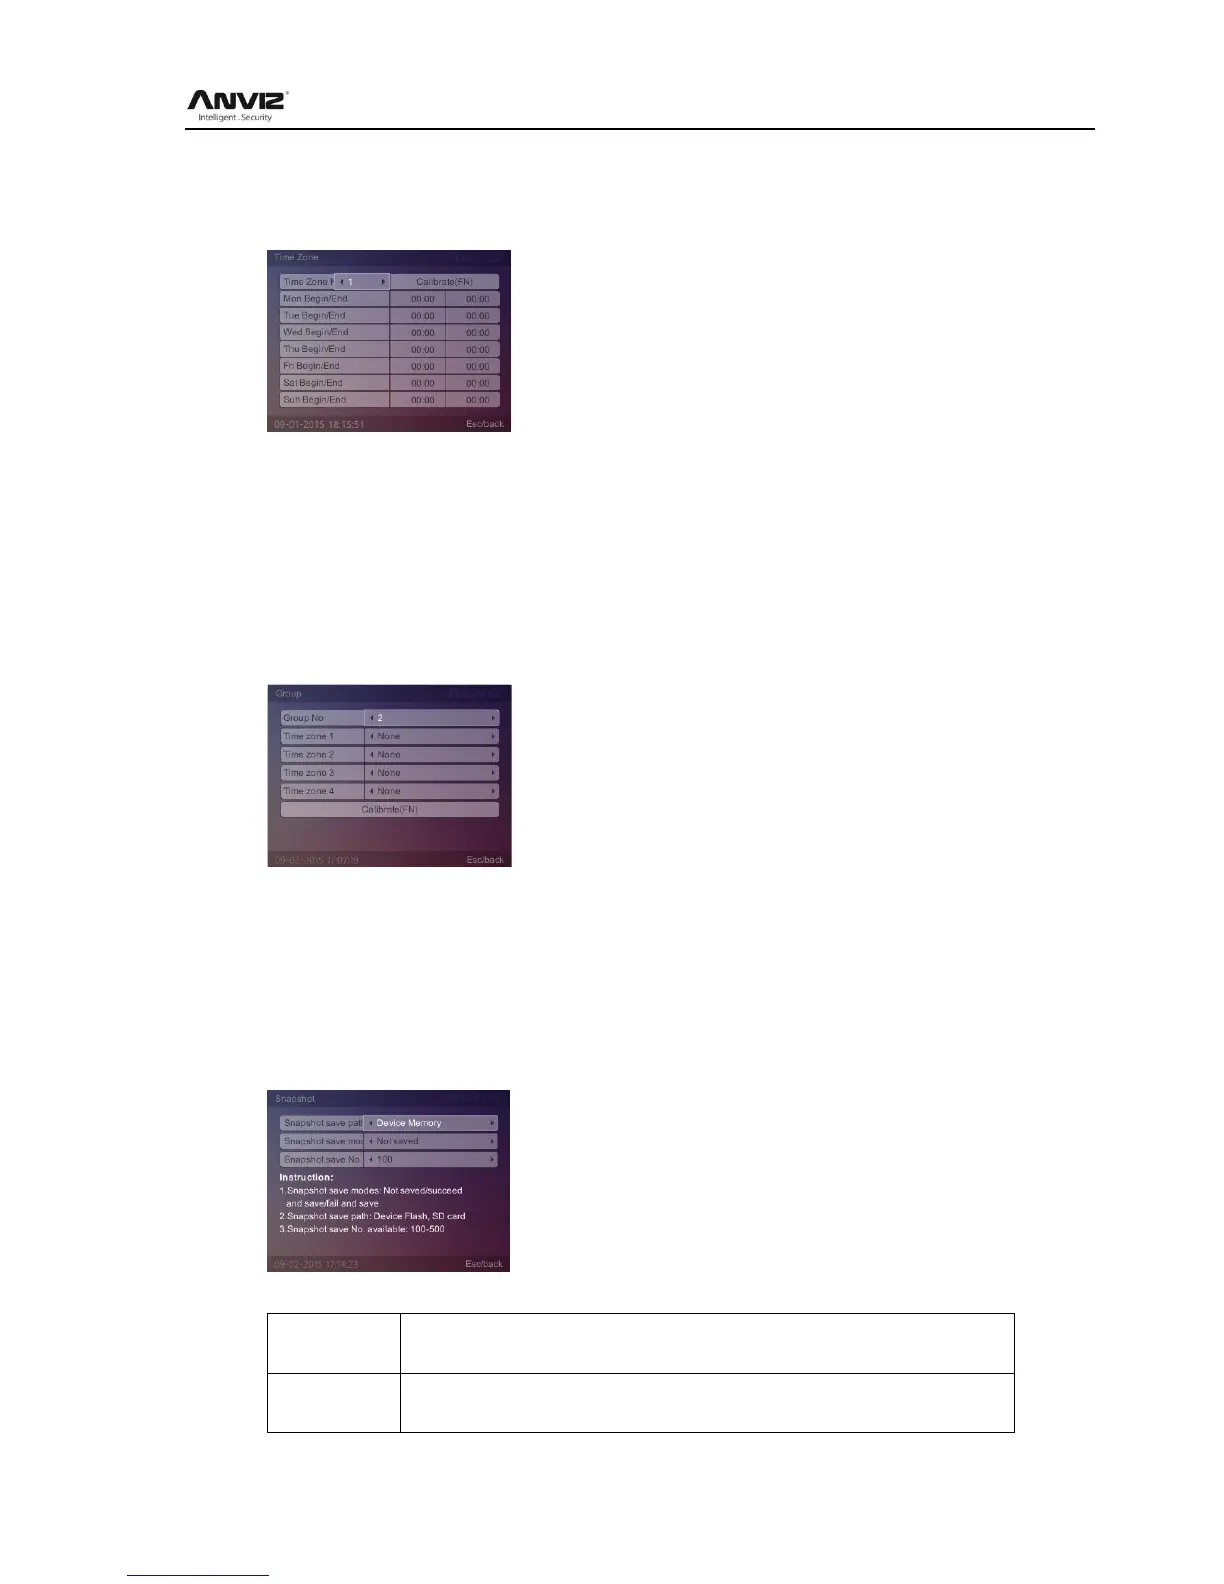
2.3.6.2.2 Time Zone
In [Advanced] press [] key to select [Application] option, then select [Time Zone] and press
[OK] key to enter [Time Zone] interface:
Press [] key to select time zone period number (1-32), set the time zone corresponding
begin/end time, Press [F1] or [Esc] key to save the settings, and take the setting effect.
View the settled time zone period, just fill in time code box, enter the number, the period of time
zone will automatically displayed.
2.3.6.2.3 Group
In [Advanced] press [] key to select [Application] option, then select [Group] and press [OK]
key to enter [Group] interface:
Select the group number, then the time zone of the group corresponding, such as the group 2
include the timezone is 1, after completion click [Calibrate(Fn)] or [F1] key to make the settings
take effect.
2.3.6.2.4 Snapshot
In [Advanced] press [] key to select [Application] option, then select [Snapshot] and press
[OK] key to enter [Snapshot] interface:
[Snapshot save path] in two ways:

 Loading...