12
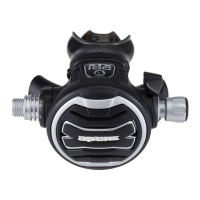
XTX Second Stage Regulator Maintenance Manual
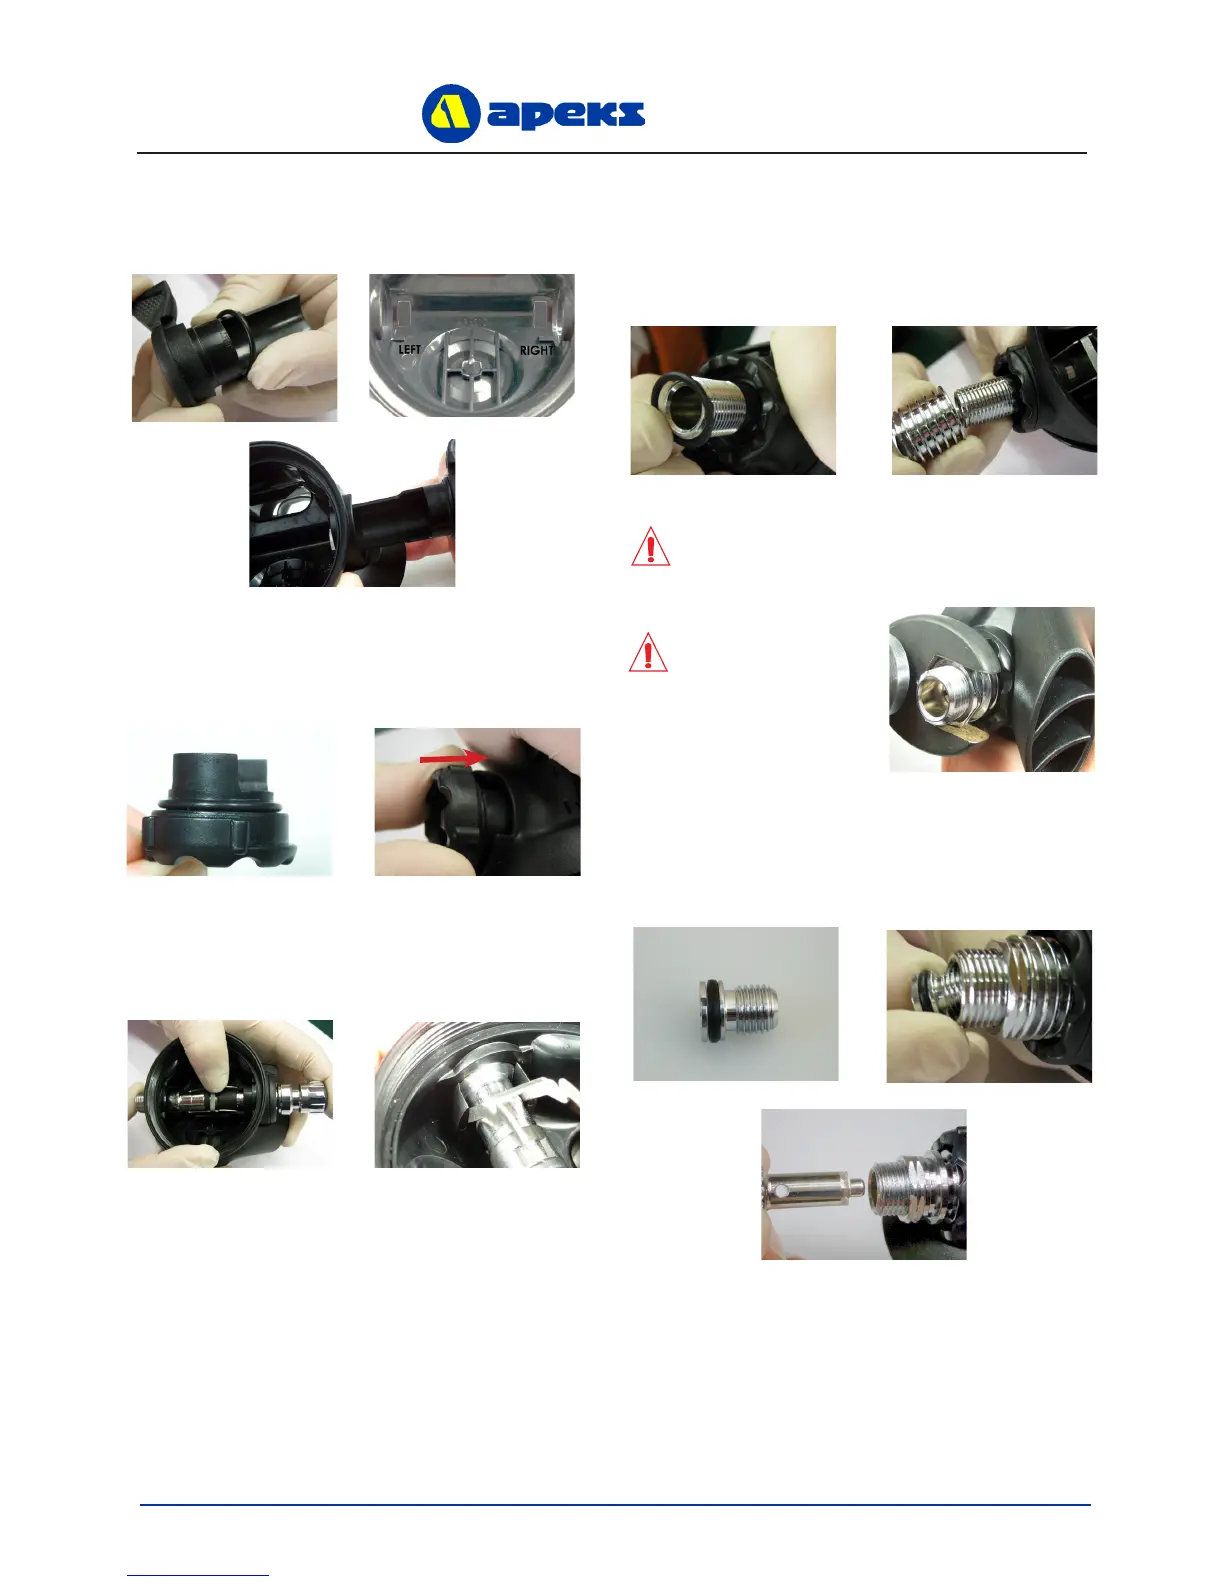
CAUTION: Ensure that the Lever is vertical
after tightening.
CAUTION: Excessive
tightening of the
Heat Exchanger will
damage the Blanking
Piece and Case.
14. Install a new, lubricated ‘O’ Ring (9) onto the Ven-
turi
Lever (13 & 14). Point the Venturi Lever upward and
insert it into the Case (24) marked RIGHT
15. Install a new, lubricated ‘O’ Ring (9) onto the Blanking
Piece (8). Point the Blanking Piece upward and insert
it into the Case. Press it against the Case so the ‘O’
ring is captured.
16. While depressing the Lever, insert the Valve Spindle
through the Venturi Lever and into the Case. Be sure
that the two ats and the two Lever feet engage in the
tabs of the Blanking Piece.
17. Slide a new, lubricated ‘O’ Ring (7) down the threaded
end of the Valve Spindle. Screw the Heat Exchanger
(6), hexagon facing outward, onto the Valve Spindle
until nger tight. Using an 11/16” crows foot or deep
socket, tighten to a torque of 3 Nm (2.2Ibf / ft).
18. Fit a new, lubricated ‘O’ Ring (16) onto the Seat (15).
Press the Seat, threaded end rst, into the Valve
Spindle. Using the Slotted Seat Adjuster Tool, push the
Seat into the Valve Spindle as far as it will go.
 Loading...