to re-calibrate. For details, please see parameter setting P1.3 (Section 7.3)
5.3.6 pH Isothermal Measurement Principle
According to the pH isothermal measurement principle, the closer the test sample’s temperature is
to the calibration solution’s, the higher the accuracy of the measurement. This principle is
recommended to follow when conducting tests for the best result. Example: If users were to test
samples at 150˚F, we recommend warming up the calibration solutions to the same temperature
before performing calibrations in order to get the most accurate readings.
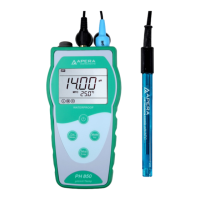
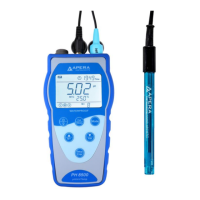
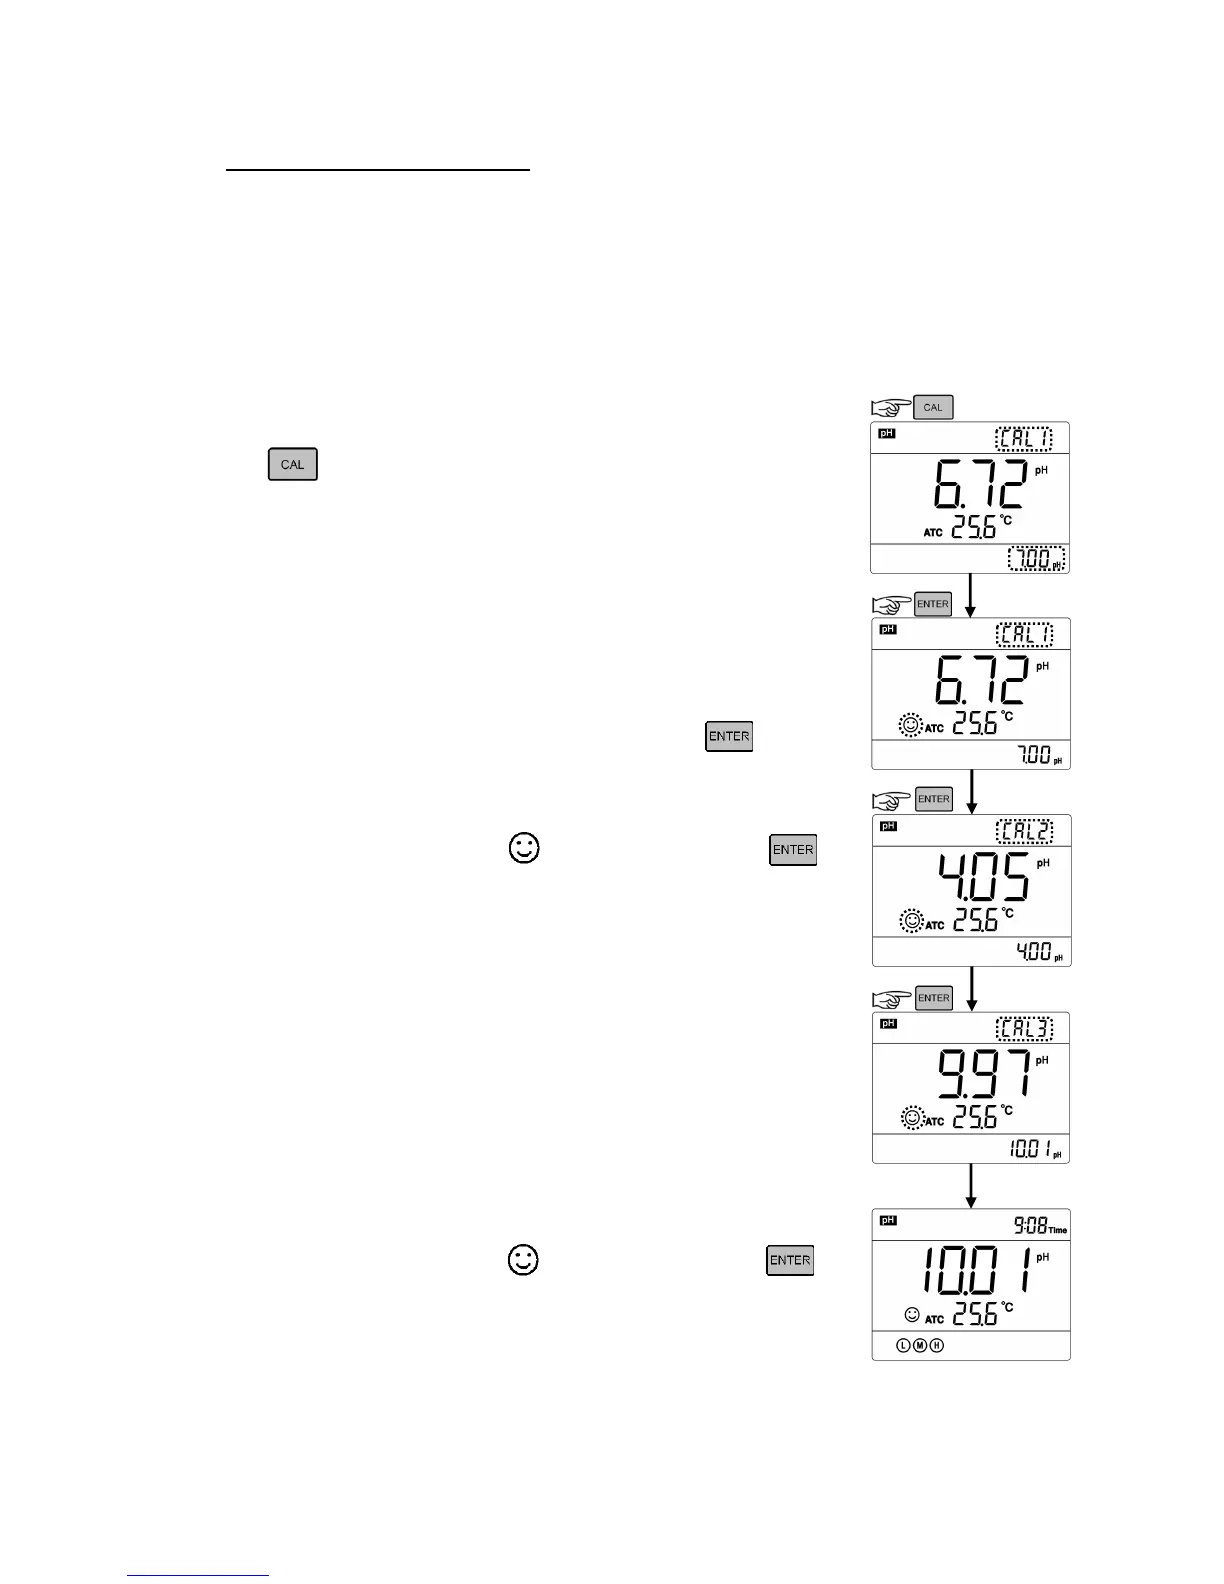
5.4 pH Calibration (Take 3-point calibration as an example)
5.4.1 Press to enter calibration mode. CAL1 icon will flash in the upper
right corner of the LCD. 7.00 pH will flash in the lower right corner of the LCD,
reminding you to use pH 7.00 buffer to conduct 1
st
point of calibration.
5.4.2 Use distilled water to rinse off electrode and then dry it. Dip it into pH
7.00 buffer solution, stir gently and let it stand still and wait for the reading to
become stable. In the lower right corner of LCD, the process of auto
recognizing the buffer solution will be displayed. Pressing before the
buffer is recognized will generate Er2 (please refer to table 6).
5.4.3 When the meter locks 7.00 pH, displays on LCD. Press key
to calibrate the meter. End icon appears after calibration is done. The 1
st
point calibration is finished. In the meanwhile, CAL2 will flash at the upper
right corner, and 4.00 pH & 10.01 pH will flash alternately at the bottom right,
indicating using pH 4.00 or pH 10.01 buffer solution to make the 2
nd
point
calibration.
5.4.4 Take out pH electrode, rinse it in distilled water, dry it, and dip it into pH
4.00 buffer solution. Stir the solution gently and let stand still in the buffer
solution until a stable reading is reached. The meter’s display willshow the
recognition process of calibration buffer solution at the lower right of LCD.
When the meter recognizes 4.00 pH, displays on LCD. Press key
to calibrate the meter. End icon and electrode slope of acidity range display
after calibration is done. In the meanwhile, CAL3 will flash at the upper right
corner of the LCD, and 10.01 pH will flash at the lower right, indicating using
pH10.01 buffer solution to make the 3
rd
point calibration.