Installing or Replacing Server Components 67
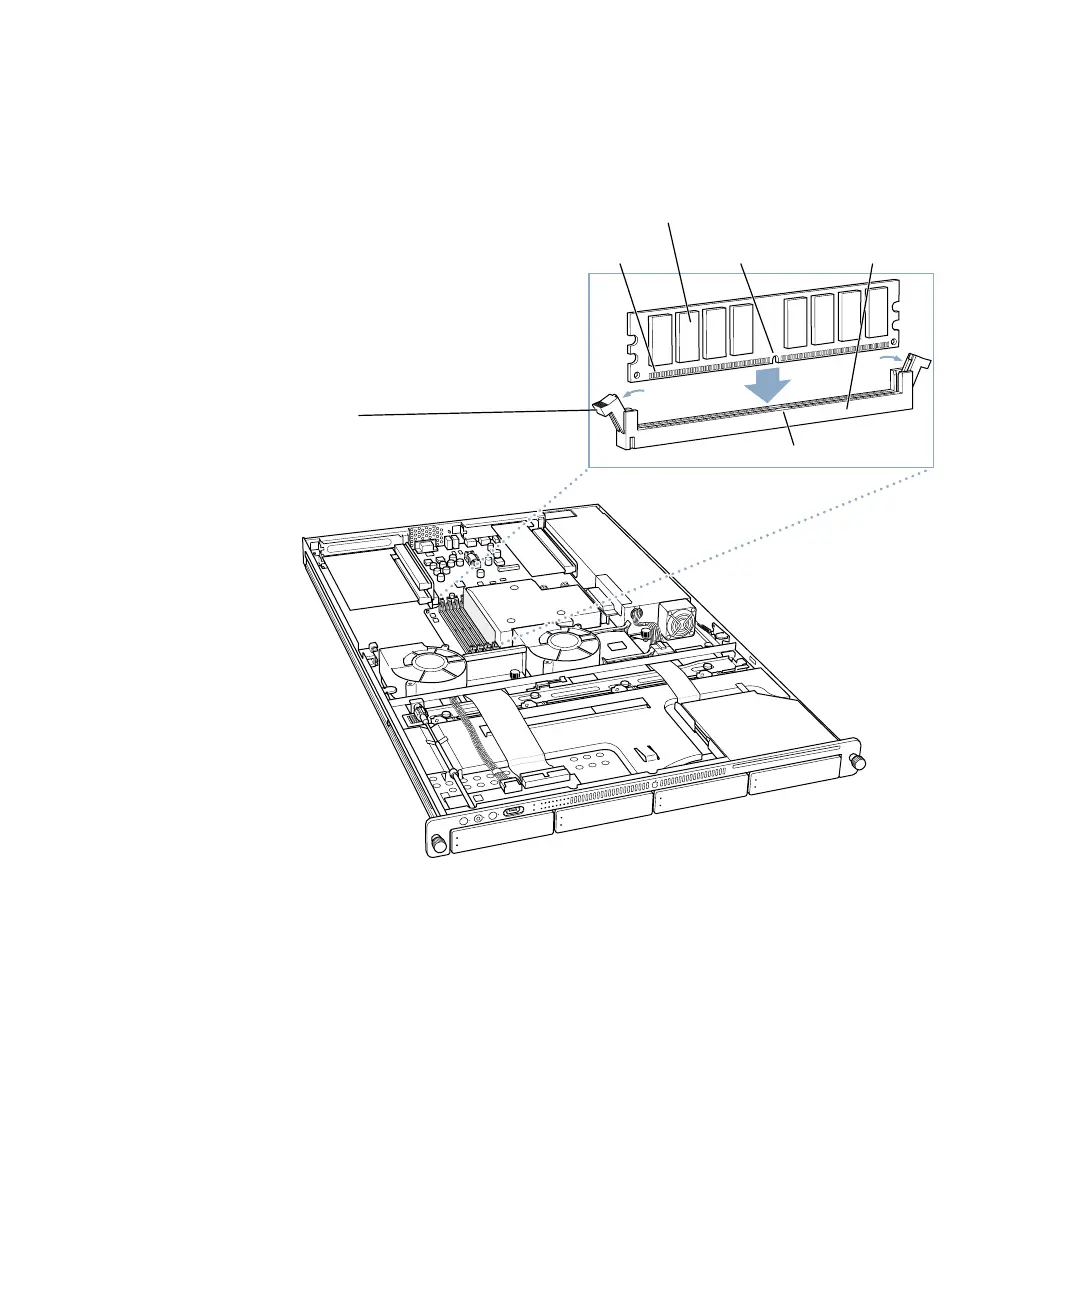
6 Align the DIMM in the slot as pictured and push the DIMM down until the ejectors snap
into place.
7 Close the server and tighten its thumbscrews.
8 Reconnect the power cord and any cables that you disconnected.
Important Do not touch the DIMM’s connectors. Handle the DIMM only by the edges.
DRAM DIMM (Your DIMM’s shape and components may vary.)
Ejectors
(They should be pushed outward and down
to be in the open position, as shown.)
he DRAM DIMM is designed to fit into
the slot only one way. Be sure to align the
notch in the DIMM with the small rib
inside the slot. With the ejectors in the
open position (as shown), push down
on the DIMM until it snaps into place.
he ejectors will automatically close.
Connectors Notch DRAM slot (1 of 4)
Rib (inside slot)