Universal shower kits installation guide page 5
Fit the rail into the rail end bodies taking care to engage the location slot
onto the lugs.
5
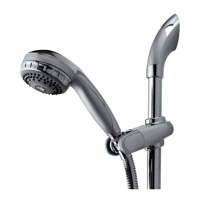
Fit the rail end clip fitting into position into the
top rail end body and secure the rail assembly
to wall using the screws provided ensuring the
rail and rail end bodies remain firmly engaged.
6
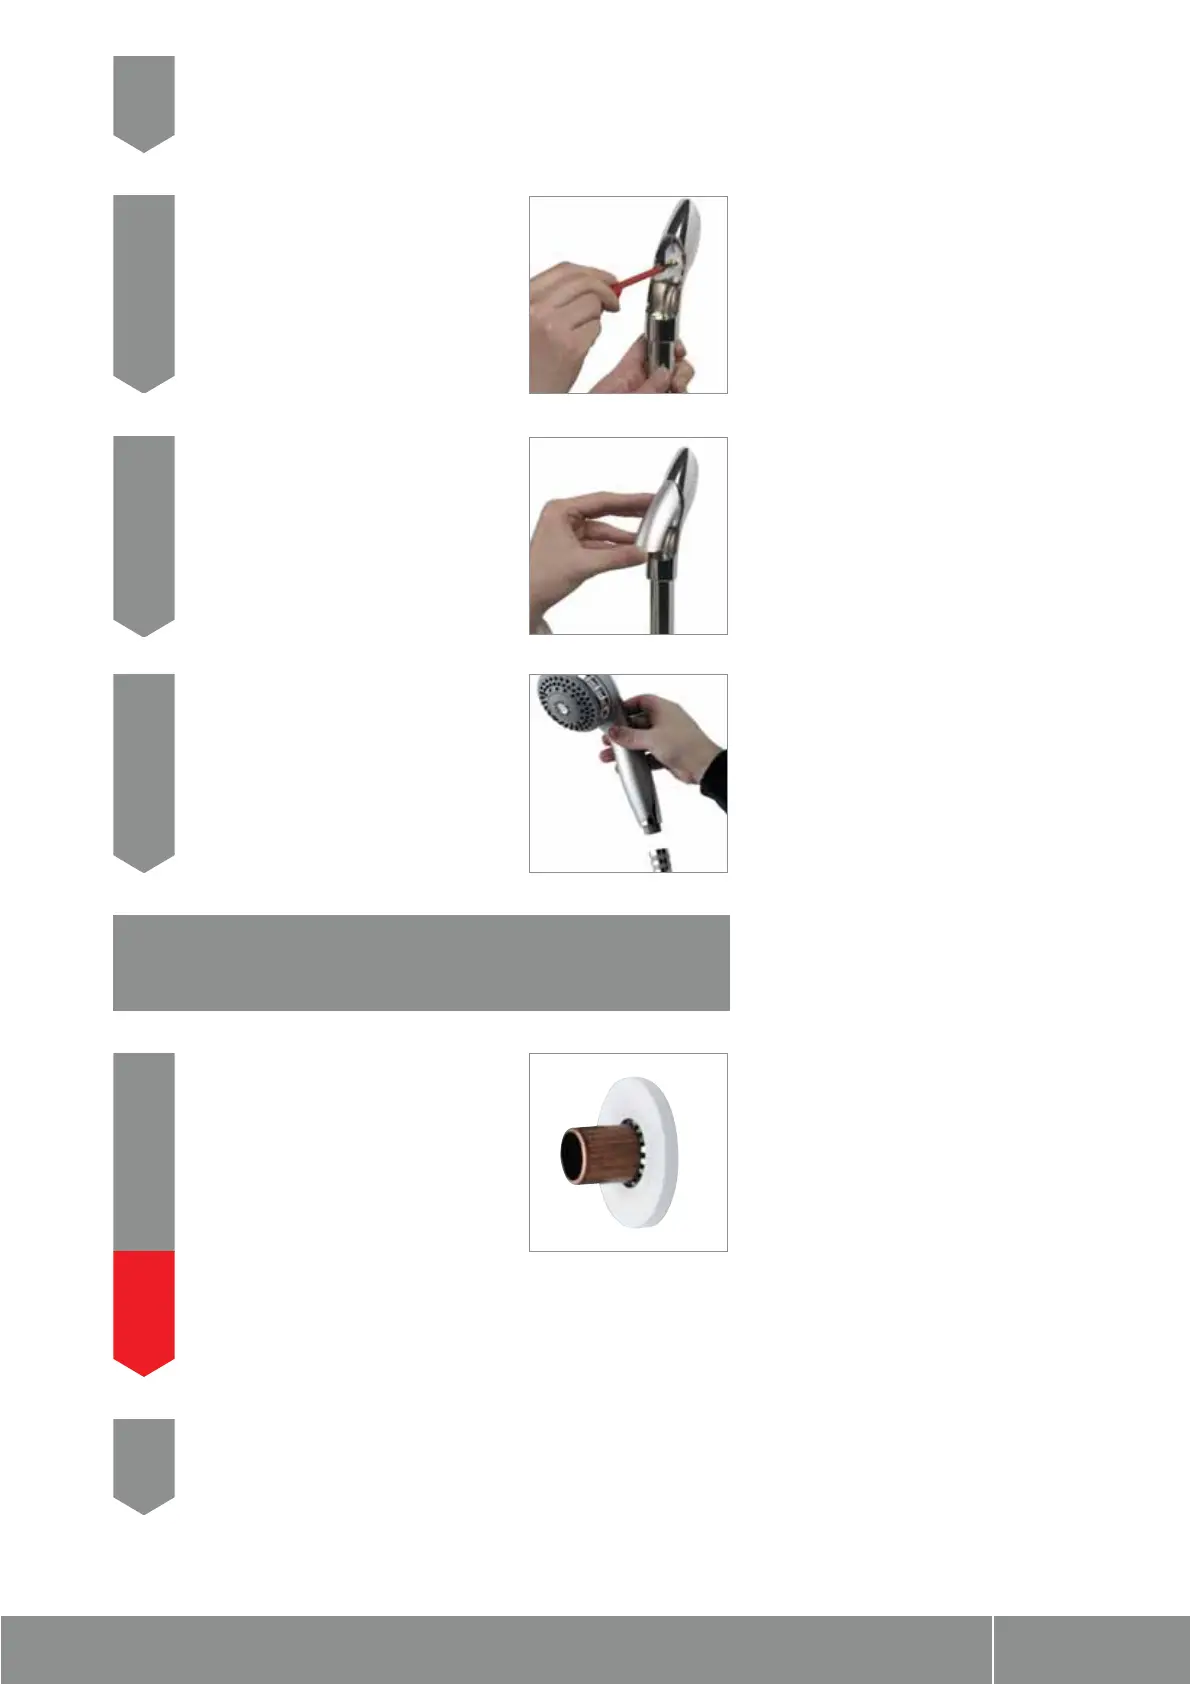
Place the rail end covers into position and push
firmly into place.
7
Wall outlet assembly installation
for use with a concealed valve
Ensuring the hose washers are in position,
connect the conical end of the hose to the
handset after passing it through the hose
restraint (if required). Attach the other end of
the hose to the valve or wall outlet.
8
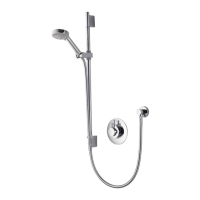
Prepare pipe work from the shower valve to
the required position for the hose outlet using
a ø15mm copper pipe. Slide the 15mm gripper
ring down the projecting pipe up to the wall
face.
1
NB. The wall outlet is supplied for use with 15mm pipe work.
However, if required, the outlet assembly can be adapted to accept 22mm
pipe work. Please follow the conversion guide opposite.
!
Trim the projecting pipe to a length of 15-22mm using a rotary type cutter.
If a hacksaw is used, the pipe end must be carefully de-burred and chamfered.
2