Do you have a question about the Aqualisa Varispray and is the answer not in the manual?
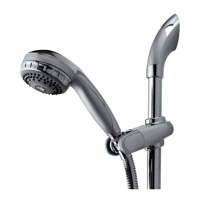
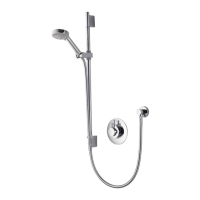
Shows components for an adjustable height shower head.
Shows components for a fixed concealed shower head.
Shows components for a fixed exposed shower head.
Introduces the Aqualisa shower head range and compatibility.
Product must be installed by a competent person per regulations.
Pipe work must be flushed after soldering due to corrosive fluxes.
Suitable for 15mm copper tube, requires lubrication and flushing.
Minimum cold cistern capacity is 225 litres; hot cylinder must meet demand.
Specifies minimum distances for gravity-fed systems and pipe work height.
Essential to read instructions, have components, and be competent.
Details steps 1-4 for installing the adjustable height slider rail set.
Prepare 15mm copper pipe work for the hose outlet.
Trim pipe to 15-22mm, de-burr if using a hacksaw.
Unlock bayonet fitting by turning support ring (A) anti-clockwise.
Remove central 'O' ring (B), housing (C), washer (D), and outer 'O' ring (E).
Max panel thickness 35mm, including 15mm tile thickness.
Run pipe from valve to head position, terminating with 1/2" BSP female fitting.
Unscrew the 1/2" BSP outlet connector from the valve body.
Screw shower arm to riser tube; tube can be shortened.
Slide fixing bracket up the riser tube until the joint is hidden.
Locate riser tube into the 3/4" outlet and position against wall face.
Select spray pattern, height, and angular adjustment for adjustable heads.
Select spray pattern and adjust angle for fixed heads.
Clean with soft cloth and washing up liquid; avoid abrasive cleaners.
Turn on/off knob, adjust temperature control lever.
Operate Aquamixa Thermo taps for bath fill.
Clean Aquamixa Thermo unit with soft cloth; avoid abrasive cleaners.
| Brand | Aqualisa |
|---|---|
| Model | Varispray |
| Category | Plumbing Product |
| Language | English |