www.aquorwatersystems.com
1-800-458-1749
Aquor
®
Wall Hydrant V1+
ASSE 1019C / ASME A112.18.1 / CSA B125.1 APPROVED
9
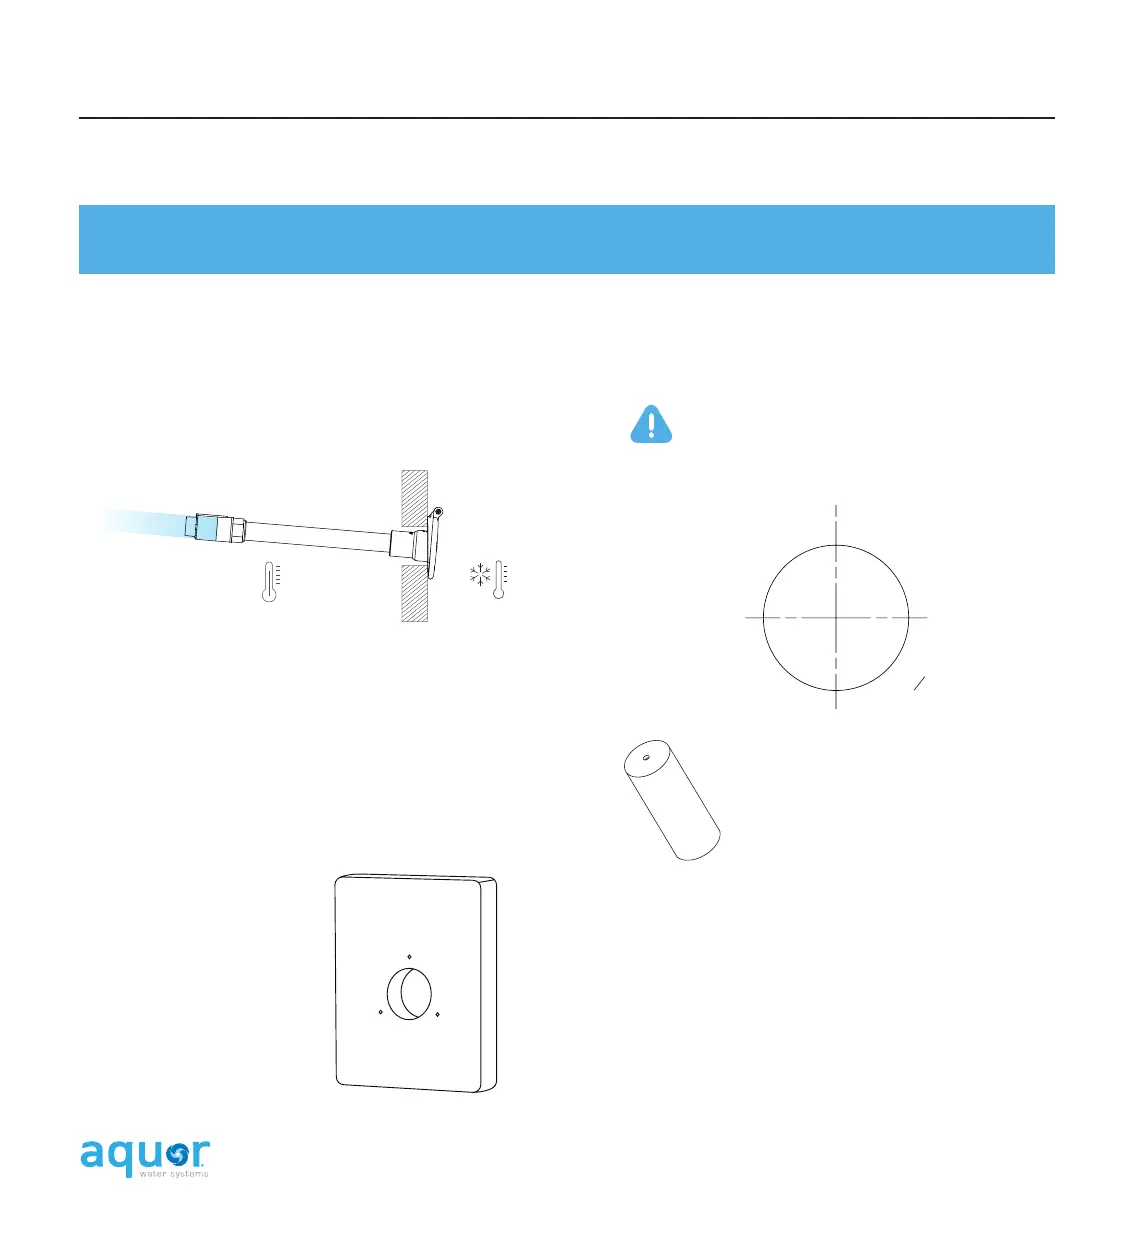
1. PREPARE WALL
Determine the location for the hydrant. The
hydrant’s inlet must be installed into a heated area
of the structure that will not drop below freezing.
Before installation, make sure there is adequate work
room for securing the hydrant to the supply line.
Prepare the mounting surface and entry hole.
Aquor
®
wall hydrants require a vertical and smooth
mounting surface to ensure proper installation and
draining. Depending on the exterior wall surface,
a mounting block may be required to provide a
vertical and smooth mounting spot. Mounting
blocks can be commonly
found in hardware stores,
or can be made on-site
with materials such as
wood, fiber-cement, or
PVC trimboard. Aquor
®
mounting blocks can be
found on our website.
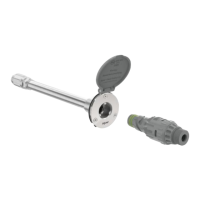
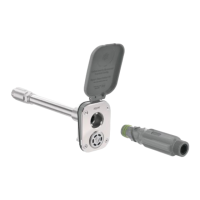
2. SECURE HYDRANT TO WALL
Pre-pilot the mounting holes. Make sure to insert the
debris cover wedge behind the hydrant faceplate for
accurate markings.
Using a 1
” hole saw, bore the entry hole through
the wall (and mounting block if using one) in the
desired location.
Tip: If enlarging an existing hole, try
cutting a dowel of the appropriate size
to use as a guide for the hole saw.
Tip: Use a low speed setting or a hand screwdriver
to avoid stripping the fasteners.
INSTALLATION
If drilling through a deep wall, you may
need to accommodate for the hydrant’s
downward angle.
O 1 /” (39 mm)
Installation