P/N 466-5570 (EN) • REV E • ISS 22MAR22 9 / 18
Figure 10: System databus wiring
(1) TERM link fitted (first device on local databus).
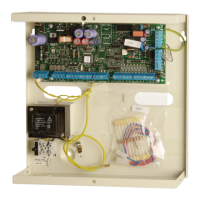
(2) Advisor Advanced control panel variants.
(3) Preferred data cable type is WCAT 52 (two twisted pairs).
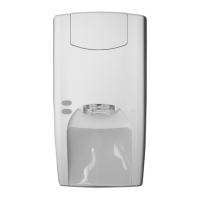
(4) Advisor LCD keypad (TERM switch is set to OFF).
(5) Separate 12 V power supply (required if keypad is more than
100 m from the nearest panel or expander. Connect the negative
terminal of the power supply to the “−” wire of the databus.
(6) TERM link fitted (last device on local databus).
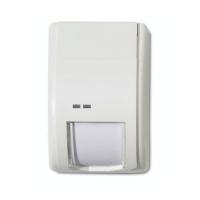
(7) Any remote expander like ATS1201(E) or ATS1210(E).
System databus connection
The system databus is used to connect remote expanders (to
provide extra zones) and keypads to the Advisor Advanced
control panel. Remote devices can be up to 1.5 km from an
Advisor Advanced control panel.
Keypads and remote expanders must be connected via
a shielded data cable with two twisted-pairs from the system
databus connection (WCAT 52 is recommended).
We recommend that you use a separate power supply for
a keypad when the distance between that keypad and the
nearest device is more than 100 meters.
If the keypad is powered with a separate power supply, do not
connect “+” from the system databus. Connect “+” of the local
power supply to “+” on the keypad, and connect 0 volts from
the power supply and 0 volts from the system databus to the
keypad terminal marked “−”. The maximum number of devices
allowed on the databus is given in “General features” on page
10.
Two system databuses (ATS4500A only)
Particular panel variants allow you to connect more bus
devices by using a second system databus. To install another
system databus, use ATS670 second RS485 LAN extension
module.
System addresses of devices connected to the additional bus
(BUS2) are determined by adding 16 to keypad physical
addresses, and 15 to expander addresses. So, BUS1 handles
keypads 1 to 16 and expanders 1 to 15, while BUS2 —
keypads 17 to 32 and expanders 16 to 30.
Note: Door controllers can only be installed on BUS1.
Zone connection
The inputs are set up as standard EOL freely programmable
zones. However, by programming the zones as dual loop, all
zone inputs can be programmed to give a few states indication
for the same zone.
Depending on the detector model, do the following to set up
zones:
• Choose your EOL connection type.
• Program input mode.
• Set end-of-line resistor values.
• Configure anti-masking option.
Refer to Advisor Advanced ATSx500A Installation and
Programming Manual for details.
Single loop zone wiring
In single loop zone wiring, two zones are required, one zone
for alarm and one zone for tamper. The tamper contacts are
wired in series with an EOL resistor.
Figure 11: Single loop examples
Possible EOL connections and EOL resistor values are listed
in Advisor Advanced ATSx500A Installation and Programming
Manual.
Other manuals
See Advisor Advanced User Guide for more information on
how to use the Advisor Advanced system.
See Advisor Advanced Manager Manual for more information
on system management.
See Advisor Advanced Installation and Programming Manual
for more information on system configuration and
programming.
See Advisor Advanced SMS Control Reference Manual for
more information on SMS commands.
Specifications
For a list of panel models see “List of panel variants” on page
5.
 Loading...