5
3. System Set Up
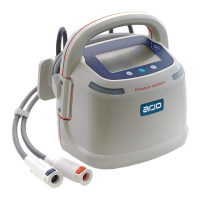
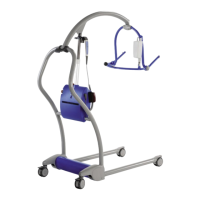
Installing the Pump Attach the pump to the bed frame using the bed bracket,
or place the pump on the floor under the bed.
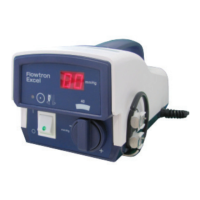
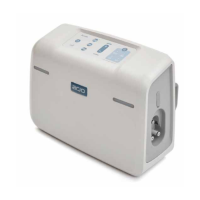
Garment Application 1. Check that the mains power switch on the pump is
in the off (
O) position.
2. Remove the garments from the packaging and
unfold.
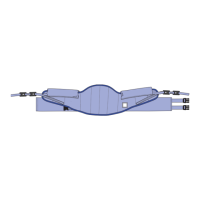
3. Place the back of the patient’s leg in the centre
section of the garment with the connector tubing
pointing downwards towards the foot.
4. Starting with the side of the garment that does not
have the hook and loop strap tabs, wrap securely
against the leg. While holding the garment against
the leg, wrap the tabs over the top. Ensure that the
garment is close-fitting and has no creases or folds.
The connector tubing should be pointing towards
the patient’s heel.
5. Make sure the tubing assembly is connected to the
garment connector on the pump.
6. Connect the garment connector to the tubing
assembly. Ensure that a sharp ‘click’ is heard. Pull
lightly to confirm proper connection.
7. Repeat steps 3 to 6 for the second garment, if used.
Garment Removal 1. To disconnect a garment, press on the tubing
assembly snap-lock connector and pull the garment
connector away from the tubing assembly.
To Use Only One
Garment
To use only one garment, connect a single garment to
either connector.
NOTE
Garments are for single patient use only. Do not use
the garments on a different patient after treatment.
NOTE
The snap-lock connectors on the pump are self-sealing
and do not require unused garments to be attached.