Do you have a question about the Arjo System 2000 Rhapsody and is the answer not in the manual?
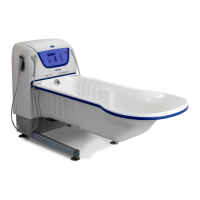
Lower the bathtub to its lowest height.
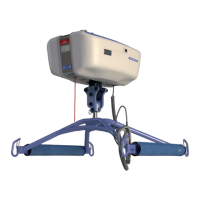
Attach head pillow for hygiene chair; do not attach for bath trolley.
Check water temperature with a bare hand and adjust if needed.
Ensure the drain is closed before filling.
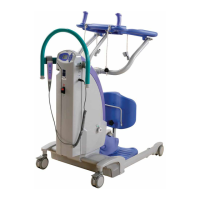
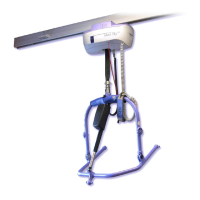
Position chair diagonally to the side of the bath, ensuring adequate space.
Raise chair to give space between patient's genitals and bathtub rim.
Center chair over the bathtub until it stops against legs and rim.
Lift patient legs over rim while rotating chair into place.
Adjust chair height for caregiver ergonomics and patient comfort.
Attach foot support if needed, then bathe the patient.
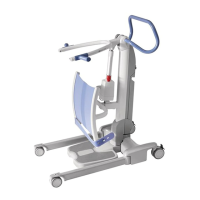
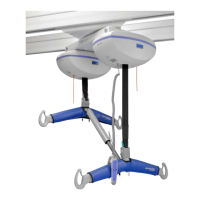
Position trolley behind and to the side of the bath.
Raise stretcher to clear the edge of the bathtub.
Move trolley with patient diagonally over the bathtub rim.
Center trolley until it stops against bathtub legs and rim.
Adjust trolley height and raise bathtub until stretcher touches bottom.
Attach foot support if needed, then bathe the patient.
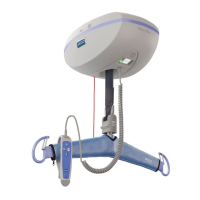
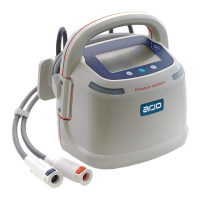
Install suction cover. Press button, start low intensity, adjust as needed.
Fill water, press button, adjust intensity. Never use when pregnant.
Do not touch transducer plate. Keep patient's head above water.
Open drain, take shower handle, press button, direct away from patient.
Check temperature with bare hand and adjust if needed.
Let patient feel water by hand before directing stream.
Unlock trigger if lock button activated, press button, return handle.
Lower bathtub. Dry patient and remaining wet areas.
Keep the patient warm using towels or a bathrobe.
Help patient move legs over rim, rotating lift away from bathtub.
Lower lift hygiene chair and ensure space between genitals and rim.
Clean and disinfect bathtub according to IFU or Cleaning QRG.
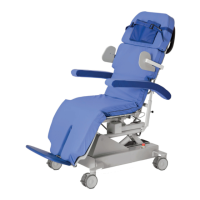
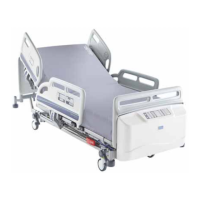
The "System 2000 Rhapsody, Primo, Harmonie" is a bathing system designed for patient care, offering features for safe and comfortable bathing, including options for hydromassage and hydrosound therapy. The system is designed to be operated by a caregiver and can be used with a lift hygiene chair or a lift bath trolley.
The primary function of the System 2000 is to facilitate patient bathing. It allows caregivers to safely transfer patients into and out of the bathtub and provides features to enhance the bathing experience. The system is designed to minimize physical strain on caregivers and ensure patient comfort and safety throughout the process.
Before bathing, the bathtub should be lowered to its lowest height. If using a hygiene chair, a head pillow should be attached. If using a bath trolley, neither the head pillow nor foot support should be attached. The drain should be closed, and the Autofill button pressed to fill the tub. Caregivers must check the water temperature with a bare hand and adjust it if necessary to prevent scalding.
The system is designed to be user-friendly for caregivers while prioritizing patient safety and comfort, offering a comprehensive solution for assisted bathing.
| Brand | Arjo |
|---|---|
| Model | System 2000 Rhapsody |
| Category | Medical Equipment |
| Language | English |