Do you have a question about the Artillery Genius Pro and is the answer not in the manual?
Warning about dangers of electrical shock when operating the printer.
Caution regarding hot components like the nozzle, heater block, and bed.
Warning against placing flammable materials near the printer during operation.
Alert about risks of finger entrapment in moving printer parts.
Guidance on grounding oneself to prevent electrostatic damage to components.
Recommendation for adult supervision for users under 18 due to small parts.
Information regarding the limited warranty for the Artillery Genius Pro 3D Printer.
General terms and conditions for the user manual and its updates.
Details on copyright, trademarks, and usage restrictions for manual content.
Statement regarding accuracy, warranties, and limitations of liability.
Instructions to align the XZ gantry connector with the base.
Guidance on tightening M5 screws to fasten the XZ gantry to the base.
Instructions for assembling and mounting the spool holder on the top beam.
Steps for connecting the Z stepper motors and filament runout sensor.
Procedure to loosen and tighten screws for properly seating carriage wheels.
How to adjust the bed and hotend carriage using eccentric nuts.
Technical details on print technology, volume, resolution, and materials.
Product and shipping dimensions, and weight of the printer.
Power requirements and connectivity options for the printer.
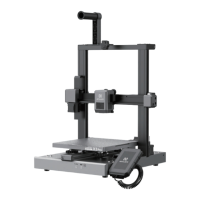
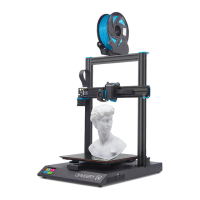
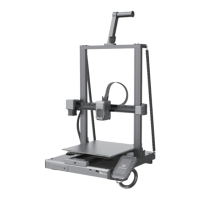
Information on construction, build surface, and motor precision.
Ways to contact Artillery for expert and responsive customer support.
Contact method for learning about other Artillery products.
How to send general questions or feedback to Artillery.
| Build Volume | 220 x 220 x 250 mm |
|---|---|
| Nozzle Diameter | 0.4 mm |
| Filament Diameter | 1.75 mm |
| Max Nozzle Temperature | 240°C |
| Max Bed Temperature | 130°C |
| Connectivity | USB, SD Card |
| Frame Material | Aluminum |
| Technology | FDM |
| Print Speed | 60-150 mm/s |
| Layer Resolution | 0.1 - 0.3 mm |
| Bed Leveling | Automatic |
| Display | Color Touch Screen |
| Supported Materials | PLA, ABS, PETG, TPU |