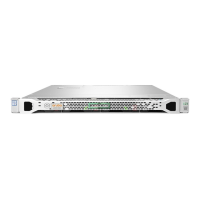
Figure 39 Specifying the Name and Location of the Hard Disk File
10. Do the following:
a. Enter the name of the virtual hard disk file.
b. Browse to the location of the virtual hard disk file, select it, then click Next.
The Configure Disk dialog opens.
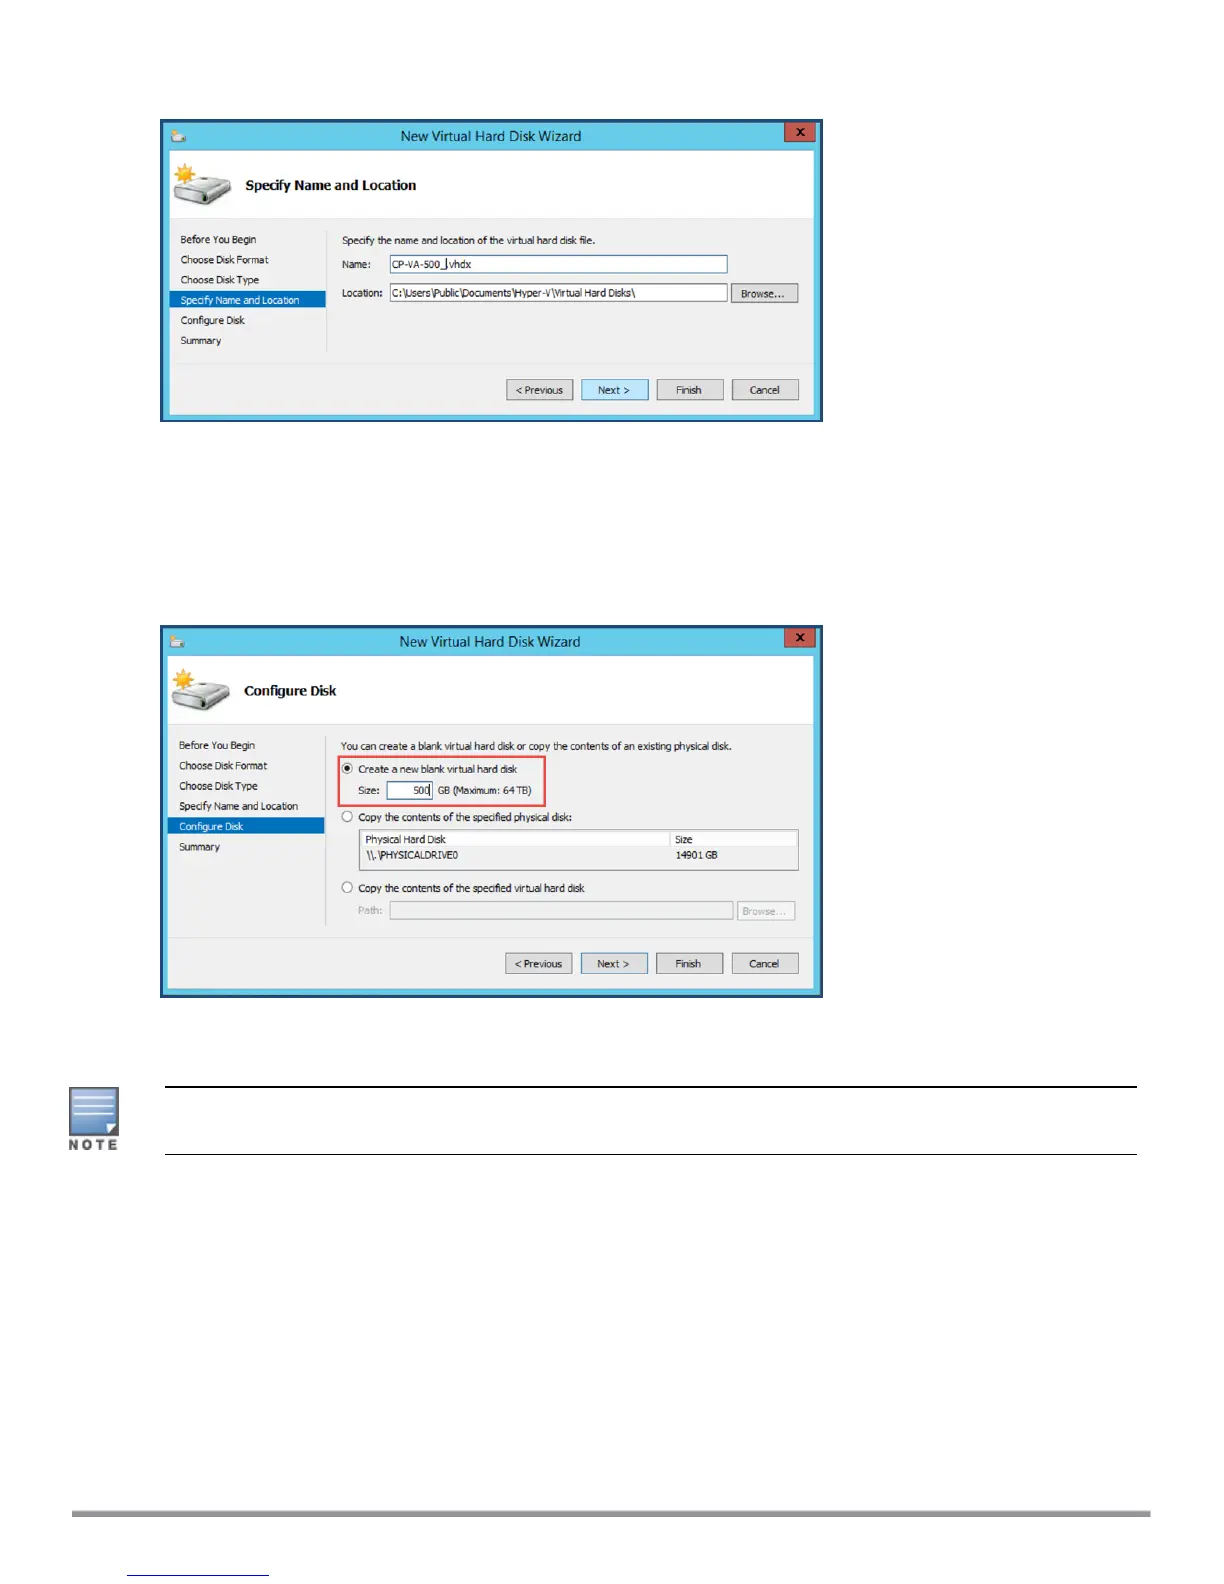
Figure 40 Configuring the New Virtual Hard Disk
11. Select Create a new blank virtual hard disk.
a. Then enter the size of the of virtual hard disk in Gigabytes (GB).
For the latest information on the recommended disk sizes for a virtual hard disk, refer to the Release Notes in the
appropriate version folder in the Aruba Support Center at Documentation > Software User & Reference
Guides > ClearPass > Release Notes..
b. Click Next.
The Completing the New Virtual Hard Disk Wizard screen opens.
12. Review the settings displayed in the Summary page, and if they are correct, click Finish.
This completes the procedure to add a virtual hard disk.
Additional Virtual Hard Disk Considerations
Additional considerations to take into account when adding virtual hard disks are as follows:
l By default, membership in the local Administrators group, or equivalent, is the minimum required to
complete this procedure. However, an administrator can use Authorization Manager to modify the
ClearPass 6.7 Getting Started Guide 46
 Loading...