– 19 –
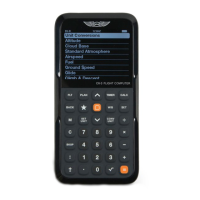
CX
-
3
Flight Computer
APPENDIX B: Updating the CX-3 Firmware
1. Download the CX-3 rmware update le to your
computer.
2. Remove one battery from the device.
3. Attach the micro USB cable to your computer and
CX-3.
4. While holding the Power Switch ON, insert battery.
• This will put the device into Bootloader mode.
The device will appear as a USB hard drive with
the name BOOTLOADER.
• Note: the screen on the device will remain
blank.
5. Open the BOOTLOADER hard drive.
• There should be a single text le named
“READY.TXT”
6. Drag the new CX-3 rmware into the
BOOTLOADER hard drive window.
• The le will begin to download to the device
and may take several seconds.
• Once it successfully downloads, the bootloader
will load the new rmware into ash memory
and reset the device.
• Note: at this point, the BOOTLOADER hard
drive will disappear.
Updates will periodically become available at www.asa2y.com/CX3.
Follow these steps to keep your CX-3 Flight Computer up to date:
7. Verify successful download and programming of
the device.
• Once the device resets, the BOOTLOADER
hard drive will be available once again.
• Open the BOOTLOADER hard drive.
• If the rmware was updated successfully, there
will be a single text le named “SUCCESS.TXT”
8. Reset device to run new rmware.
• Remove and replace a battery. This will reset
the device and run the normal program.
• Turn on the device using the power switch.
• Verify version on main settings screen (scroll
down to bottom of list).