– 5 –
Aircraft Prole
This feature allows for entering specic data for the
airplane most frequently used for quick reference and
input when calculating weight and balance.
— K: The instrument calibration factor of the airplane.
This is used to calculate OAT from TAT (and vice-
versa) and is dependent on airspeed. It is set to
a default value of 1.0. This value is dependent on
the aircraft.
— Prole Valid: This allows you to set your prole On
or Off once all data is entered. If On, the aircraft
prole data will be used for all weight and balance
calculations.
— Empty Aircraft: Enter a reduction factor (RF). An
RF of 1 means all entries are taken at face value.
An RF of 100 means each moment is divided
by 100 before the calculator displays it or the
operator enters it; this will be taken into account
when the total and CG are computed. Enter 2 out
of 3 of the values for Wt, Arm, and Mom; the CX-3
will calculate the third automatically.
— Fuel (FuelAux): Type can be selected by pressing
enter (Av Gas: 6 lbs., Jet Fuel: 6.84 lbs., Oil: 7.50
lbs.).
— Individual Item Arms: Enter up to three arms for
pilot/passenger locations (each can be considered
a row). Enter up to two cargo station locations
and three custom elds available for various other
required stations.
* Note that all unsolved data elds must contain
a value for the prole to be valid. If a eld is not
required, simply enter a value of 0.00 (i.e., Custom 1
= 0.00 IN).
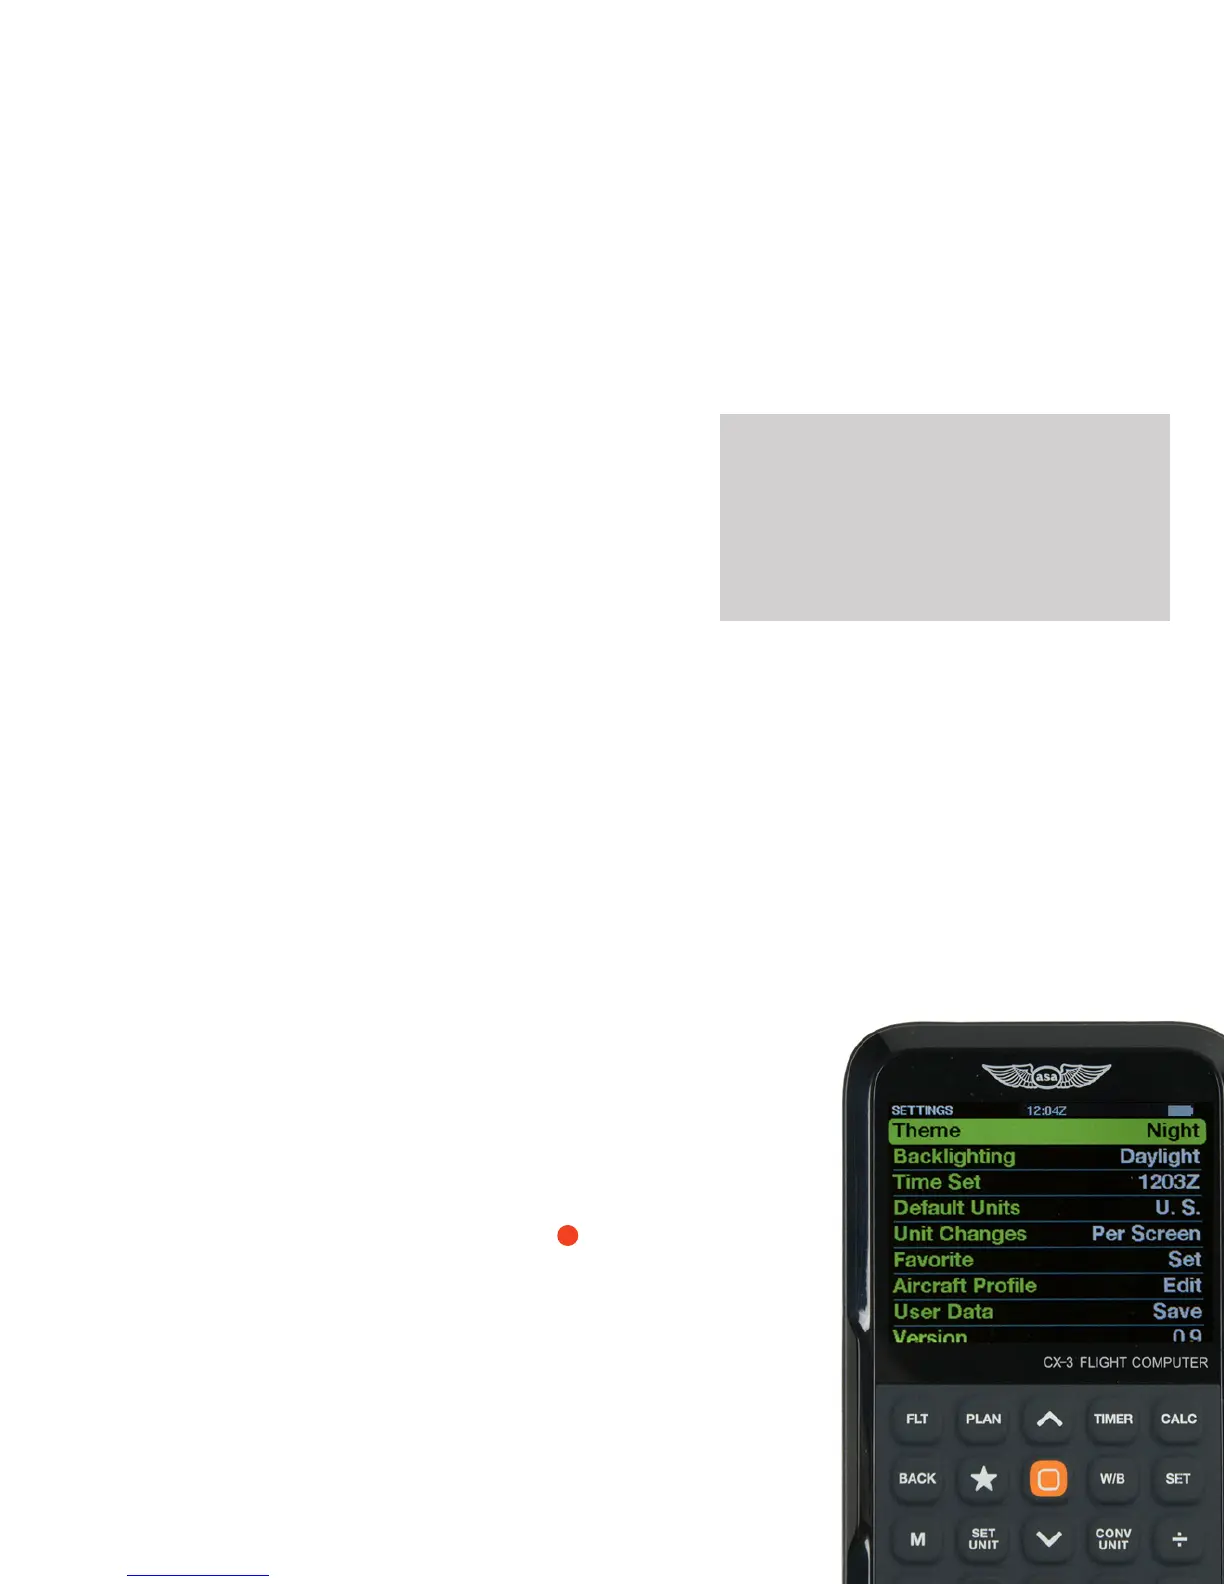
User Data
This allows you to Cancel, Save, and Recall
user data.
CX
-
3
Flight Computer
◗ RESETTING
To wipe the memory and reset the CX-3, remove
all of the batteries. The FAA requires that all the
memory in an electronic ight computer be cleared
prior to use during FAA Knowledge Exams. You
may want to back up your data before resetting the
CX-3; see Appendix C on page 20 for instructions.
◗ USB
The CX-3 accepts a micro-type B-USB plug (not
included) to connect to the computer. This feature
allows users to save their settings and data. Once
connected to a computer, the CX-3 will be displayed
as a mass storage device when the unit is turned
on. The le “data.cx3” can then be saved and
reloaded back onto the CX-3 after factory defaults
have been restored. Instructions for updating the
CX-3’s rmware can be found in Appendix B on
page 19, and the procedure for backing up and
restoring data is detailed in Appendix C on page 20.
?
Version
This displays the rmware version installed on the CX-3.