13 Welding guidelines
This welding guideline must be read carefully and thoroughly
understood before the valve is installed. All warnings must be
considered.
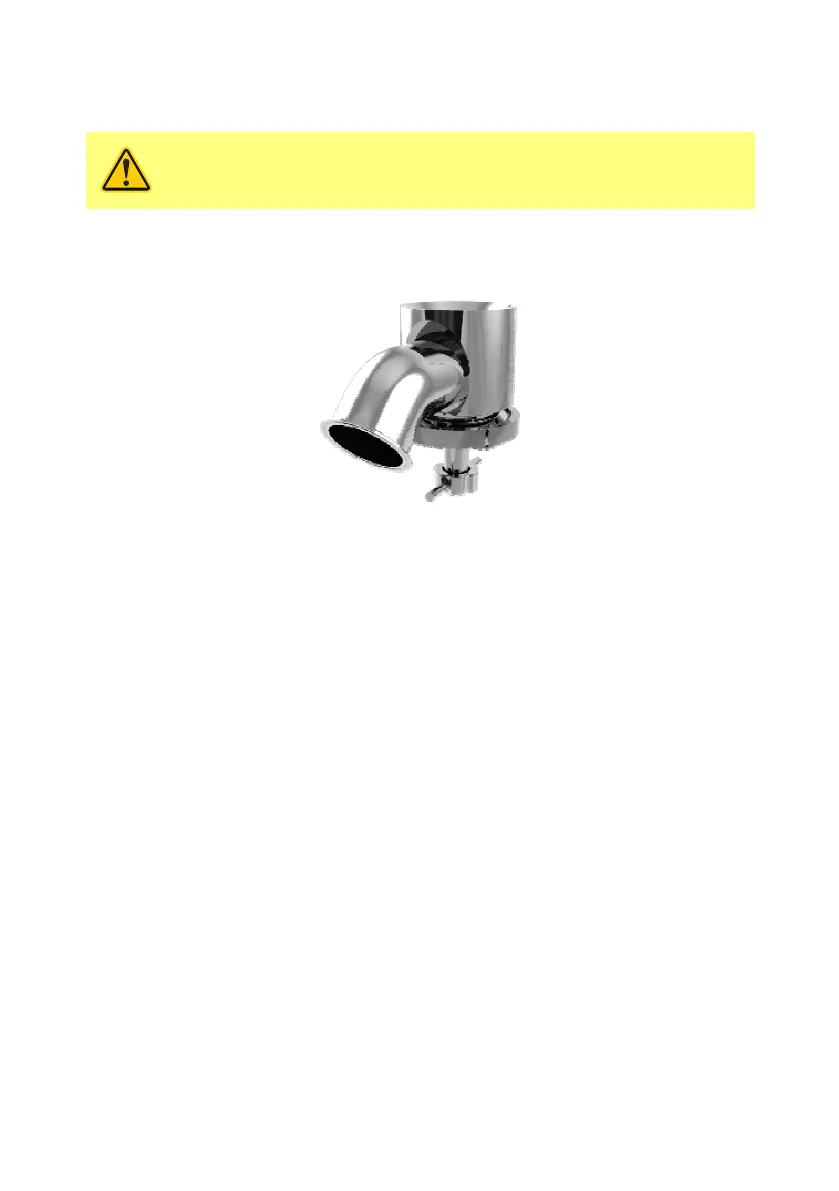
The tank valve (or similar) pictured below is an integrated part of the vessel on which it is
mounted. This document is a guideline on how to weld the valve into a dished-bottom
vessel. Before starting to weld in the valve, please ensure that all necessary certificates
and approvals have been received from ASEPCO.
Make sure to:
• Follow the welding guideline described in this document.
• Use a heat-sink to reduce the risk of warping (recommended).
• Cool the weld zone to 25C (80F) after each weld using compressed air.
13.1 Welding check list
Before welding, make sure:
• The welding guidelines for the tank valve has been carefully read and understood.
• All necessary certificates, approvals and other documentation has been received
from ASEPCO.
• The welder is authorised and familiar with this type of welding operation.
• The orientation for the tank valve has been taken into consideration.
• The location of the tank valve and distances between welding joints fulfil the
pressure vessel code.
During welding, make sure:
• The welding procedure for positioning of welds is followed according to these
guidelines.
After welding, make sure to:
• Verify that the tank valve functions correctly by following the steps in"Final control
(optional)" on page43.
m-radialdiaphragmvalve-en-02 39
 Loading...