EasyManuals Logo

ASEPCO PN30 User Manual

Default Icon
48 pages
To Next Page IconTo Next Page
To Previous Page IconTo Previous Page
Page #23 background imageLoading...
Page #23 background image
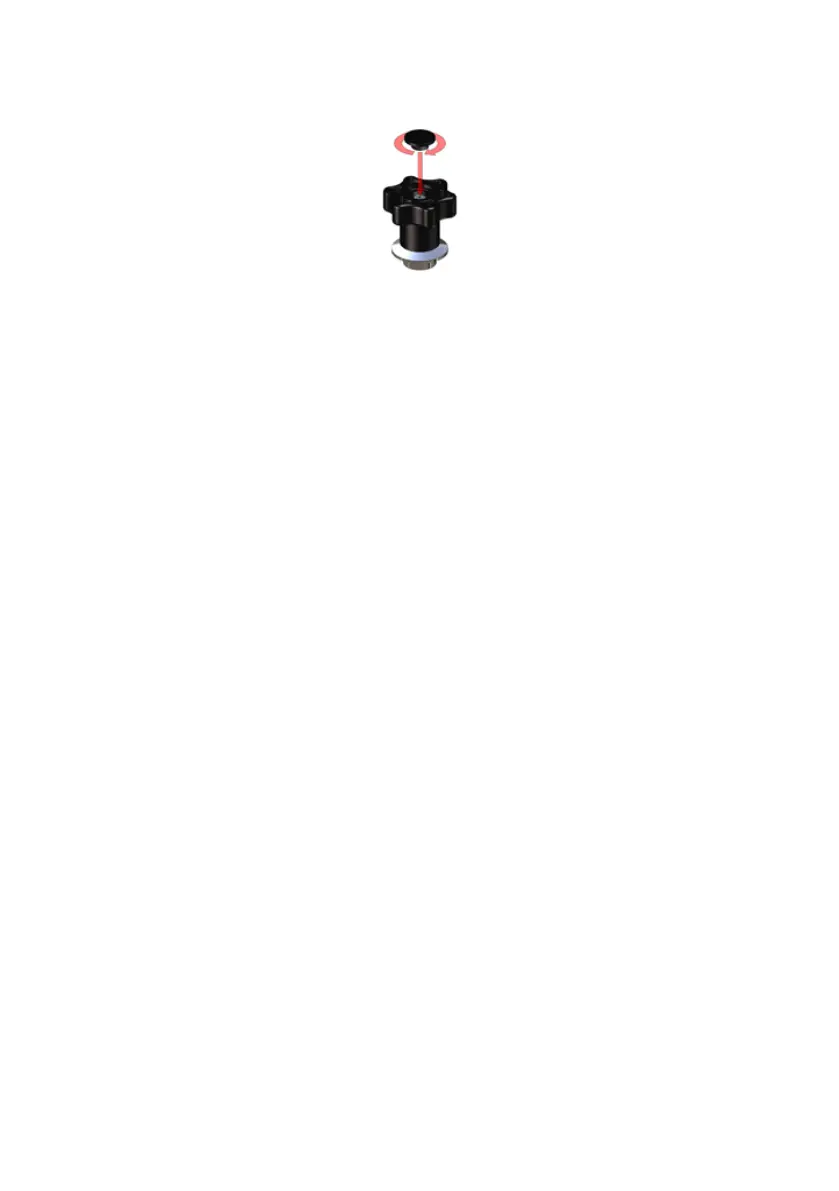
6. Install the cap over the screw using a No. 14 drilled spanner screwdriver.
Step 5: Replace the diaphragm
Follow the instructions for "Install an elastomer diaphragm" on page11 or "Install a PTFE
diaphragm" on page12.
8.2 Maintaining a pneumatic actuator
(a) PNXX AJS series
Step 1: Remove the actuator and diaphragm assembly from the valve
Step 2: Remove the diaphragm
Follow the instructions for "Remove the diaphragm" on page17.
m-radialdiaphragmvalve-en-02 23

Questions and Answers:

Question and Answer IconNeed help?

Do you have a question about the ASEPCO PN30 and is the answer not in the manual?

ASEPCO PN30 Specifications

General IconGeneral
BrandASEPCO
ModelPN30
CategoryControl Unit
LanguageEnglish

Related product manuals