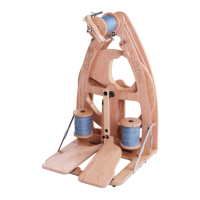
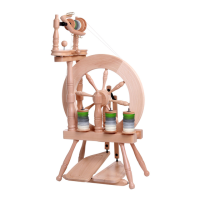
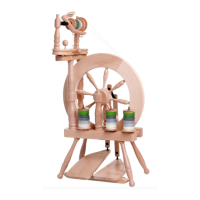
2
Assembly
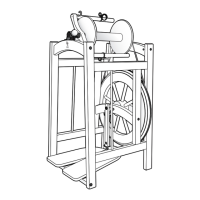
Screw eye
Before commencing, please read these instructions
completely, identify the parts and note the assembly
sequence.
Finish
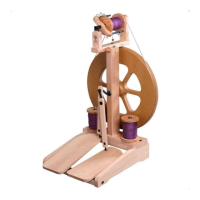
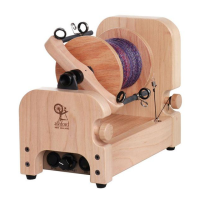
Your e-Spinner 3 has been lacquered prior to
assembly. If desired Ashford Finishing Wax Polish may
be applied to further enhance its appearance.
ASSEMBLY INSTRUCTIONS FOR
THE ASHFORD e-Spinner 3
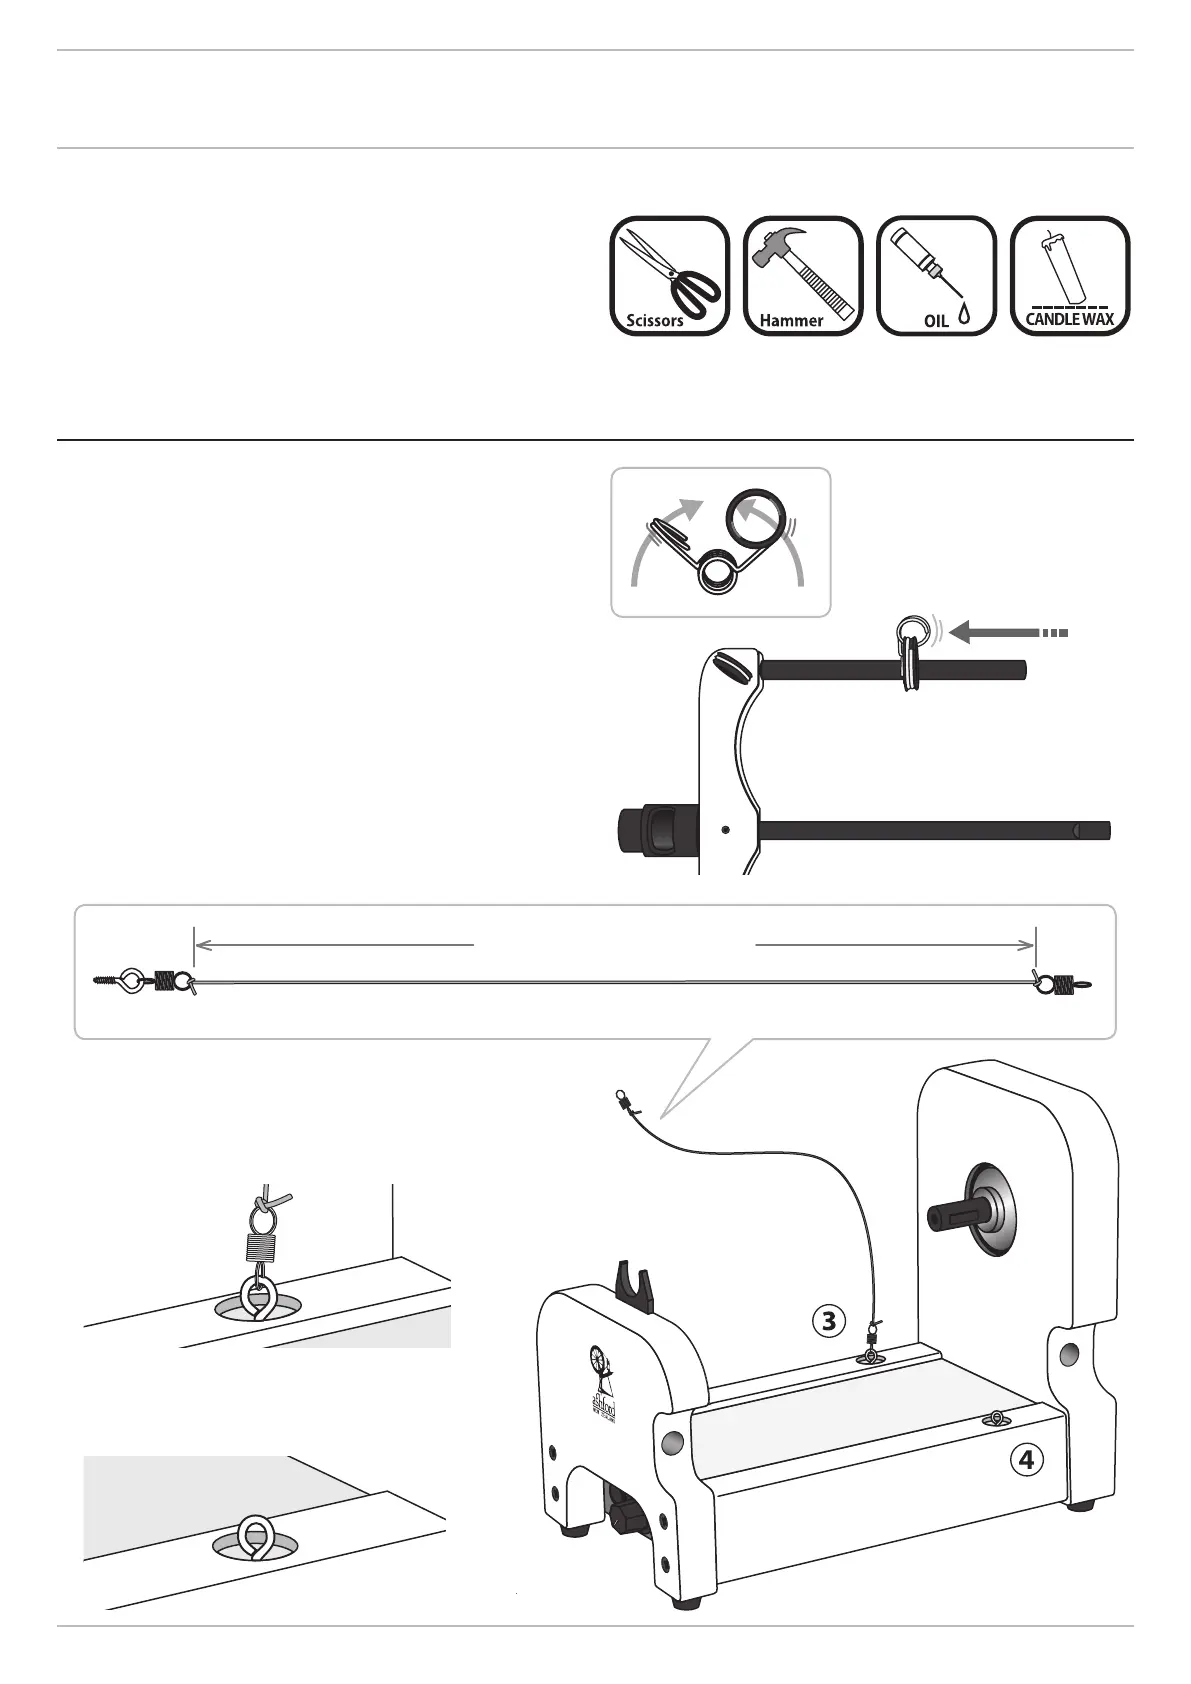
Tools Required
(small hammer)
1. Squeeze and slide the stainless-steel yarn guides
onto the flyer arms.
Note the nylon eyes are on the same side.
NOTE: when spinning at higher RPM it may be
necessary to squeeze and rotate whichever yarn
guide isn’t being used to achieve perfect balance.
2. Cut the nylon brake band into 2 pieces, 35cm (14")
for the brake band and 65cm (25½") for the lazy
kate. Tie the 35cm (14") piece to one of the springs
attached to a screw eye. Then tie the spring to the
brake band allowing approx. 27cm – 28cm (10½ – 11")
between the springs. See illustration. Thread the
tail of the nylon brake band down the inside of the
spring and trim o surplus.
3. Rub candle wax onto the end of the
screw eye. Thread the screw eye with the
tension spring and brake band attached,
into the pilot hole in the let-hand side.
4. Rub candle wax onto the end of the
screw eye. Thread the screw eye into the
pilot hole in the right-hand side.
27cm – 28cm (10½" – 11")
 Loading...