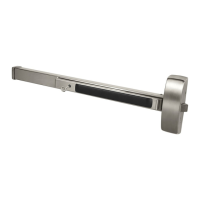
8400 Mortise Exit Device
Installation Instructions
Phoenix, AZ 85044
Tel: 1-800-872-3267
Mon-Fri: 6:00am - 4:00pm PDT
Fax: 1-800-232-7329
www.adamsrite.com
Preparing
NOTE 1: These dimensions and templates assume
a door thickness or 1-3/4.” For doors of other
thickness, the factory should be consulted.
NOTE 2: CL* denotes vertical centerline of
strike within 1/64” of deadlatch
centerline.
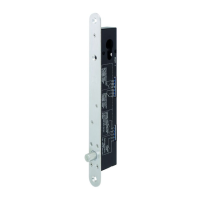
Installing the Strike
NOTE: Both strike cup and strike plate must
be installed properly to meet code
requirements.
1. INSTALL cast strike cup with #10-32 flat head screws.
2. INSTALL strike plate with #10-32 flat head screws.
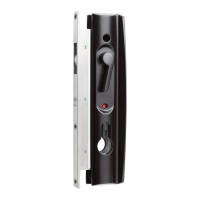
Mounting the Push Bar
1. DEPRESS latch bolt.
NOTE: The square key on plug must align with square notch on side
plate.
2. INSERT bar assembly cam plug thru side plate.
3. INSTALL self-tapping screws on both ends and securely TIGHTEN.
4. TIGHTEN cam plug set screw.
5. INSTALL faceplate.
6. INSTALL end caps (dogging socket at latch end).
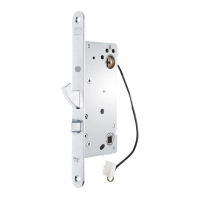
Installing the Deadlatch
1. ADJUST mounting post to length required
to flush faceplate with nose of stile.
2. TIGHTEN lock case securely using #10-32
screws.
IMPORTANT NOTE
Installation must be in accordance to all applicable building and life safety codes.