27
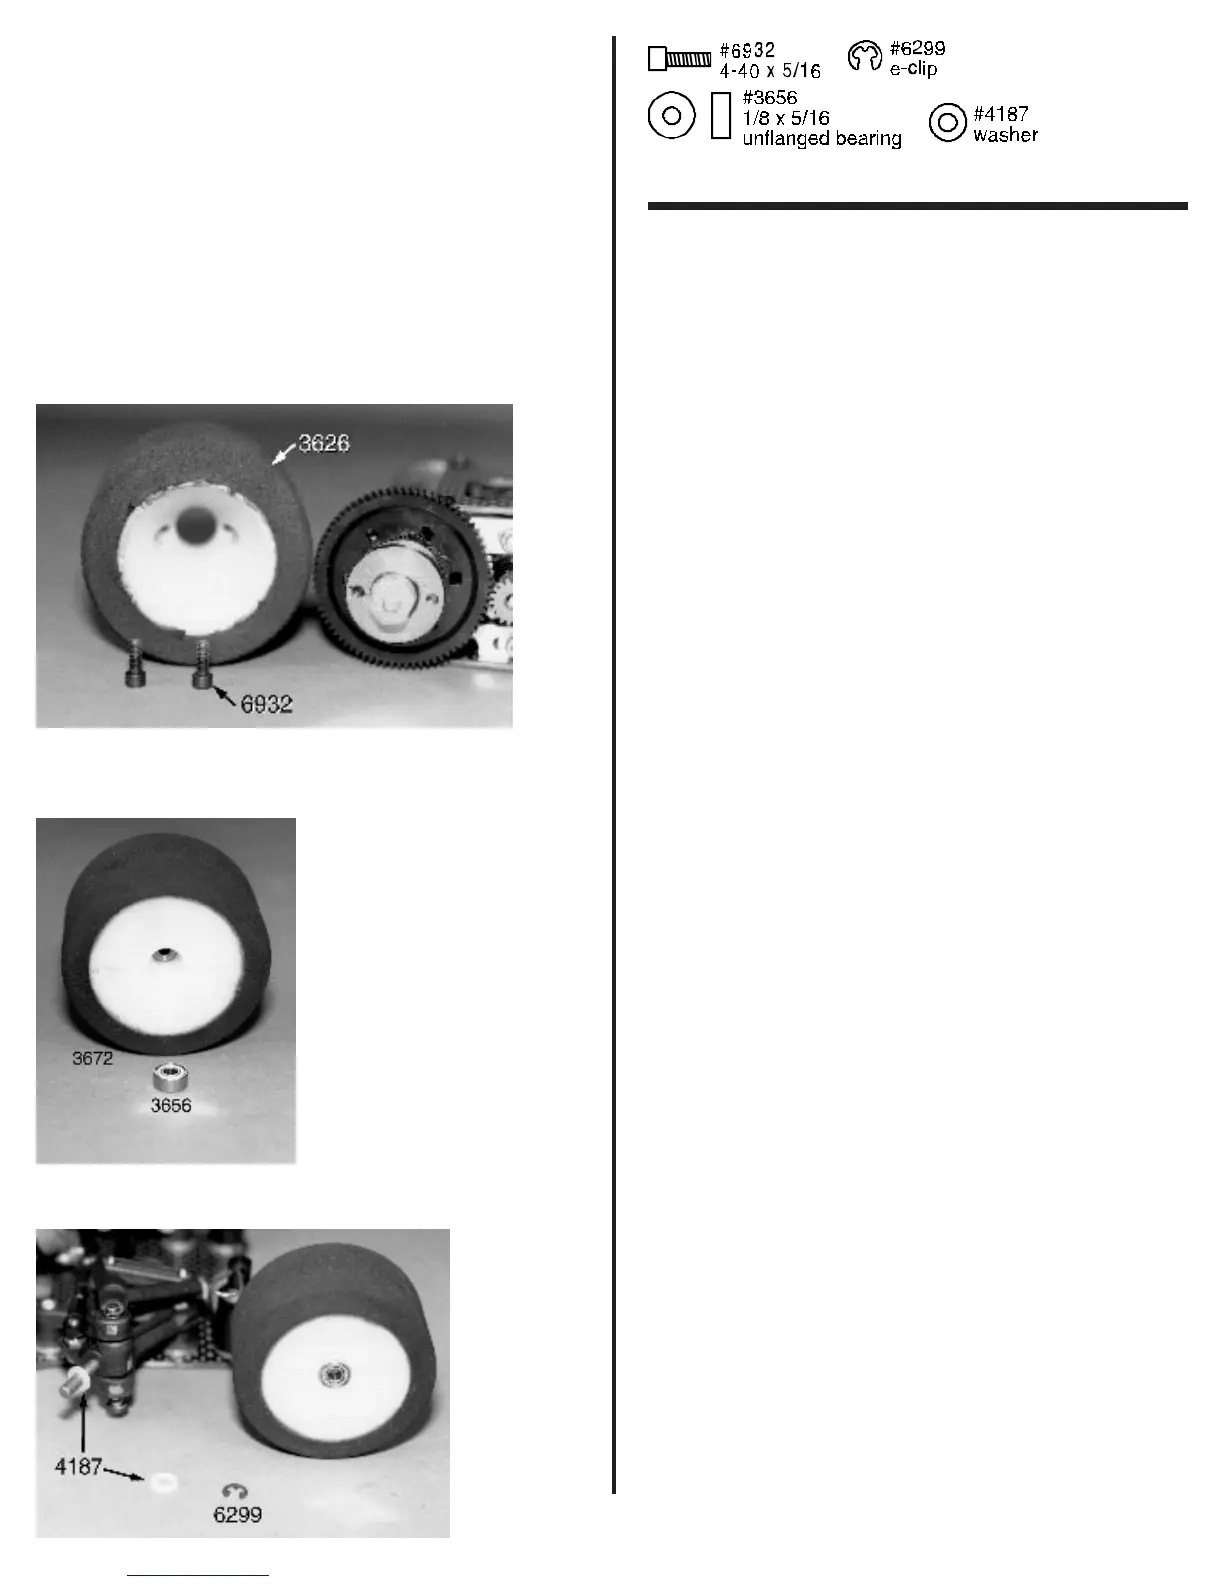
#6932 wheel screws do not go through the left wheel hub
and touch the bulkhead.
Go ahead and remove the two #3672 front wheels and
tires. Go back to back #1 and remove two #4187 nylon front axle
washer, and two #6299 1/8” E-clips. Any thing you have
remaining in bag #1 will be spare parts (as long as you know you
have assembled the car correctly). Now go back and pick the
four remaining #3656 1/8” x 5/16” unflanged ball bearings in the
bearing bag. Insert a bearing into each side of the front wheels.
Now slide one of the #4187 front axle washers onto the right
front axle. This will be followed by one of the front wheels. Now
you can secure the wheel with one of the 1/8" E-clips. Repeat
these steps to install the left front wheel. Remember there is
only one #4187 nylon axle washer per front axle.
Fig. 96
Fig. 97
Fig. 98
❑ Figs. 99, 100 & 101 With the car fully
assembled, we can set the “tweak” on the chassis. We set the
“tweak” after EVERYTHING is installed on the car, including
batteries, motor, speed control, and all the radio equipment.
The only item that does not have to be installed for this
adjustment is the body.
WHAT IS TWEAK? Ideally, the left wheel should be
pushing down on the ground with exactly the same force as the
right wheel. If this is not happening, the car is TWEAKED (or
twisted). This can cause the car to spin out easily under
acceleration. It will also cause the car to oversteer in one
direction and understeer in the opposite direction. Some racers
set the tweak using the front wheels and some prefer to use the
rear wheels to set the tweak.
BEFORE WE CAN CHECK THE TWEAK, we need to
measure the distance between the outside edge of the left
wheel and the outsdie edge of the right wheel. Choose which
end of the car you want to use, then measure the distance
between the outside edges of the left and right wheels as shown
in fig. 99. The photo shows measuring the rear wheel spacing
but you would do the same for the front wheel spacing. The
center point will be exactly half of the wheel spacing measure-
ment. Mark the bottom of the lower rear pod or front of the
chassis with an X-acto knife.
Racer’s Tip: Team drivers will
take a small drill bit and make a countersunk mark on the center
point. This makes it easier to put the X-acto knife in the same
location every time without measuring.
TO CHECK TWEAK start by putting the edged tip of
your X-acto knife blade on the center mark you made on the
lower rear pod or chassis plate. Lift up the end of the car you are
setting the tweak from with the X-acto knife until the wheels are
off the ground. Now slowly lower the knife (see fig. 100 & 101).
We want both tires to touch the work bench at exactly the same
time. If one tire touches the table before the other tire, the car
is tweaked.
FOR OVAL RACING we recommend using the front
end to set the tweak.
TO CORRECT THE TWEAK, refer back to fig. 23
where we installed the tweak screws. To adjust the tweak,
loosen the tweak screw 1/8 to 1/4 turn on the tire side that
touched last. Now tighten the opposite tweak screw (on the side
that touched first) the same amount. Recheck the tweak.
Continue to make these adjustments until both tires touch at
EXACTLY the same time. When they do, you have adjusted the
tweak correctly.
WARNING! Always loosen one screw first,
then tighten the opposite screw the same amount.
Your car is now complete. Congratulations, you
did great!
 Loading...