28
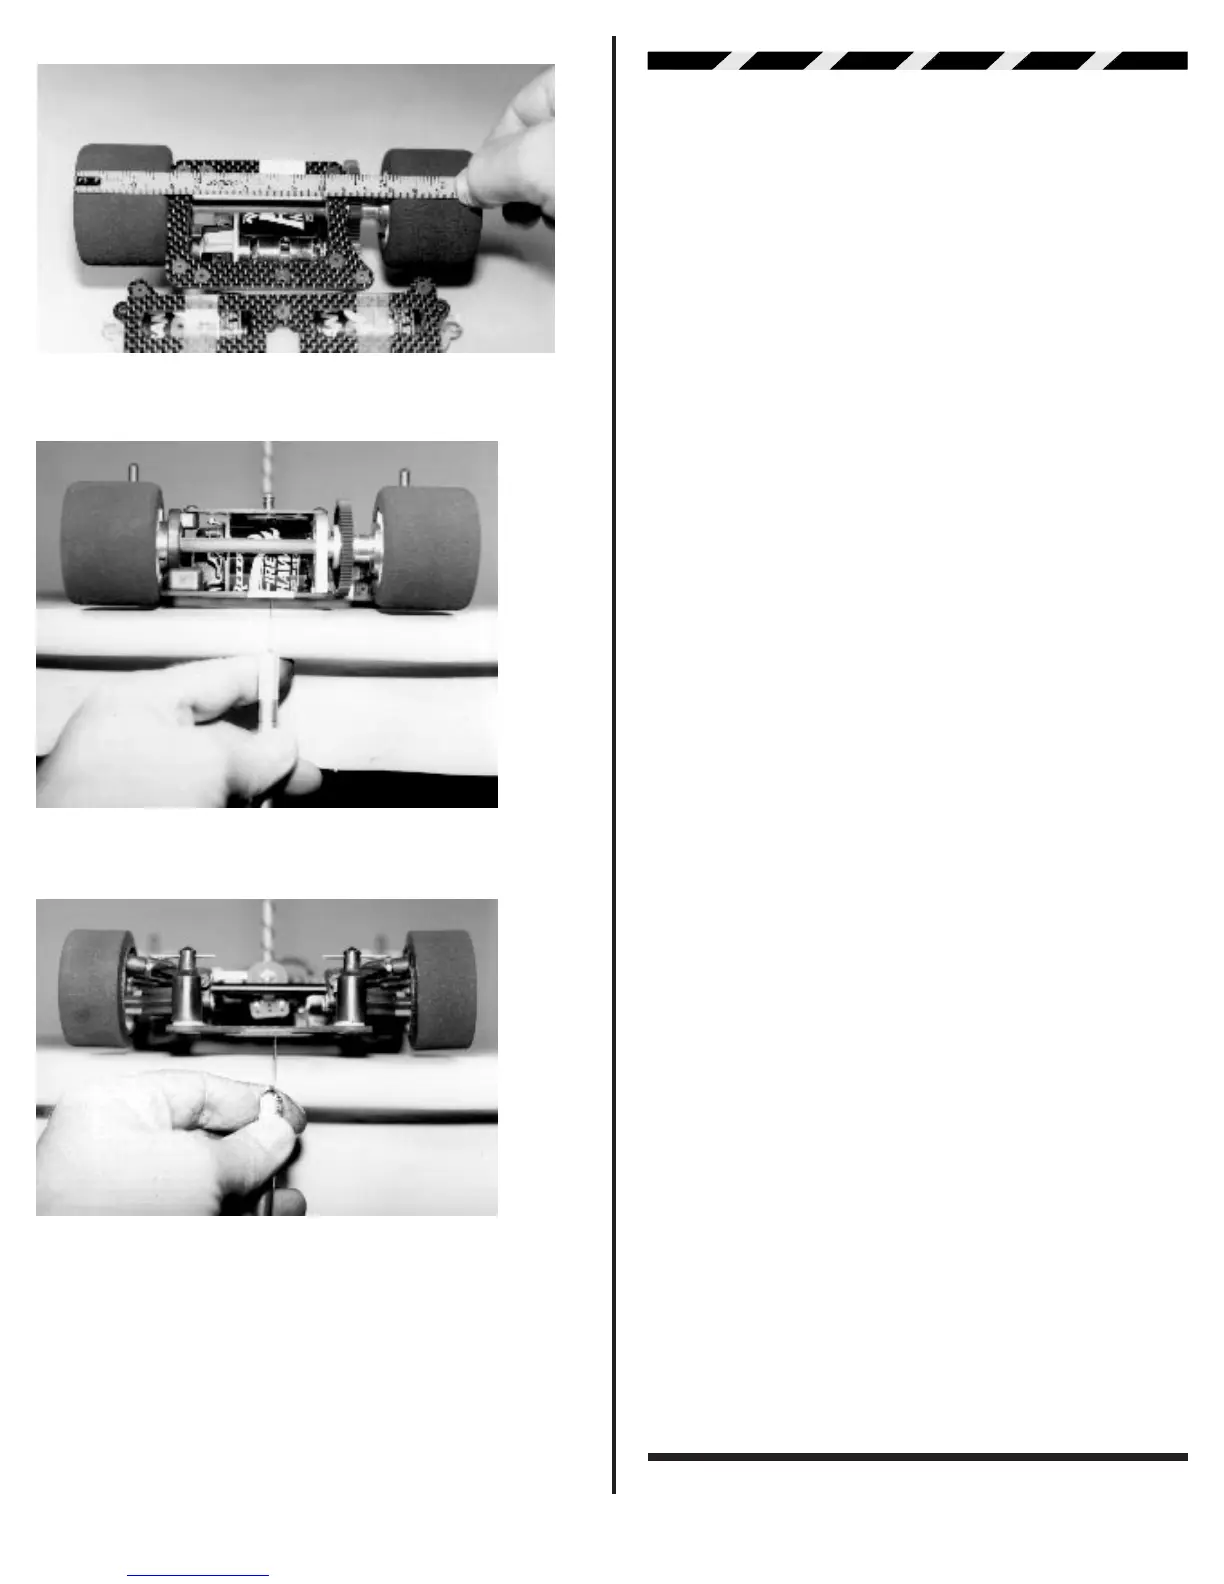
Fig. 99
Fig. 100
Fig. 101
FINAL ADJUSTMENTS
BATTERY CHARGING. Charge your transmitter bat-
teries if they are Ni-Cads. This will normally require an over-
night charge. Next charge the battery pack for your car. Do this
according to the battery and/or battery charger instructions.
Make sure all the speed control connections are according to
the speed control manufacturers specifications. Then go on to
the following in the order listed below.
❑ Step 1 Make sure the rear wheels are off the ground.
❑ Step 2 Turn the transmitter ON.
❑ Step 3 If you are using plugs between the battery pack and
your speed control, go ahead and connect them now.
❑ Step 4 Turn on the ON/OFF switch on the electronic speed
control.
❑ Step 5 Follow your speed control manufacturers instructions
for adjusting your ESC.
Note: Most speed controls can now be
adjusted with the motor connected. Check to make sure that
yours does not need the motor disconnected to make the
correct adjustments.
❑ Step 6 Move your steering control on the transmitter (either
your stick or your wheel) to the left. Do the front wheels also turn
to the left? If not you will have to locate the steering servo
reversing switch and move it to the opposite position. Check
your radio manual to locate this switch and follow their instruc-
tions to change the switch position. Recheck your changes to
make sure they are correct so that both the transmitter and
wheels move to the left.
❑ Step 7 Now we can check the centering on the steering servo
saver. Turn the car around so you can see the servo saver
facing you. Is the servo saver pointing straight down? If not you
can use the steering trim feature on the transmitter to adjust
until it does point straight down. If the trim is off by more than
a few degrees, you will not be able to solve this problem with the
trim feature. To correct, remove the servo saver and rotate the
mounting position one spline in the direction you need to go.
Now again use the trim feature to center the servo saver.
❑ Step 8 With the servo saver correctly centered, see if the
wheels are pointing straight ahead? If they are off use the two
steering tie-rods to adjust the toe-in/toe-out until you have both
wheels pointing straight ahead. This will be 0° of toe-in on both
sides.
❑ Step 9 Now check the starting diff adjustment. Hold both rear
wheels in your hands. Take the thumb and first finger of your
right hand and try and rotate the spur gear. The spur gear
should be able to move, but with some effort. If it feels too easy
to rotate use your 11/32” nut driver or socket to turn the #4185
nylon locknut on the axle clockwise a few degrees. Keep in
mind it only takes very small increments on the axle locknut to
adjust the diff tension. This will be enough for now until you can
try the settings on the surface you will be running on.
❑ Step 10 Turn your speed control ON/OFF switch off.
❑ Step 11 Now you can turn the transmitter switch off. Remem-
ber: the transmitter switch will always be the first thing
turned on and the last thing turned off.