TH-1040-CT Page 3 of 6
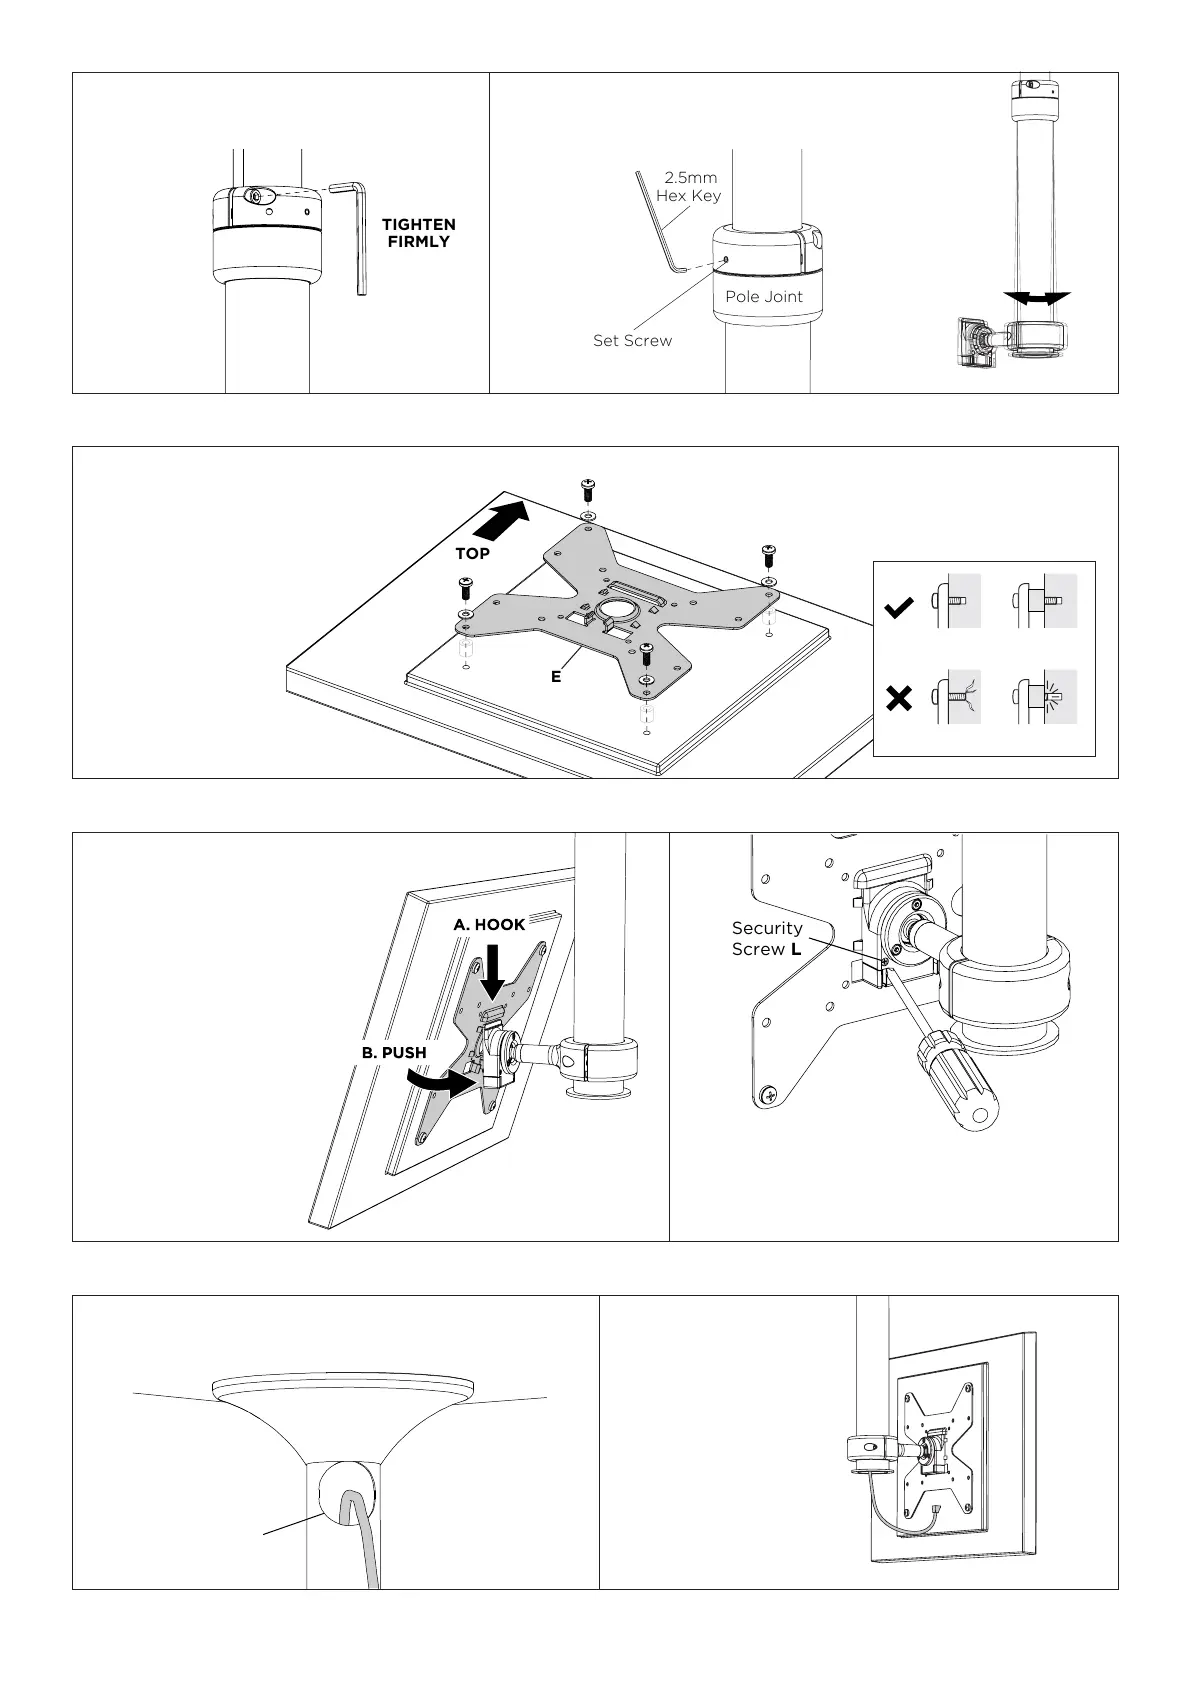
7.1. Angle the display and
hook the slot on the VESA
Plate E to the Ball Mount
on the Pole Assembly A.
Press the buttons on either
side of the Ball Mount
and gently apply pressure
to the lower half of the
display to ensure the VESA
Plateisrmlyattachedthe
to the Ball Mount. It should
sit parallel on the ball
mount.
7.2. (OPTIONAL) Insert Security Screw L using
Phillips head screwdriver.
7. Attach display to Pole Assembly
Set Screw
Pole Joint
2.5mm
Hex Key
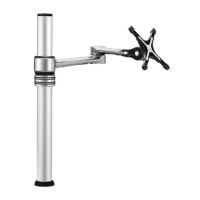
5.3. Tighten the socket cap
screws (x2) to set the height.
5.4.Ifnecessary,usethesetscrewsoneithersideofthe
pole joint to correct the alignment of the lower pole.
6. Attach VESA Plate to display
Cable
Access Port
8.1. Feed cables down the Pole Assembly
through the cable access port.
8.2. Pull cables out
from lower half of the
Pole Assembly and
connect to display.
8. Cable management
Flush
Too long Too short
Spacer
NOTE:
• Always use a washer.
• Ensure the display brackets are
not loose and screws are not
forced too deep into the display.
• If spacers are
needed, use the
shortest possible
combination
between the
display bracket
and the display.
 Loading...