— 11 —
Structural installation
Rear cover Remove
1. Pull out power cord from power
socket.
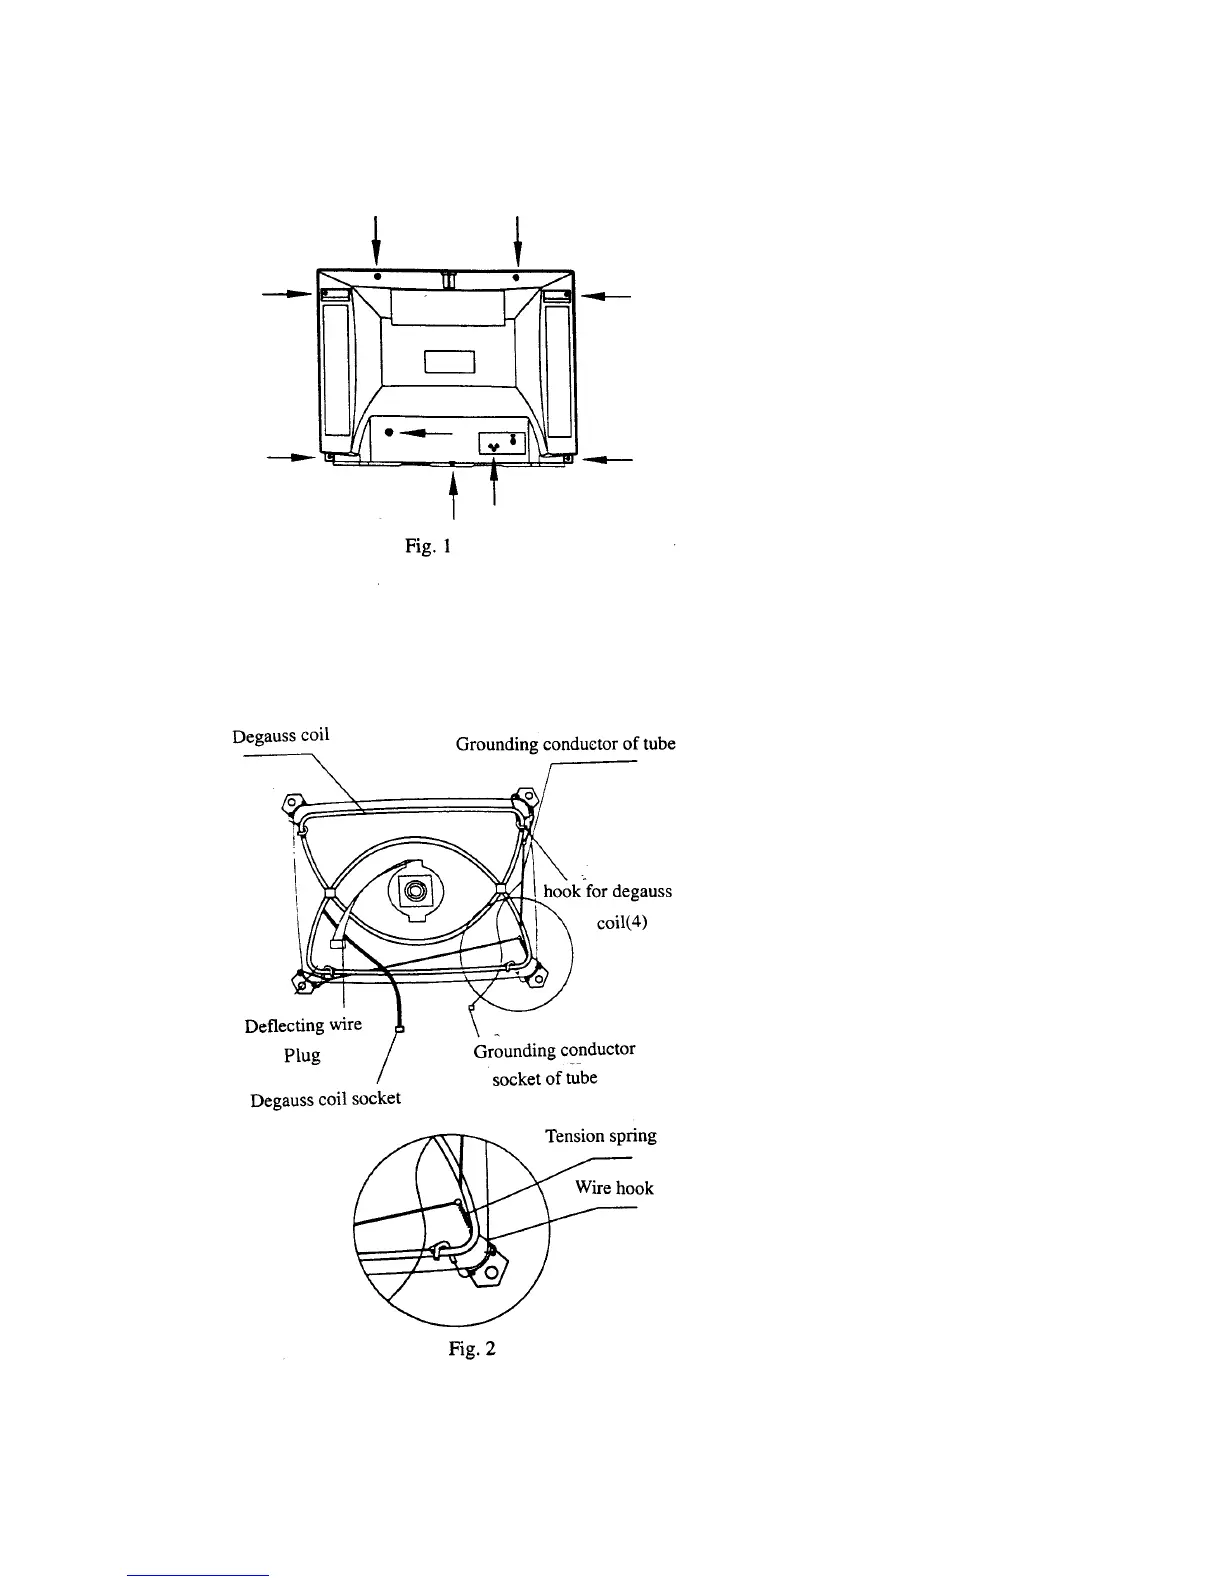
2. Remove nine screws as the figure 1
shown.
3. Gently pull out the rear cover from
the front cabinet.
Chassis Remove
1. Remove the rear cover.
2. Discharge the EHT mouth of tube at
first, and remove the EHT cap, gently
pull out the CRT board, pull out the
degauss coil socket, deflecting wire
plug, loudspeaker plug, grounding
conductor socket of tube, and clips of
power cord.
3. Carefully pull out the chassis from
the front cabinet.
Tube Remove
Warning:
Don’t move the deflecting coil and
magnetic body on the neck of tube,
must carefully keep those parts in good
condition, except the CRT is damaged.
The CRT surface discharge should be
made before disassembling.
1. Remove chassis.
2. Put the front cabinet with tube
downward, lay it down on a soft
table-board.
3. Unscrew four combined nuts on
ear-ring of tube with a special socket
spanner, carefully handle out the tube
from front cabinet.
4. Install the tube according to the
opposite procedure of that mentioned
above. properly install the degauss coil
and grounding conductor of tube onto
the tube as fig. 2 shown.