Step Action
2 On compressors equipped with a PDP sensor, close the valve to this sensor. If the
compressor runs with the dryer by-passed without closing the valve to the PDP sensor,
the sensor will be damaged.
Close the dryer inlet and outlet valves (Vdi and Vdo) and open the dryer by-pass valve
(Vdb).
3 Start and load the compressor.
4 Open the dryer inlet valve (Vdi) slightly to pressurize the dryer.
5 Open the regeneration air valve (Vr) fully. Open the air outlet valve (Vdo) and close the
by-pass valve (Vdb).
6 Open valves (1 and Vd-). Open valve (Vd+) slightly, while monitoring the water levels in
the U-tube.
There are two possible conditions:
• The water level in the leg marked (+) rises. Close valve (Vd+) at once, decrease
the regeneration air inlet pressure (see step 7). Do this as often as necessary until
the water level drops.
• The water level in the leg marked (-) rises, which should normally be the case. If
the level in this leg rises 30 mm above the level in the leg marked (+), close valve
(Vd+) at once, as there is a risk that the water will escape the U-tube and
disappear into the pressure vessel. Increase the regeneration air inlet pressure
(see step 7) and open valve (Vd+) again.
7 Once the water column has stabilized, adjust the pressure differential as follows:
• Remove the protective cap from the adjusting screw of throttle valve (Rf).
• Loosen its check nut and turn the screw inwards to increase or outwards to
decrease the pressure differential.
• The water level in the leg marked (-) must be between 20 and 40 mm above that in
the leg marked (+).
• Monitor the water level for about 10 minutes.
• Tighten the check nut and reinstall the protective cap.
• Check that the moisture indicator is blue after approximately 30 minutes of
operation. If the moisture indicator is still pink after 2 hours of operation, the
pressure dewpoint is too high.
8 Stop the compressor.
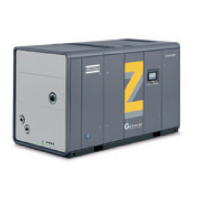
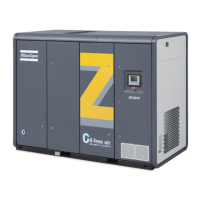
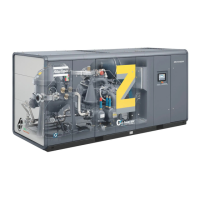
Adjustments for Full-Feature compressors for ZR/ZT 160 up 275
Always wear heat-resistant gloves and long-sleeved shirts when carrying out the
instructions below.
Instruction book
254 2920 1815 04

 Loading...


