Hot Water on Demand
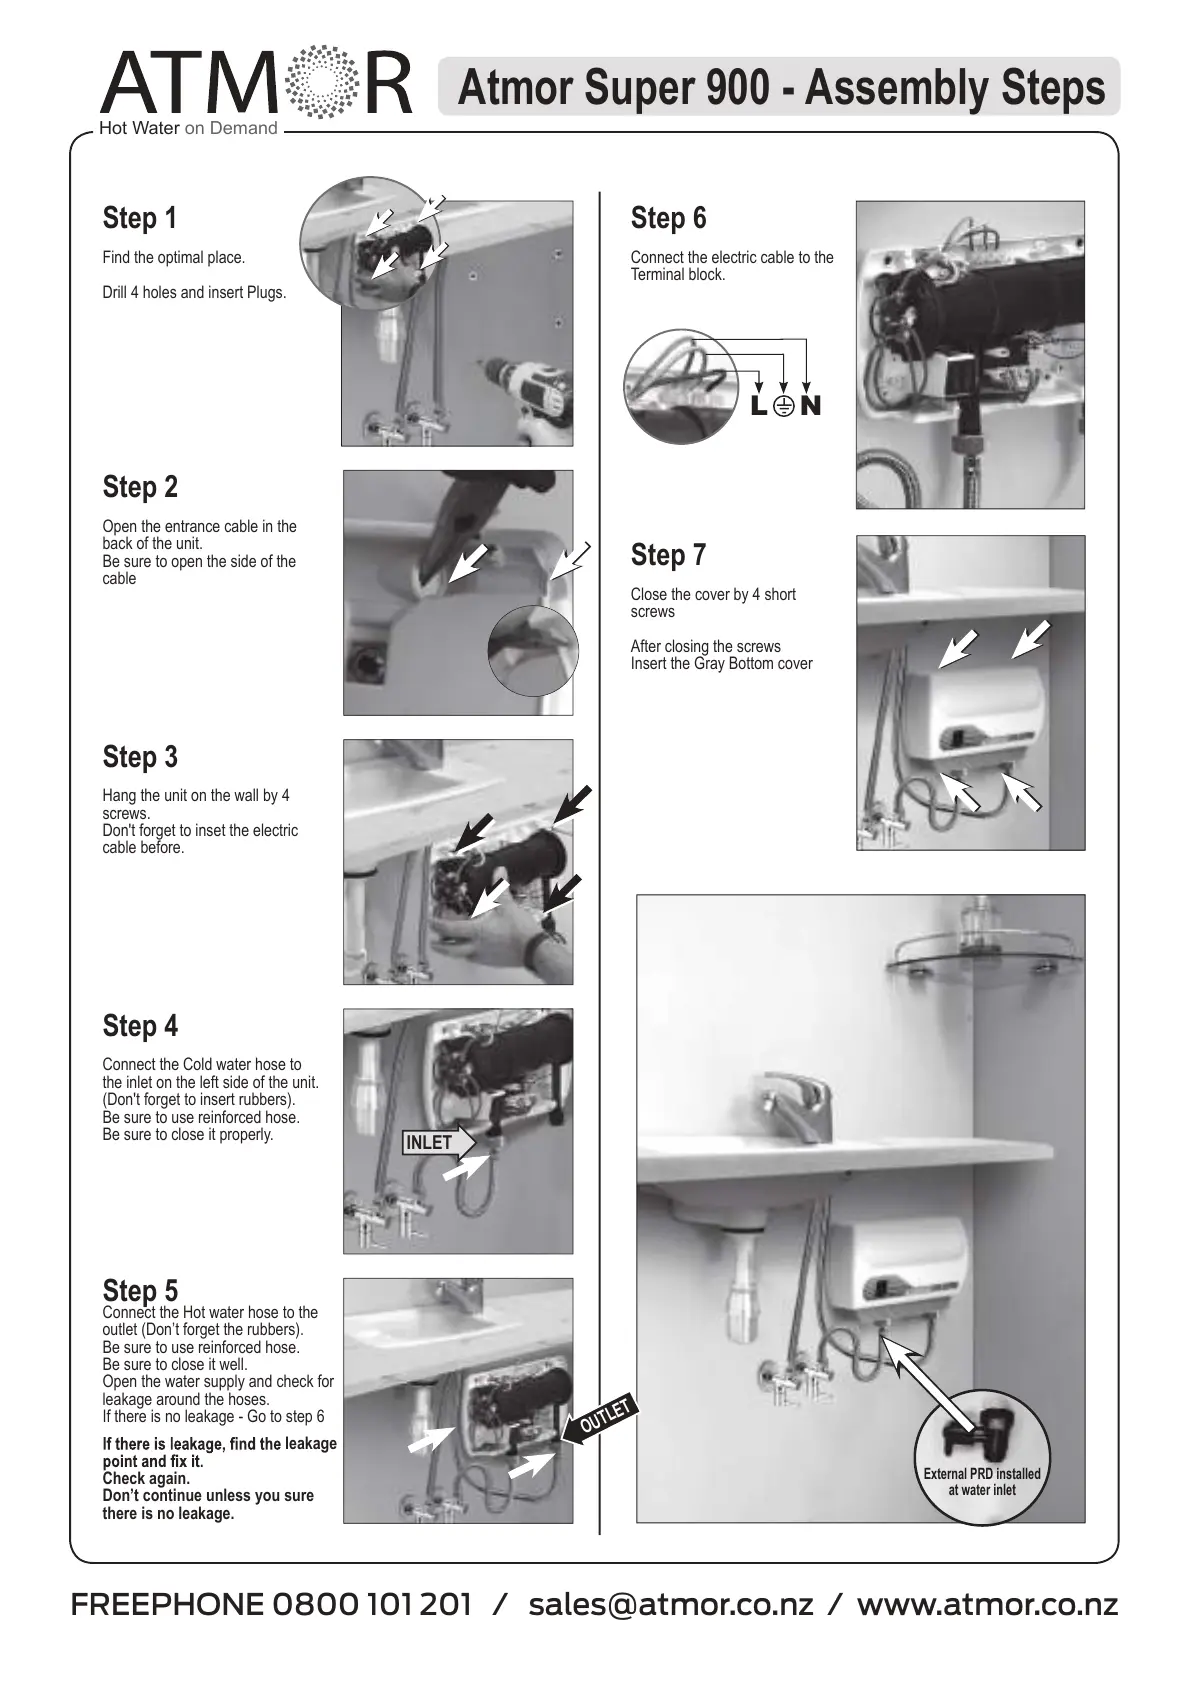
Step 4
Connect the Cold water hose to
the inlet on the left side of the unit.
(Don't forget to insert rubbers).
Be sure to use reinforced hose.
Be sure to close it properly.
Step 1
Find the optimal place.
Drill 4 holes and insert Plugs.
Step 2
Open the entrance cable in the
back of the unit.
Be sure to open the side of the
cable
Step 3
Hang the unit on the wall by 4
screws.
Don't forget to inset the electric
cable before.
Step 5
Connect the Hot water hose to the
outlet (Don’t forget the rubbers).
Be sure to use reinforced hose.
Be sure to close it well.
Open the water supply and check for
leakage around the hoses.
If there is no leakage - Go to step 6
leakage
Check again.
Don’t continue unless you sure
there is no leakage.
Step 6
Connect the electric cable to the
Terminal block.
Step 7
Close the cover by 4 short
screws
After closing the screws
Insert the Gray Bottom cover
NL
OUTLET
INLET
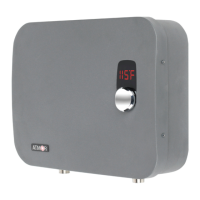
Atmor Super 900 - Assembly Steps
FREEPHONE 0800 101 201 / sales@atmor.co.nz / www.atmor.co.nz