K
Kevin GreenAug 4, 2025
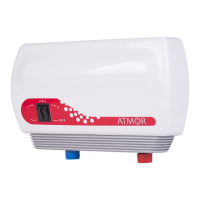
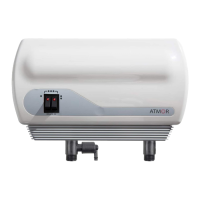
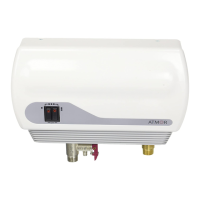
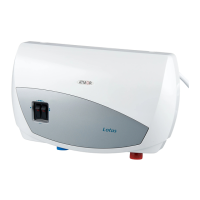
What to do if my Atmor InLine 800 Water Heater shuts off during use?
- KKatherine VelezAug 5, 2025
If your Atmor Water Heater shuts off during use, check the incoming power supply, MCB, switches, and supply cabling. If the problem persists after checking these, call your local authorized distributor for assistance.