2-5
5. The shoes can also be adjusted for different mounting positions.
Toremoveshoeunscrewthetwoscrews(4)andplaceshoein
desired position.
6. Place the scope onto rail. Be sure to engage the recoil lug into
the groove on the top mounting surface of the rifle.
7.Turnthecamforwardpushingthelatchtoclosethemount.
8. The QRM may be adjusted to eliminate excessive play when
mounted on the rail by using the provi ded wrench ( 5 ) to increase /
decrease the cam latch nut (6).
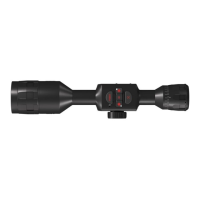
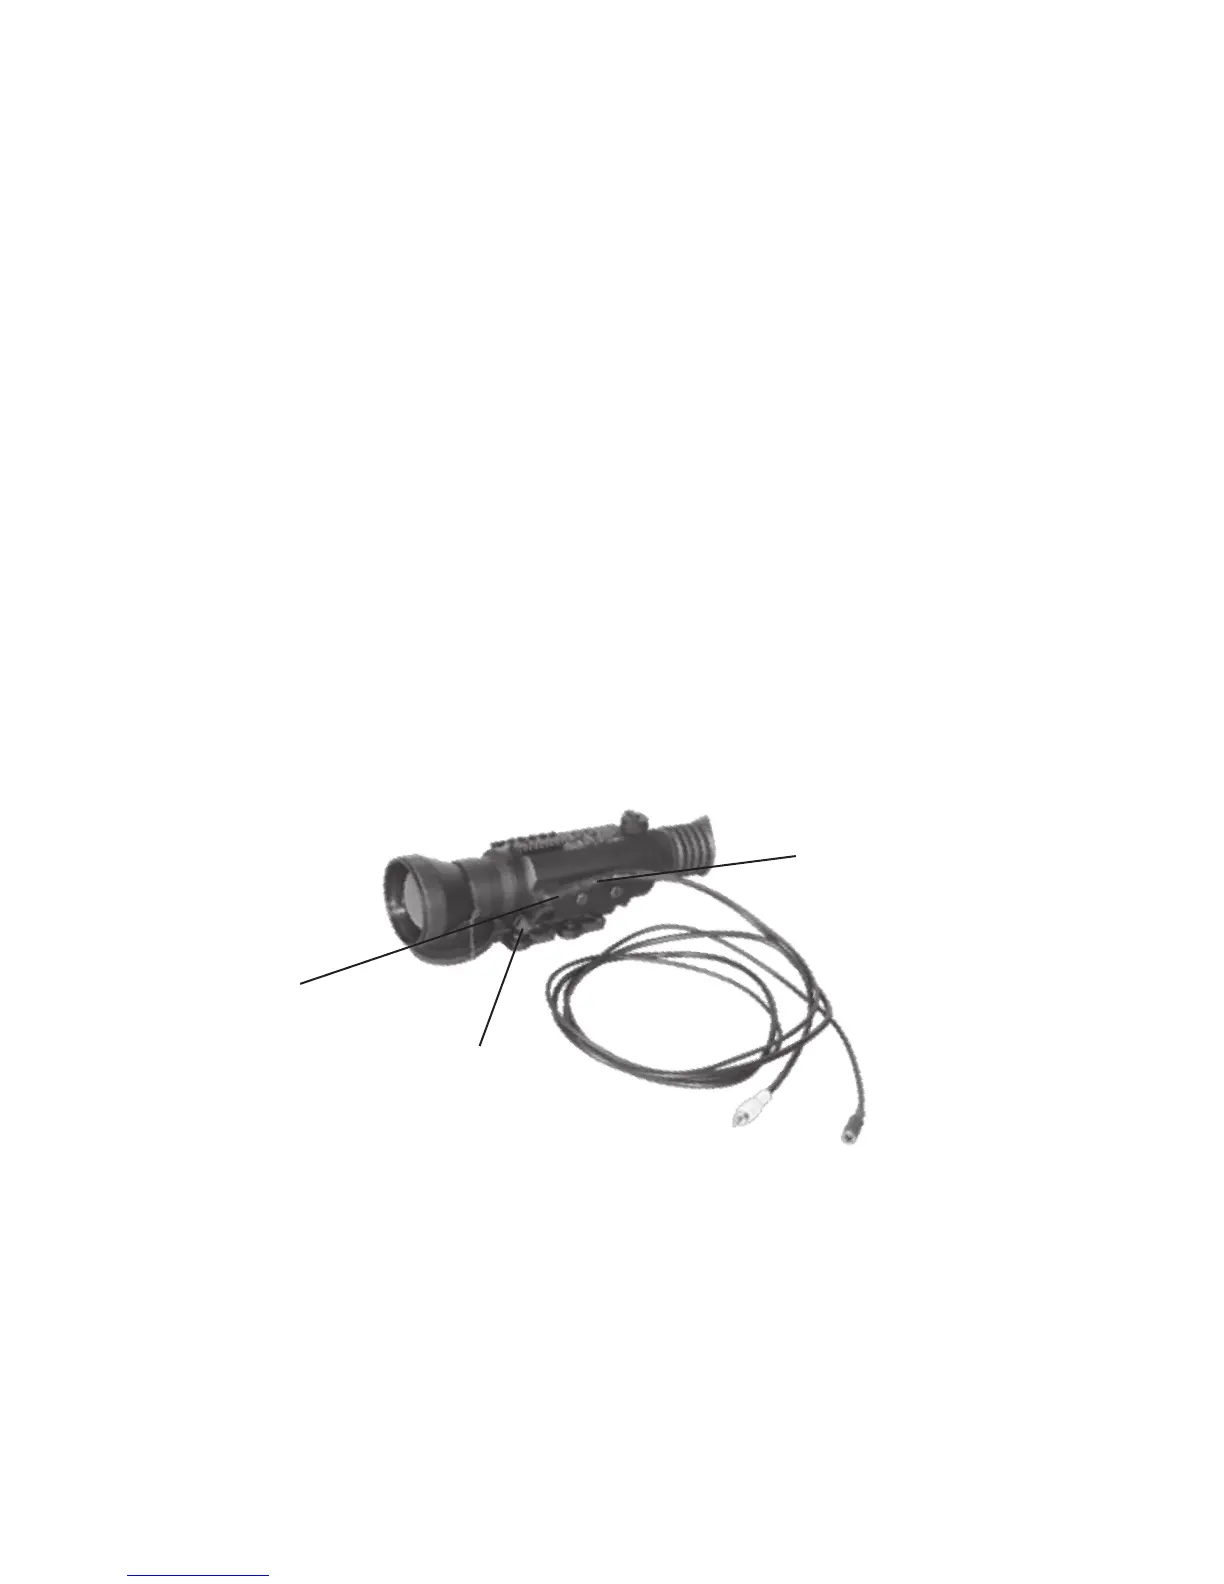
2.2.2. VIDEO OUTPUT
The ThOR incorporates a sealed connector used for video trans-
mission and to connect external power sources. RCA video/power
adapter at taches the scope to the video facilities for video recording
or video transmission (1) to the external display, though at the same
time it accepts the external power supply(2).
Connect the scope to an external video display/recorder and to an
external power supply as follows:
FIGURE 2-4. THOR WITH VIDEO CABLE
1. Remove the batteries.
2. Remove the protective cap from the connector socket.
3. Attach the video cable to the
ThOR
output connector socket.
4.AttachtheRCAplugoftheRCAvideo/poweradaptertoacom-
patible jack on an external video display/recorder, or extension
cable.
1
2
CONNECTORSOCKET
CABLE CONNECTOR
PROTECTIVE CAP
 Loading...