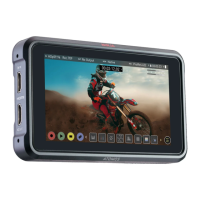
6 NINJA V - Quick Start Guide
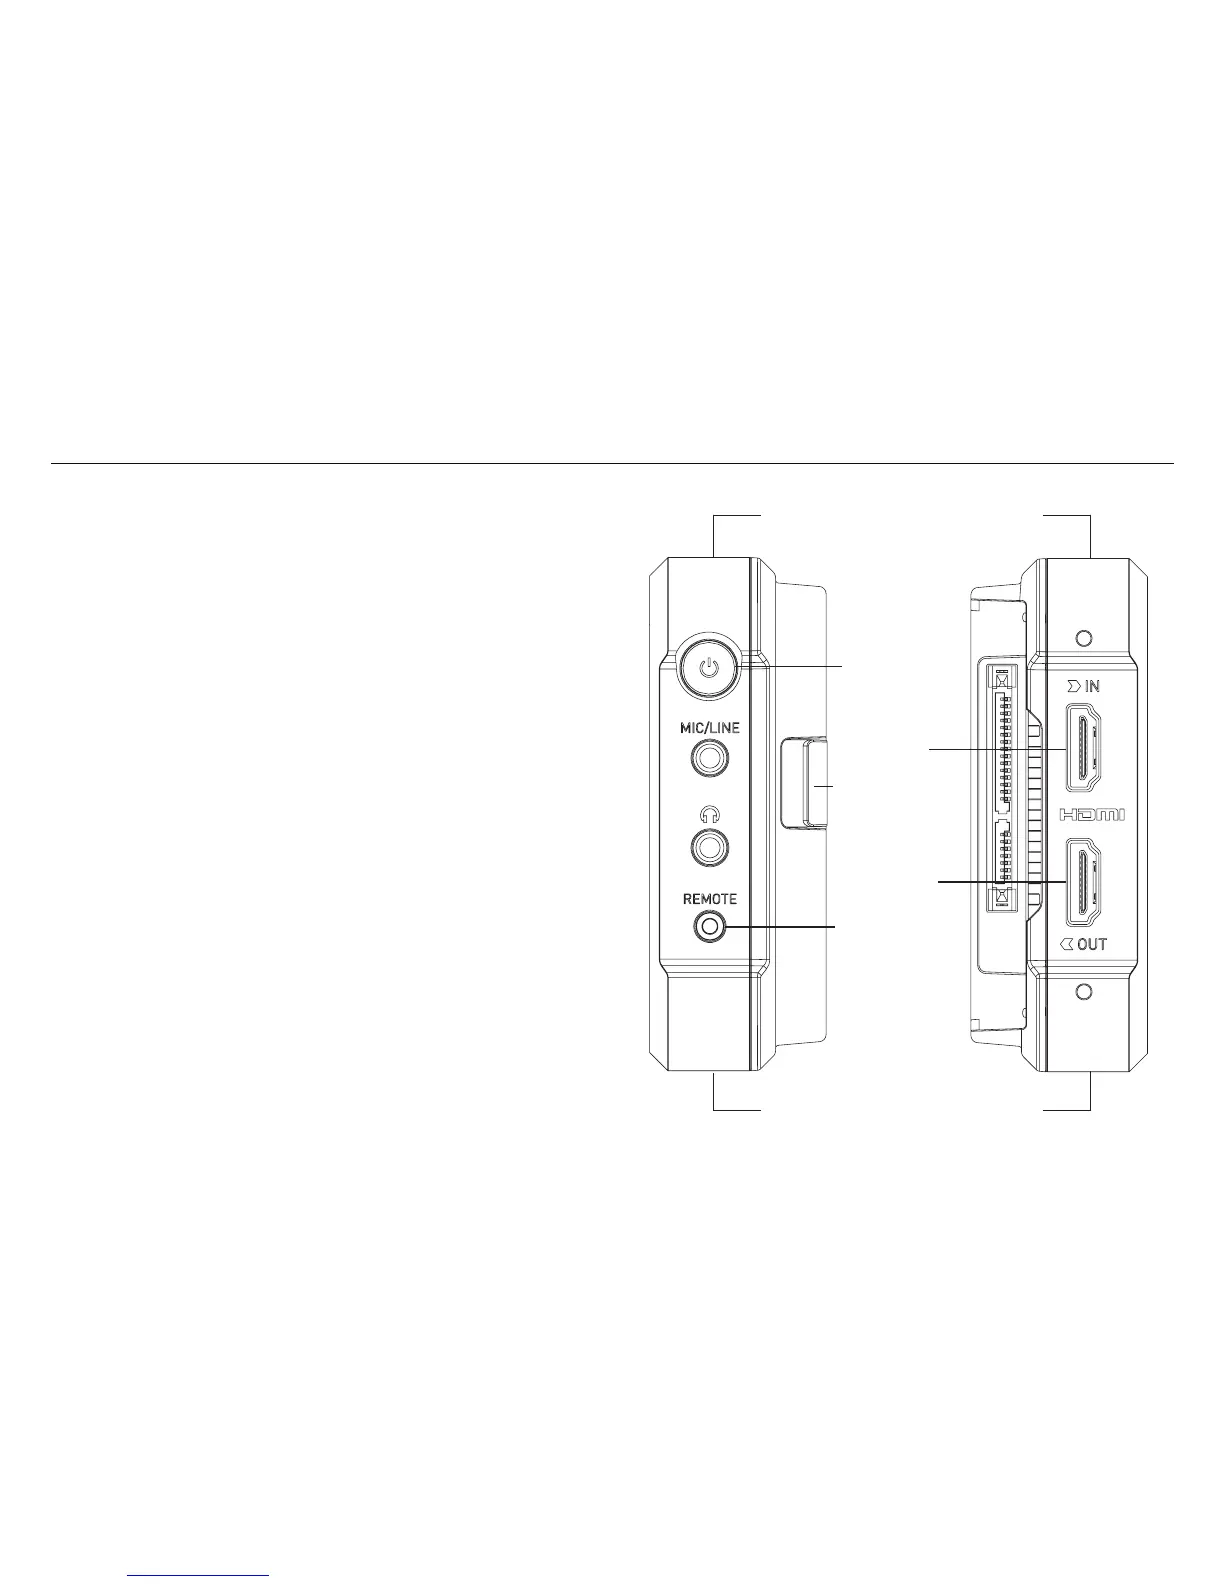
a. On/O and Screen Lock
To turn the Ninja V on, press the power button on the side of the unit.
To shut down, hold the button for at least 4 seconds (until unit turns off).
b. Remote Control/LANC and Calibration
Optionally control the Ninja V using LANC/Remote from your camera.
Additionally, the Ninja V screen can be calibrated using the X-Rite
i1Display Pro. To connect you will need a USB to serial cable. Refer to
the AtomX accessory range. USB to serial cable (ATOMCAB004).
c. HDMI In/Out
HDMI input connection used to record to the Ninja V supports up to
4Kp60. HDMI Output connection provides a live loop out or play out
when in Playback mode. Supports up to 4Kp60.
d. Battery Release Button
Press the release button and slide battery away from unit to remove.
e. Tally Light
Red Tally light on the rear of the unit indicates active recording.
The Tally Light can be turned off in the menu options.
f. Screw Holes / Mounts + Locking Pin Holes (Arri)
3/8” screw hole with 1/4” adapter. Top and bottom.
g. Disk Slot
The NinjaV is compatible with Master Caddy II media and also the
latest AtomX SSDmini.
Physical features
f. 3/8” screw hole with 1/4” adapter
f. 3/8” screw hole with 1/4” adapter
a.On/Off and
Screen
Lock
c. HDMI In
c. HDMI Out
b. Remote
d. Battery
release