S t e p 1
Installation Manual:
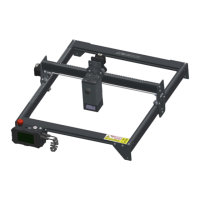
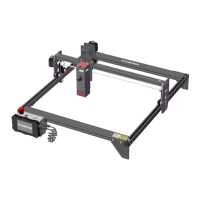
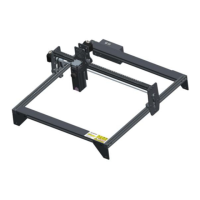
1. Find the four large profiles in the picture
above, place the four profiles as shown, and
pay attention to the direction of the profiles.
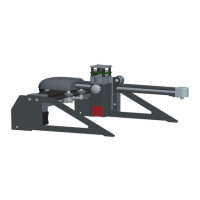
2. Tighten the M5 screw in the shaft, and
judge whether you have installed it correctly
through the enlarged view details.
Nota:
a. Place the screws, but do not tighten them.
b. Then tighten the screws diagonally.
c. Tools required, M5 Allen key+M5 screws.
L
o
g
o
s
i
d
e
u
p
The hole side faces
outward
Cut side
outward
X
Y
Tick mark font
direction
Step1 Required components: