11
Installation der Luftführungshaube
für acht Modelle
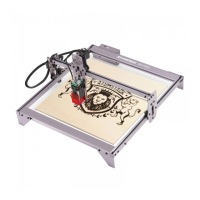
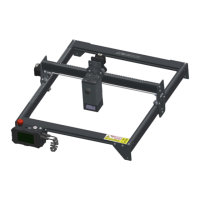
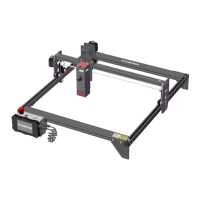
Atomstack A5
M50 Pro
AtomStack P9 M40
Atomstack X7 Pro
AtomStack P9
M50
AtomStack A10 PRO Atomstack A5 M50 Atomstack S10 Pro Atomstack X7
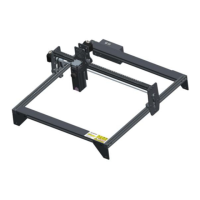
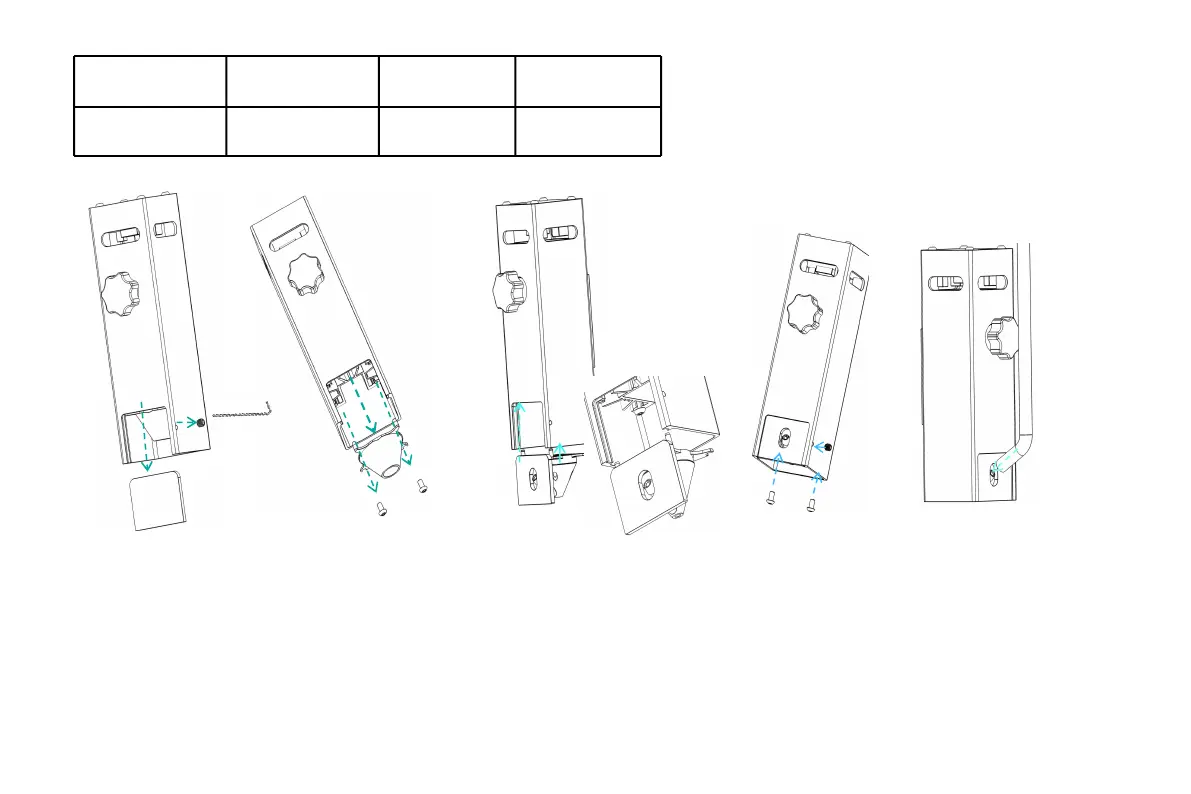
1. Entfernen Sie die
Feststellschraube von der
rechten Seite des Lasers
und entfernen Sie das
aktuelle Filterglas oder die
Acrylabschirmung.
2. Entfernen Sie die
aktuelle Luftführung.
3. Suchen Sie NO.1 und NO.1-2
aus dem Zubehör und installieren
Sie sie gleichzeitig wie gezeigt.
4. Befestigen Sie die
Luftführung sowie
das Filterglas.
5. Setzen Sie das Rohr ein.