Now install the counterweight. With the black stylus force gauge facing forward, screw the
counterweight onto the back of the tone arm. Then, if you intend to use the dust cover, slip its
hinges into the slots on the back of the turntable and slide the cover into place on the hinges.
Once you have all that taken care of, you can move on to the important matter of balancing the
tone arm. This will help ensure that the cartridge tracks properly and that the stylus won’t wear
prematurely or damage your records. To get started set the anti-skate dial to 0.
Remove the protective cover from the stylus by sliding it straight forward off the front of the
cartridge. Take hold of the headshell and then release the tone arm’s locking clamp. The tone
arm will be unbalanced at this point, so take care not to damage the stylus by letting it come into
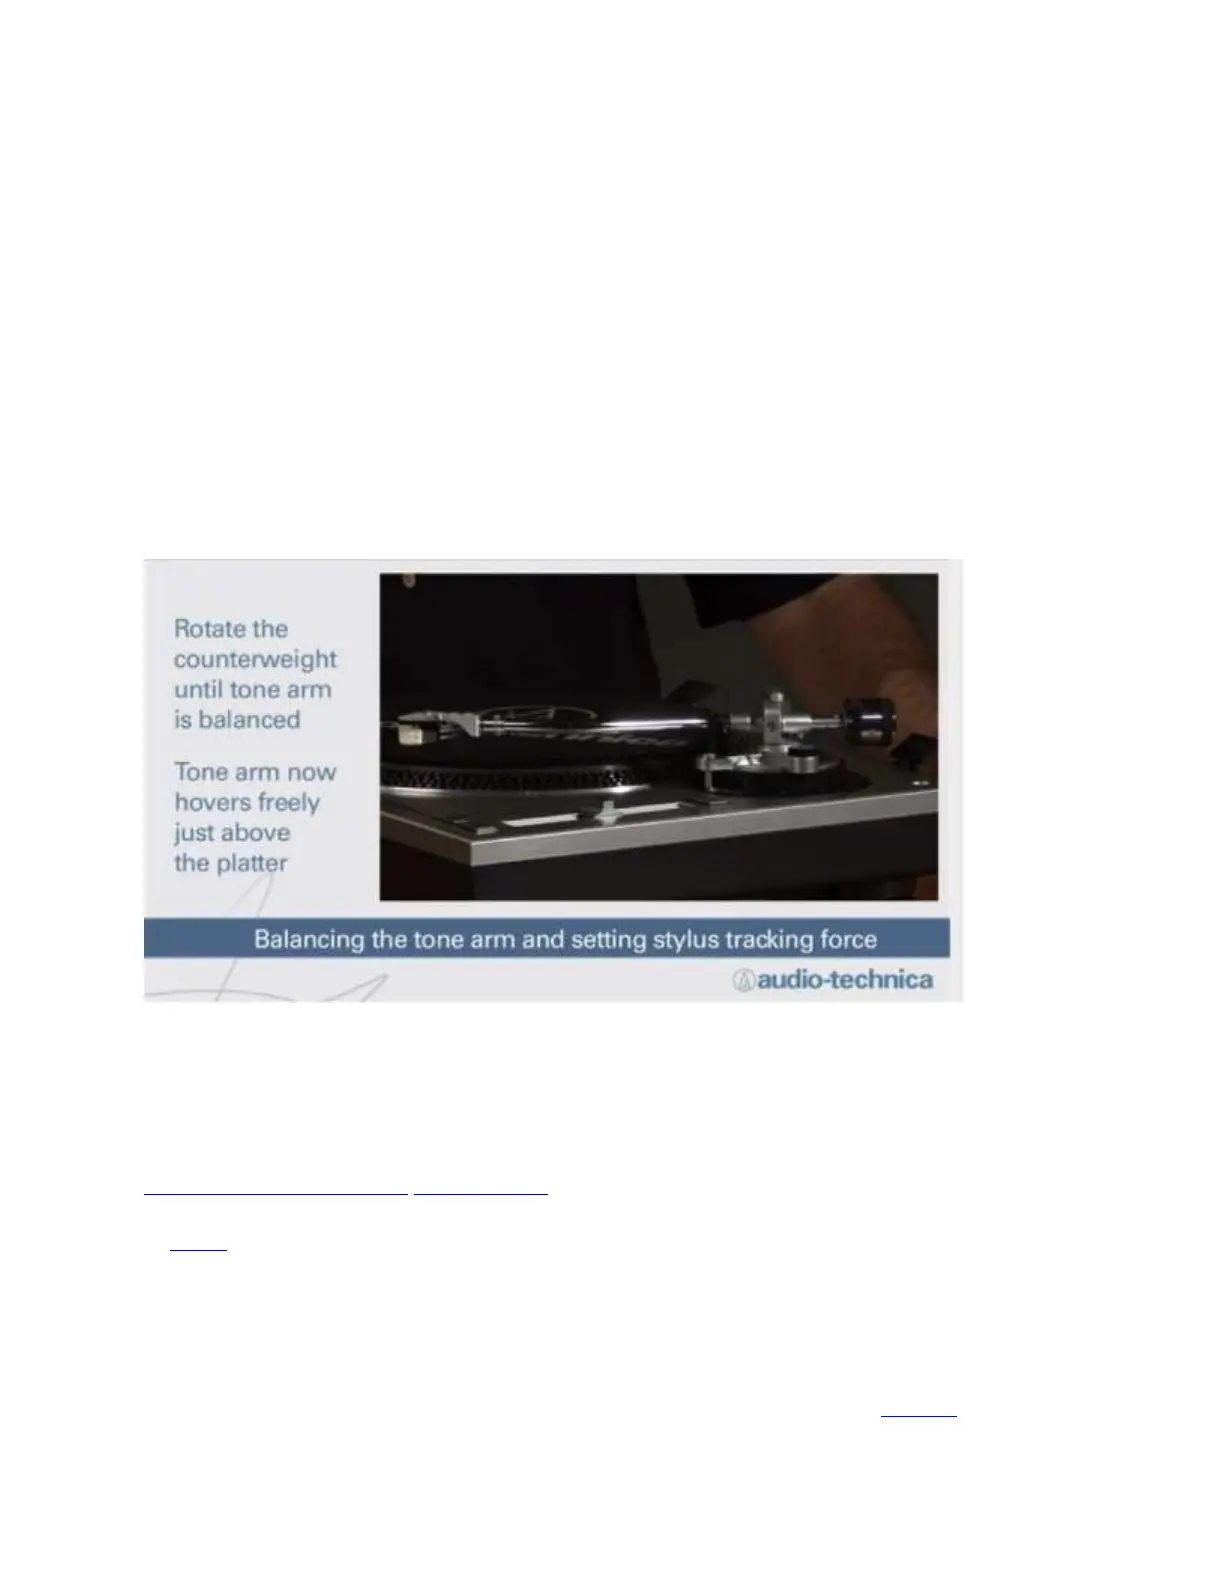
contact with the slip mat (or anything else). While continuing to gently hold the headshell, rotate
the counterweight until the tone arm is horizontally balanced – it should hover just above the
platter. Once this is done, lock the tone arm back in place on its rest.
Setting Up the AT-LP120-USB Turntable –
Part 2
01.15.2015Audio-Technica 37 Comments
In Part 1, we told you how to install the headshell and counterweight, and how to balance the
tone arm. Now it’s time to set the stylus tracking force. Setting the force properly will keep the
stylus from skipping out of the record groove at especially dynamic musical passages (too little
force) and prevent excessive wear to stylus and records (too much force).
The recommended force varies from cartridge to cartridge, so first you need to determine which
cartridge you’re dealing with. The AT-LP120-USB currently comes with an AT95E cartridge

 Loading...