Initial Setup
Assembling the Turntable
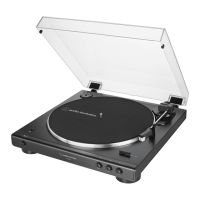
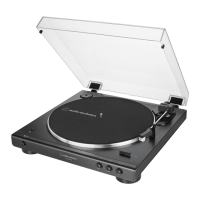
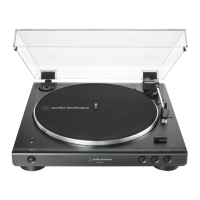
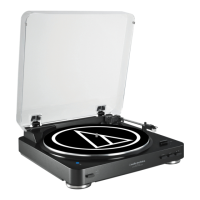
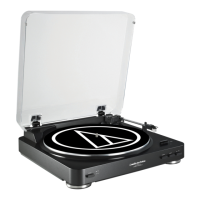
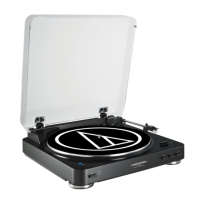
The AT-LP60 requires some assembly before first use. IMPORTANT:
Do not connect the AC power cord until assembly is complete.
1. Carefully place the turntable platter on the center spindle,
making certain the platter is fully seated on the spindle.
2. While holding both ends of the red tape ribbon on the
turntable belt, carefully pull the belt over the brass motor
pulley (Fig. 2a). (If the belt drops off, remove the turntable
platter and put the belt back on it, as described on page 7.)
3. Once the belt is seated in the pulley’s groove, carefully
remove the ribbon. Make certain the belt is not twisted.
NOTE: If belt is not correctly positioned around the motor
pulley, the turntable will not operate. Please double-check
to make sure that the belt is positioned correctly.
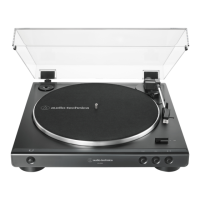
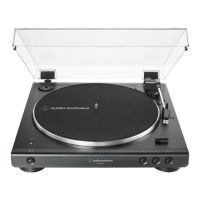
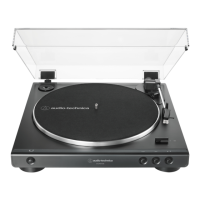
4. Place the turntable mat on top of the turntable platter (Fig. 2b).
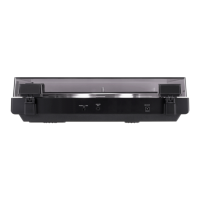
5. If desired, the hinged dust cover may be removed. Hold both
sides of the dust cover and pull upward gently and evenly to
detach the cover from the turntable (Fig. 2c). Keep the cover
in a safe, clean place.
6. To re-install the dust cover, guide the dust cover hinges into
the two hinge receptacles located at the back of the turntable
housing.
2b – Record mat
2c – Dust cover removal
Figure 2 – Assembling the turntable
2a – Drive belt
Red ribbon
Motor pulley (brass colored)
Motor pulley
Drive belt
4
 Loading...