Programming with Choreograph
Dragging the output icon onto the timeline opens a
dialog box, asking for a specific electronic output pin and a
value. When the toolpath is executed and this waypoint is
reached, your chosen signal will be sent to this pin.
Some tools require signals from more than one pin to take
action. For instance, a gripper might open when it receives
a 0 at [input a] and a 1 at [input b]; and close when it
receives a 1 at [input a] and a 0 at [input b].
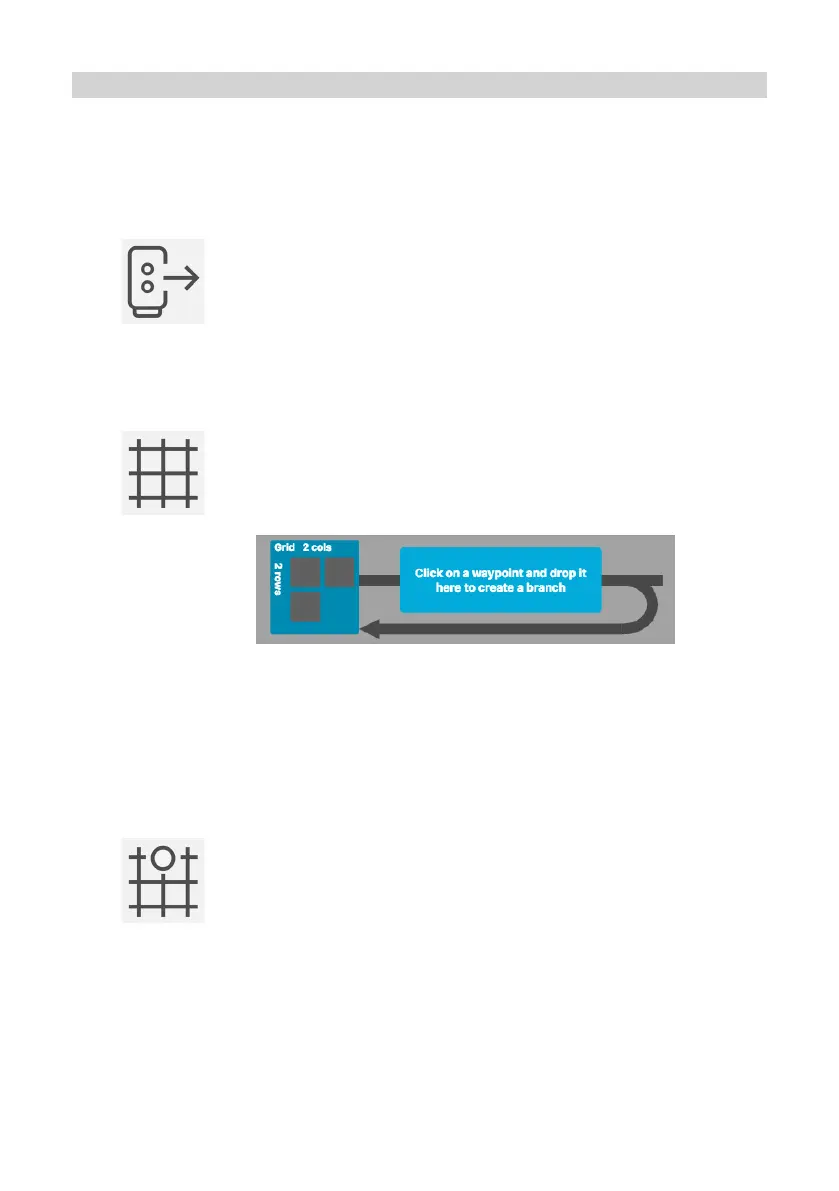
Dragging the grid icon onto the timeline opens a dialog
box, asking for the number of rows and columns in your
grid. This creates a new grid loop:
Drag a grid waypoint from the special waypoints toolbar
onto the higher branch of the grid loop to specify the point
in time when the robot should move to a grid position.
When the toolpath is executed, the loop will be repeated
the same number of times as grid positions (eg: a 3x3 grid
will iterate 9 times). In each iteration, the grid waypoint
specifies a new position, completing each row before
moving to the next.
Right click on a grid waypoint to modify its properties, including specifying a
z offset. This function sets the waypoint to a position a certain number of milli-
metres above the grid position (or below if using a negative value).
Drag additional waypoints to the grid loop to complete the toolpath.
There are always three slots in the grid properties function. Fill these slots with
waypoints to specify the first position of the grid, the final position on the first row, and
the first position on the final row. A plane will appear in the 3D workspace to visually
represent the new grid.
Communicating with other devices
15