4. Power Input
5. USB x 2
6. Ethernet
Head Interface
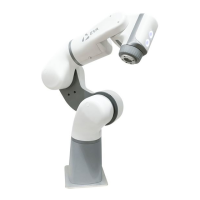
Eva’s head features two control buttons and a tool port.
Control Buttons
Plug Eva into an RCD-protected ordinary mains socket with the provided
power supply. It has the following specifications:
Meanwell GST280A24 - C6P
100-240 VAC
50/60 Hz
Output: 24 V, 11.67 A, 280 W MAX
These ports are not in use, and are reserved for future expansion.
This port is used to connect the robot to a local area network, or directly to a
computer or another controller. It uses a standard RJ45 connection and
transfers data at 100 Mbps.
The robot also creates its own wireless access point by default, and after first
time setup it can be configured to connect to your local wifi network with its own
static IP. See Installing the Robot: Powering On and Connecting for more
information.
1. Backdriving Button
Press and hold the button closest to the toolplate to enable backdriving
mode. All robot joints can be manipulated by hand as long as the button
remains depressed.
2. Waypoint Button
Press the button farthest from the toolplate to save the robot’s current
position and orientation as a waypoint. The waypoint will be picked up by
any device with robot ownership.
23