Use this screen to provide credentials for the robot administrator. This user has
the ability to add and remove other users from the robot.
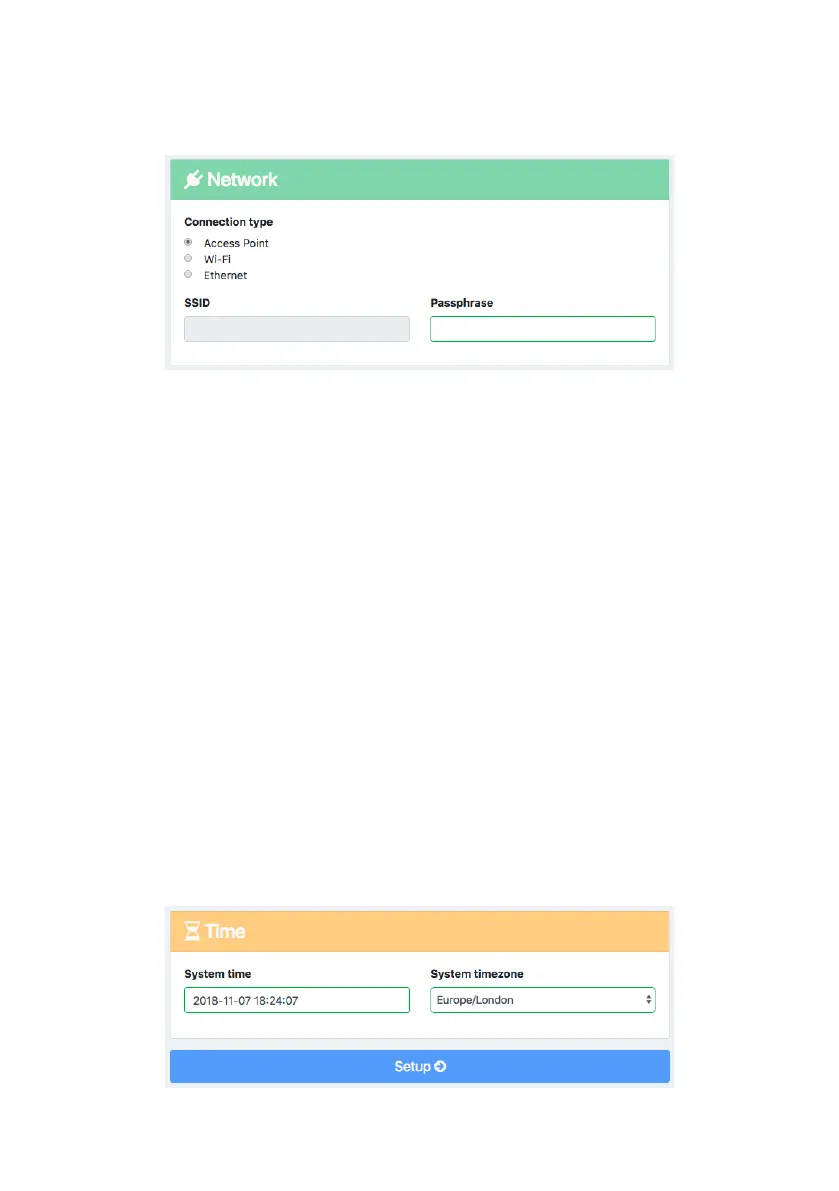
The second part of first time setup allows a connection type to be specified.
Access Point Mode causes the robot to behave like its own wireless network,
with the SSID displayed below. This screen also provides an opportunity to
modify the Passphrase for connecting to this access point. IP settings will be
determined automatically via DHCP.
Wi-Fi Mode causes the robot to behave like a device connected to a local wire-
less network. The user must provide the SSID and Passphrase for the chosen
network. Eva must also be assigned a unique Static IP, and a valid Netmask and
Gateway in order to connect. On a home network, a typical Netmask and
Gateway might be 255.255.255.0 and 192.168.1.1 respectively.
Consult your network admin for advice on the appropriate configuration.
Ethernet Mode is similar to Access Point mode, but the user can specify the IP
settings for the robot when it’s connected to a device or network via ethernet.
Ethernet Mode will ‘remember’ the passphrase set for the wireless access point
in Access Point Mode. Ethernet connections are also possible in Access Point
Mode and Wi-Fi Mode, but IP settings for the robot will return to default.
6