Autostacker™ Parking Lift 57 P/N 5900248 — Rev. B — May 2021
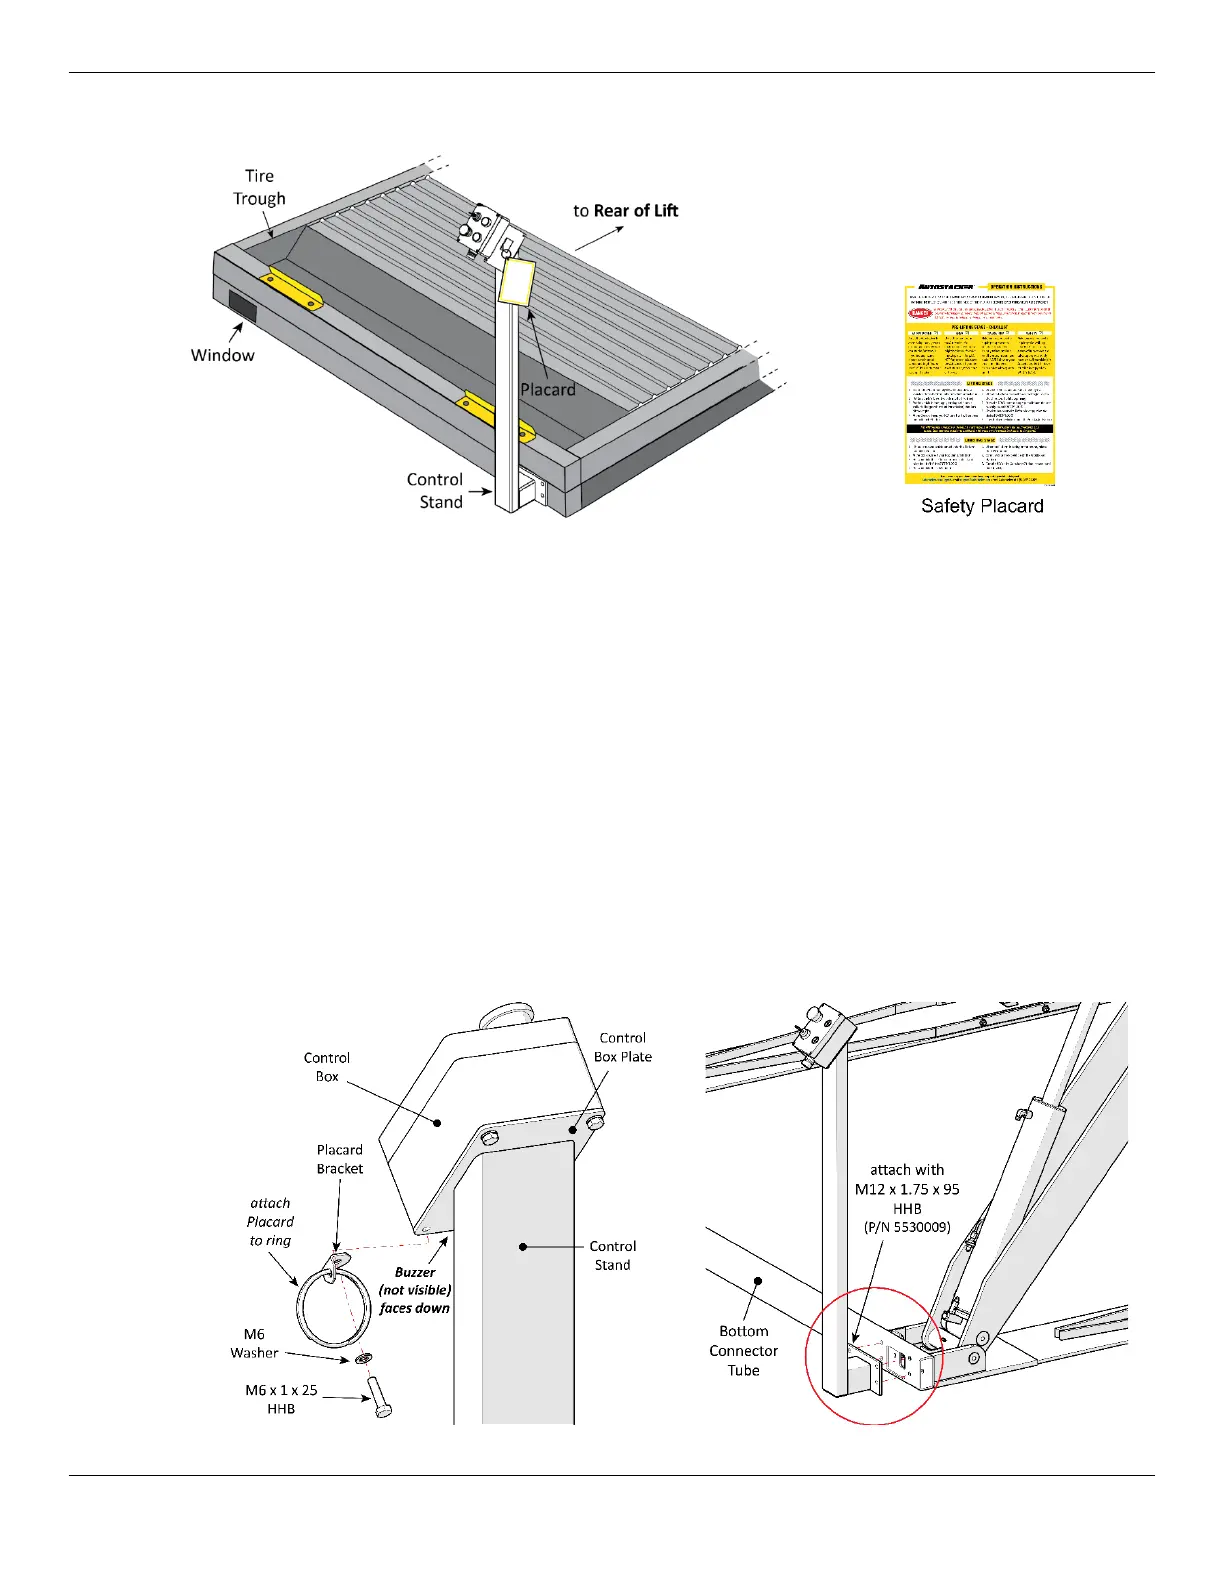
The following drawing shows the Control Stand at the
Front
of the Lift.
Drawing shows the Stand at the
Front of the Lift.
Not necessarily to scale. Not all
components shown.
To install the Control Stand at the
Front
of the Lift:
1. Find the Control Box, Control Stand, and the 3 Electrical Cables from the Control Kit.
2. By the Power Unit, route the 14-6 Cable through the Bottom Connector Tube.
3. Place the Control Stand nearby the selected Window, with the opening at the bottom of the
Control Stand facing towards the Lift.
4. Remove the Screws from the Control Box to have access to the wiring inside.
5. Connect the 14-8 Cable to the Controls, then route the Cables through the Stand.
6. Connect the 16-2 Cable to the two Solenoids on each Lift.
7. Connect the 14-8 to the 14-6 wiring (coming out of the Bottom Connector Tube) using Wire Nuts.
8. Attach the Control Box to the Stand, with the Safety Placard in place.
The following drawing shows the connections to make to the Control Stand.
Top of Control Stand
Bottom of Control Stand