Autostacker™ Parking Lift 62 P/N 5900248 — Rev. B — May 2021
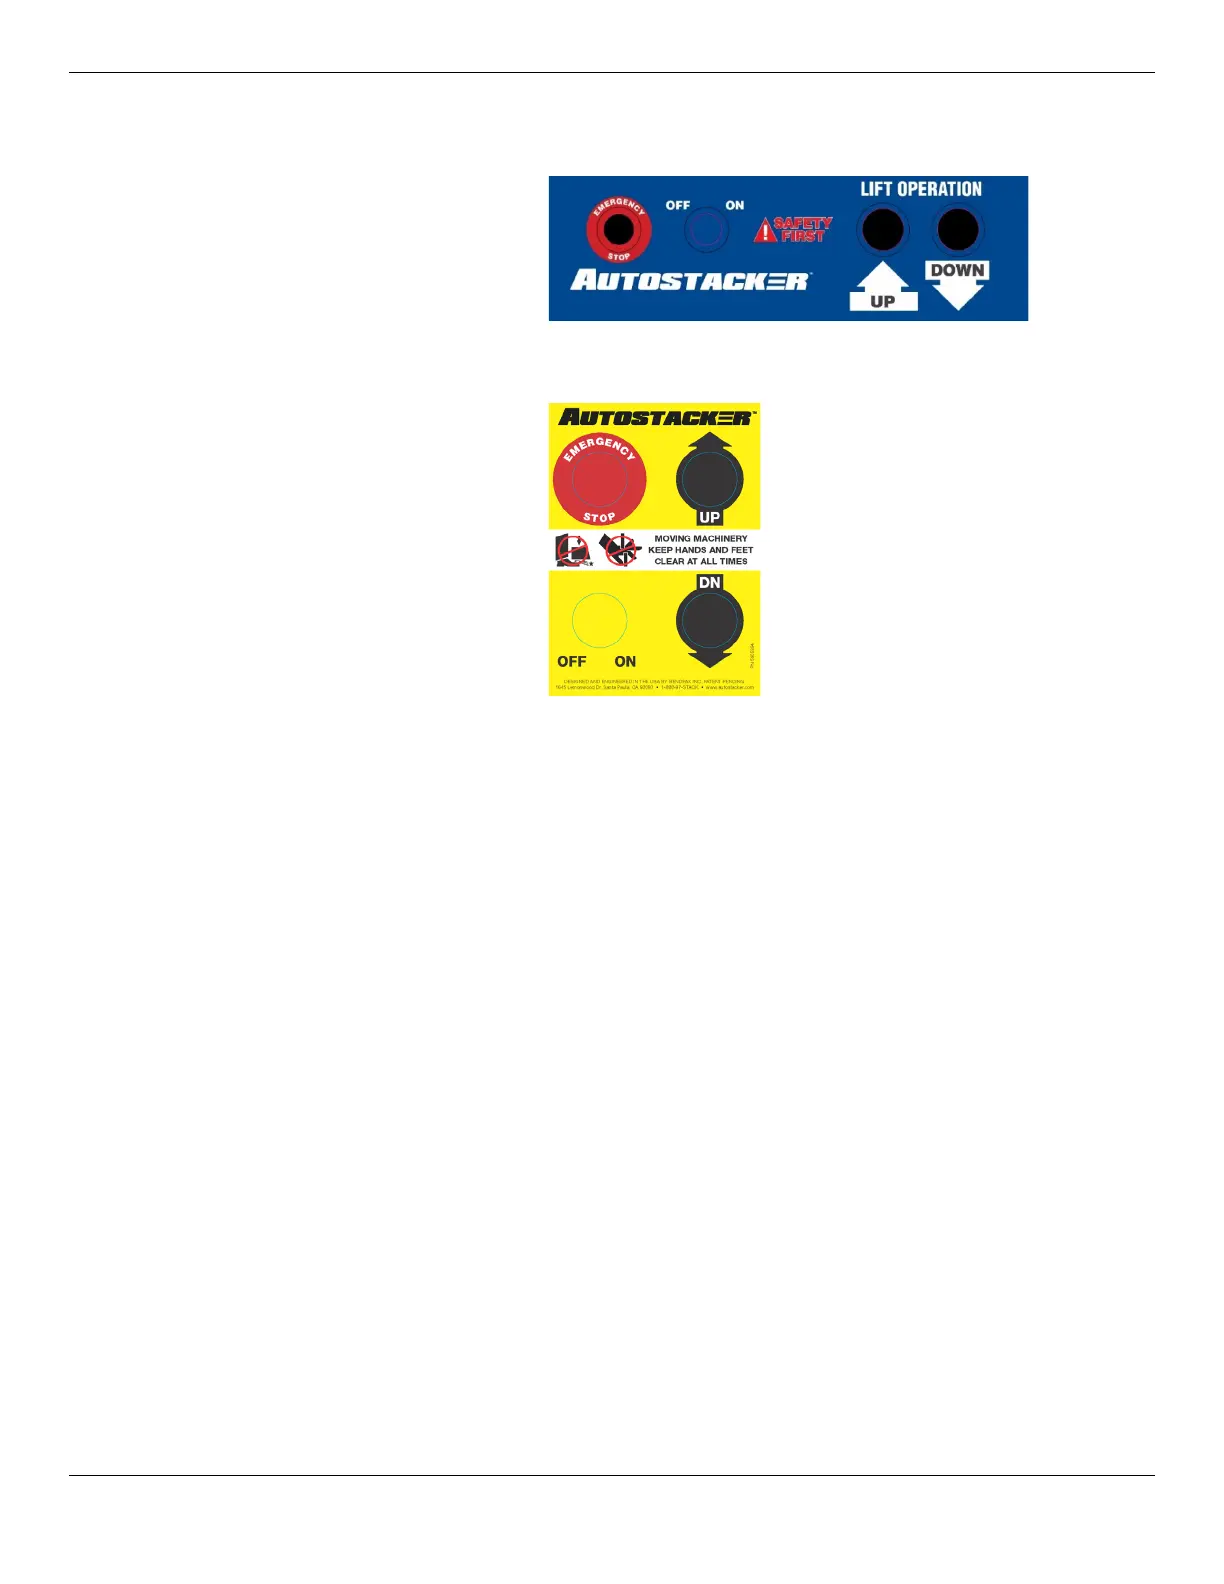
The following graphics show the Controls for a standard Autostacker and the Controls for each Lift in a
Multi-Lift configuration.
The Controls for a
single
Autostacker:
The Controls for
multiple
Autostackers (one per Lift):
Multi-Autostacker Maintenance
In addition to the steps outlined in the maintenance section for a single-Lift configuration, there are a
few extra things to look for:
• Daily. Make sure the electrical connections are covered and protected from all sources of
moisture.
• Monthly. Make sure the Master Power Unit and Reservoir are contaminant-free; if there is debris
in the system, the Lift(s) may not work correctly. Use air or a wire brush to remove debris from the
Power Unit components (for example: the Lowering Valve, which is a component inside the Master
Power Unit).
• Monthly. Raise each Lift to the top Safety Lock and then lower back to the ground, to make sure
the Lifts are working normally.
• Every two months. Check the Control Stand Bolts to make sure they are tight; secure any
loose Bolts.
• Yearly. Have a licensed, certified Electrician come to your site to check all electrical connections.
⚠ DANGER Before performing
any
maintenance on your Autostacker, make sure it is
completely disconnected from power
. If your organization uses
Lockout/Tagout policies, make sure to implement them after connecting to a power
source.
For more information about maintaining your Autostacker, see Maintenance and Outdoor Usage.