13
5. Remove the yellow camshaft clip from the rear top
plate hoop (Figure 12).
Figure 12
6. Disengage the front of the camshaft from the
output gear of the control.
7. Remove the timer locking pin and lift the control
straight up and off of the valve.
8. Reverse the above procedures to reinstall the
camshaft and control.
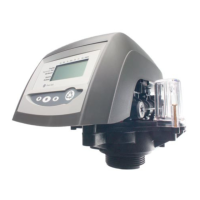
Removing the 940F and 960F Controls For
Servicing
Complete the following steps to remove the 940F and
960F control for servicing:
1. Unplug the wall-mount transformer.
2. Shut off the water supply or put the bypass valve(s)
into bypass position.
3. Remove the rear cover by depressing the two tabs
provided on the cover, (Figure 13). Lift the front of
the cover and remove to expose the valve body.
Figure 13
4. Relieve system pressure by opening the Backwash
Drain Valve (the seventh valve back from the
control) with a screwdriver, (Figure 14).
Figure 14
5. To remove the camshaft or to reinstall it, the arrow
on the shaft must be pointing at the line on the rear
“hoop” of the top plate. This occurs when the
indicator knob is rotated to the refill position. Press
down on the back of the camshaft to disengage it
from the rear “hoop” of the top plate, (Figure 15).
Slide the camshaft back to disengage it from the
timer, (Figure 16).
Figure 15
Figure 16
6. Disconnect the turbine probe from the turbine
assembly.
7. Lift the control off the valves, Figure 17. To replace
the control, reverse the above procedure. Note that
the camshaft needs to be positioned correctly
before it can be inserted into the back of the
Tab
 Loading...