1. Take the scale out of the box and place it on a firm, level surface. Avoid locaons with rapid
temperature changes, excessive dust, moisture, air currents, vibraons, electromagnec fields,
heat, or direct sunlight.
2. Adjust the leveling feet unl the bubble is centered in the circle of the
level indicator (located on the front panel).
NOTE: Ensure that the scale is level each me it’s locaon is changed.
3. Before using the scale for the first me, the internal rechargeable baery should be fully
charged for up to 12 hours.
4. Connect the supplied AC adapter to the power input receptacle underneath the scale. Plug
the AC adapter into a properly grounded power outlet and the baery will begin charging.
5. If the scale will be stored or transported in the future, save the packaging material to ensure
the best possible protecon for the scale.
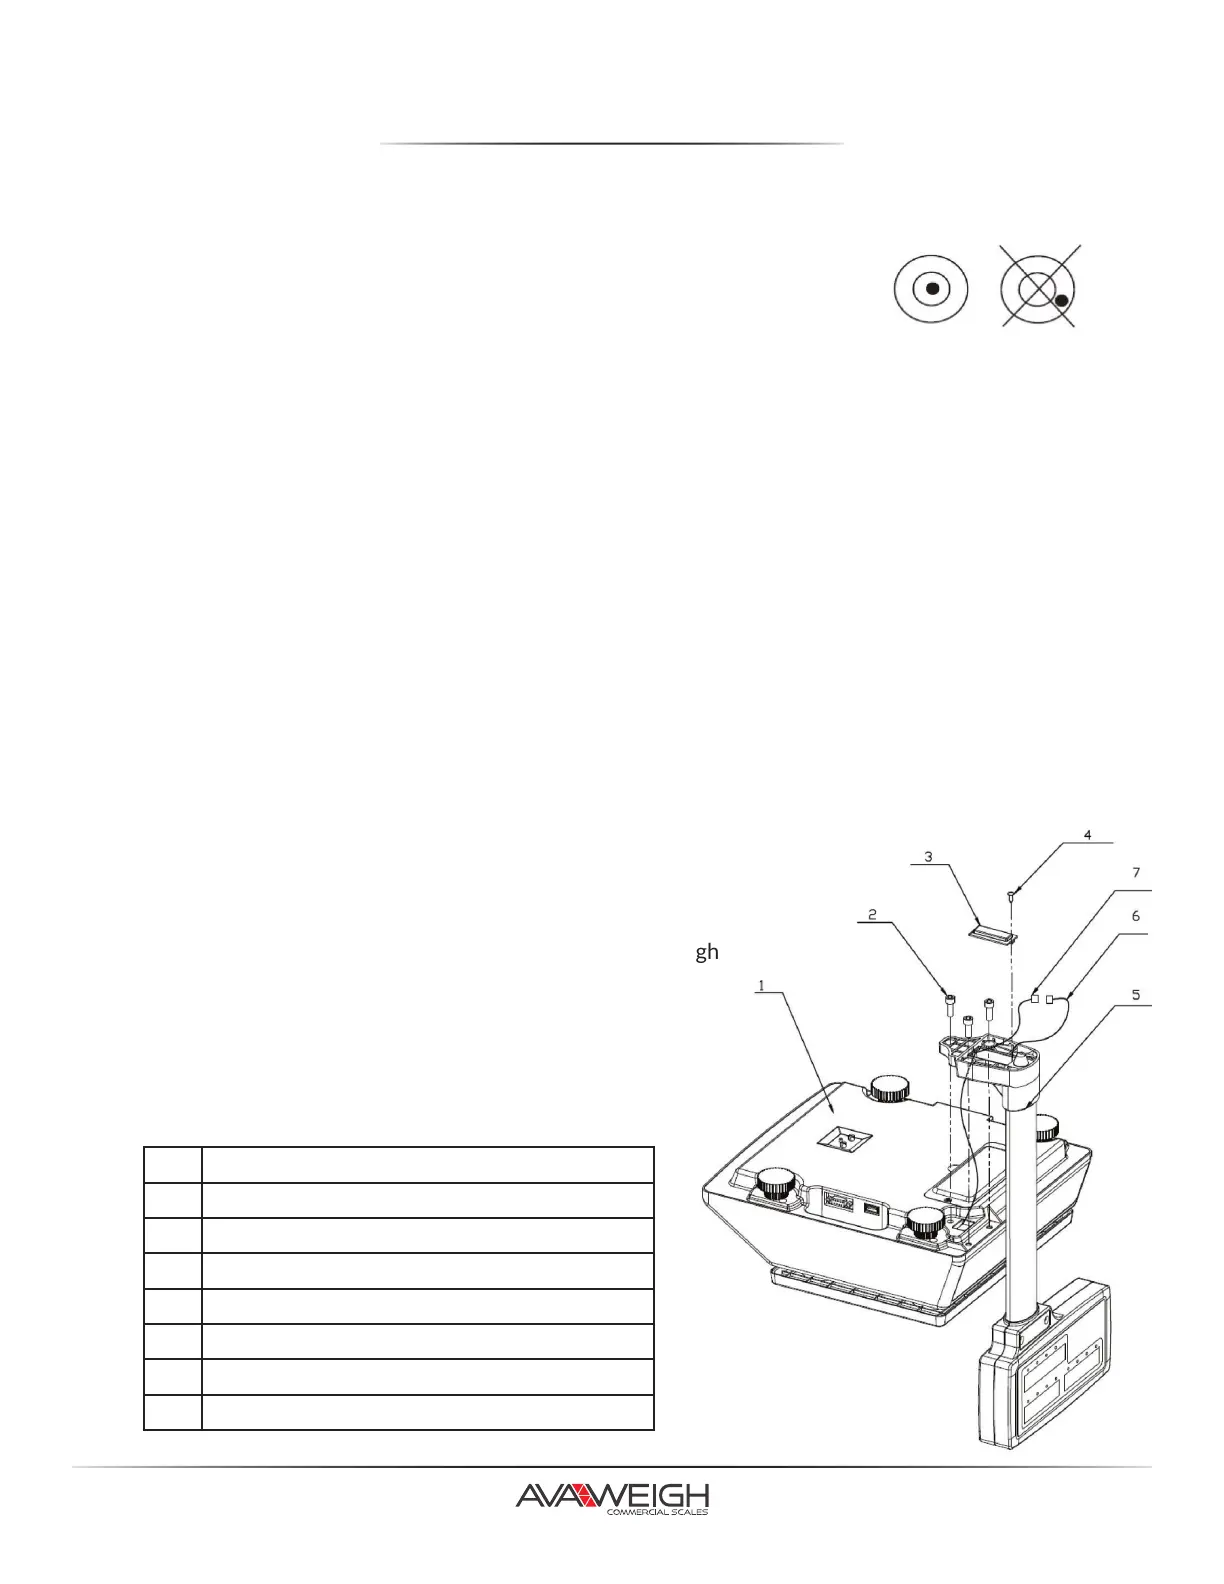
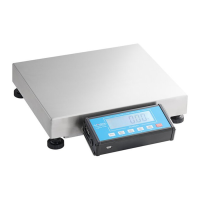
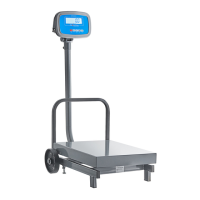
1. Install the weighing plaorms onto the base, with the pan properly aligned.
1. Install the weighing plaorms onto the base,
with the pan properly aligned.
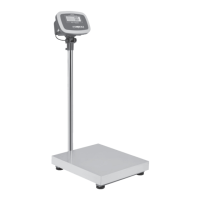
2. Install the tower display.
• Pass the socket on the boom of the scale base through
the pole bracket, and plug it into the connector.
• Connect the column to the base and ghten together
with the hexagon socket head cap screws.
• Place the connector in the bracket, put on the cover,
and fix it with tapping screws.
• Scale
• Weighing Plaorms
• 12Vdc/500mA Adapter
• Manual
• Tower Assembly
(334PCS40T Only)
UNPACKING & SETUP
3.
PACKING LIST
ASSEMBLY
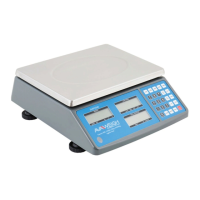
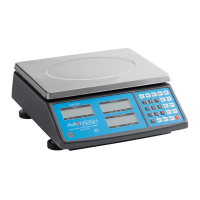
334PCS40
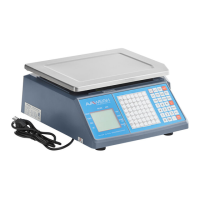
334PCS40T
No. Item
1 Scale Base
2 Hexagon Socket Head Cap Screws (3 pcs)
3 Cover
4 Tapping Screws (2 pcs)
5 Column
6 Connector
7 Socket