GAS CONVERSION
The following process applies to the following models:
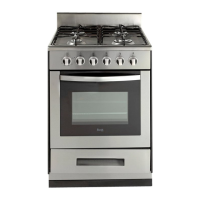
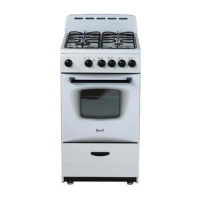
GR2011CW / GR2012CB
GR2013CSS
GR2414CW / GR2415CB
GR2416CSS
BURNERS BTU / hr BTU / hr
To replace the injectors follow these steps:
Remove the pan supports and burner covers.
Using a wrench similar to the one shown above, remove the existing injector from each burner.
Install the replacement injector with the correct sized injector for each burner using the same
wrench used in step 2.
Ensure that each injector is securely installed but do not overtighten.
The burners are designed in such a way so as to not require the regulation of the primary air.
The following process applies to the following
models:
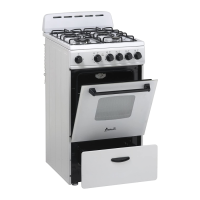
Remove the cooktop (See the user’s guide).
Remove the screws which secure the top
burner.
Remove the existing Natural Gas (NG) injector
and replace with the new Propane (LPG)
Re-install the top burners.
Check gas leakage, if there is a leak at the connection, use glue to seal the connection points.
Re-install the cooktop and pan supports.
There are a total of five (5) injectors;
Four (4) for the cooktop, with a diameter of 0.90mm.
One (1) for the Oven / Broiler burner, with a diameter of 1.00mm
After conversion to L P G / Propane gas has been carried out, affix inside the drawer, near the data plate,
the conversion label supplied and also affix a conversion label to the instruction manual.
The manufacturer cannot be held responsible for possible inaccuracies due to printing or transcription errors in this
booklet. The manufacturer reserves the right to make all modifications to its products deemed necessary for
manufacturers or commercial reasons at any moment and without prior notice, without jeopardizing the essential
function and safety characteristics of the appliances.
 Loading...