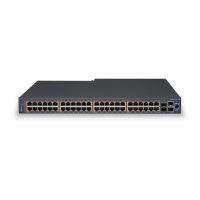
For all other switches in the stack, the Base Unit Select switch must be in the left position. The
base unit designation for a switch appears on the front panel LED display.
Cascade Down port
Use the Cascade Down port to connect a switch to the next unit in the stack through a cascade
cable. Connect the other end of the Cascade Down cable to the Cascade Up port of the next
switch in the stack. A return cable from the Cascade Down port of another unit to the Cascade
Up port of the first unit completes the stack connection. Refer to Cascade Up port on
page 20 for more information on the Cascade Up port.
Important:
To create a stack connection, order the appropriate Avaya Ethernet Routing Switch 3500
Series cascade cables to ensure fail-safe stacking. For stacking three or more units
(maximum eight units per stack), order the 46 cm, 1.5 m, or 3 m cables as applicable. See
Avaya Ethernet Routing Switch 3500 Series Release Notes (NN47203–400) for stack cable
Order Codes.
Cascade Up port
The Cascade Up port provides an attachment point that accepts a cascade cable connection
from another unit in the stack. A return cable from the Cascade Down port of the last switch to
the Cascade Up port of the first switch completes the stack connection, providing maximum
resiliency.
The following figure illustrates a simple, three-switch stack cable configuration.
Avaya Ethernet Routing Switch 3500 series stacking
20 February 2013

 Loading...


