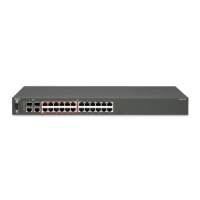
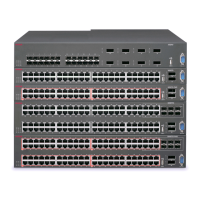
Using the supplied brackets
This procedure describes how to install the switch using the supplied brackets on a two-post or four-
post equipment rack. The brackets secure the chassis and prevent it from sliding around during
vibration or when inserting or extracting transceivers.
•
If you have a two-post rack, install the brackets in the mid-chassis position (VSP 8200 only).
• If you have a four-post rack, install the brackets in the front chassis position. In the front
position, the switch should rest on a customer-supplied tray or shelf.
Caution:
Do not mount the chassis with brackets in the front position without using a tray under the
chassis. The chassis weight will cause damage to a rack when mounted by the front panel,
especially in an environment with vibration or in an earthquake prone area.
Procedure
1. Disconnect the power cord from the switch.
2. Attach a bracket to each side of the switch using a #2 Phillips screwdriver as illustrated
below.
Caution:
The following figure shows the bracket position for a 4–post rack installation. If you are
installing the chassis in a 2–post rack, attach the bracket in the location recessed 150
mm from the front of the chassis.
3. Slide the switch onto a shelf or tray in the rack.
Installing the Avaya Virtual Services Platform 8000 Series
November 2016 Installing the Avaya VSP 8000 Series 68
Comments on this document? infodev@avaya.com

 Loading...