Note:
The design of the latch mechanism that secures the power supply enforces this safety
practice.
Procedure
1. Remove the two screws that secure the filler panel to the chassis. (Save the filler panel for
possible future use.)
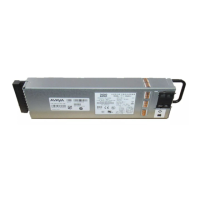
2. Slide the power supply into the slot.
3. Verify that the power supply is fully seated in the slot. The spring latch should engage and
return to its original position.
Note:
The chassis design prevents an incorrect installation of a power supply. If you insert a
power supply upside down, it will not fully insert.
Important:
The Avaya Virtual Services Platform 8000 Series
does not have a power switch. When
you connect the DC power source to the DC power supply wiring assembly and then
plug the assembly into the DC power supply, the switch powers up immediately.
Warning:
Disconnecting the DC power supply wiring assembly from the power supply is the only
way to turn off DC power to the Avaya Virtual Services Platform 8000 Series
. Allow at
least 30 seconds for the Avaya Virtual Services Platform 8000 Series to fully power
down before restoring power. Otherwise, the Avaya Virtual Services Platform 8000
Series might produce a core file during the reset leading to an extra delay during boot
time.
Installing the Avaya Virtual Services Platform 8000 Series
November 2016 Installing the Avaya VSP 8000 Series 76
Comments on this document? infodev@avaya.com
 Loading...

