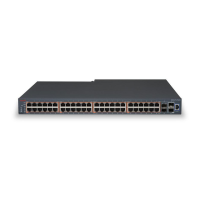
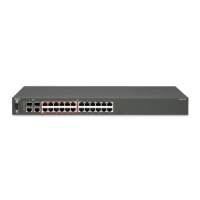
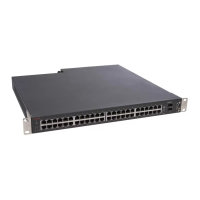
Wall Mounting (Optional)
Issue 2 September 2005 19
2. Firmly attach the brackets to the chassis with the screws provided. Use four screws to
attach each bracket to the switch.
3. Position the switch in the rack.
4. Fasten the switch in the rack with the screws provided.
Wall Mounting (Optional)
You can fix the C360 to the wall as follows:
CAUTION:
!
CAUTION: Ensure that the wall and screws can support the weight of the C360 and any
installed modules. The maximum weight of a C360 switch is 15 lb. (6.8 kg)
CAUTION:
!
CAUTION: You must mount the C360 with the ventilation holes facing left and right.
1. Attach the brackets to the C360 as shown in Figure 4
.You can attach the brackets to face
either the top or the bottom of the unit, depending whether you want the top panel or
bottom panel of the unit to face the wall.

 Loading...