12
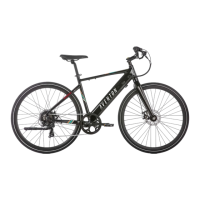
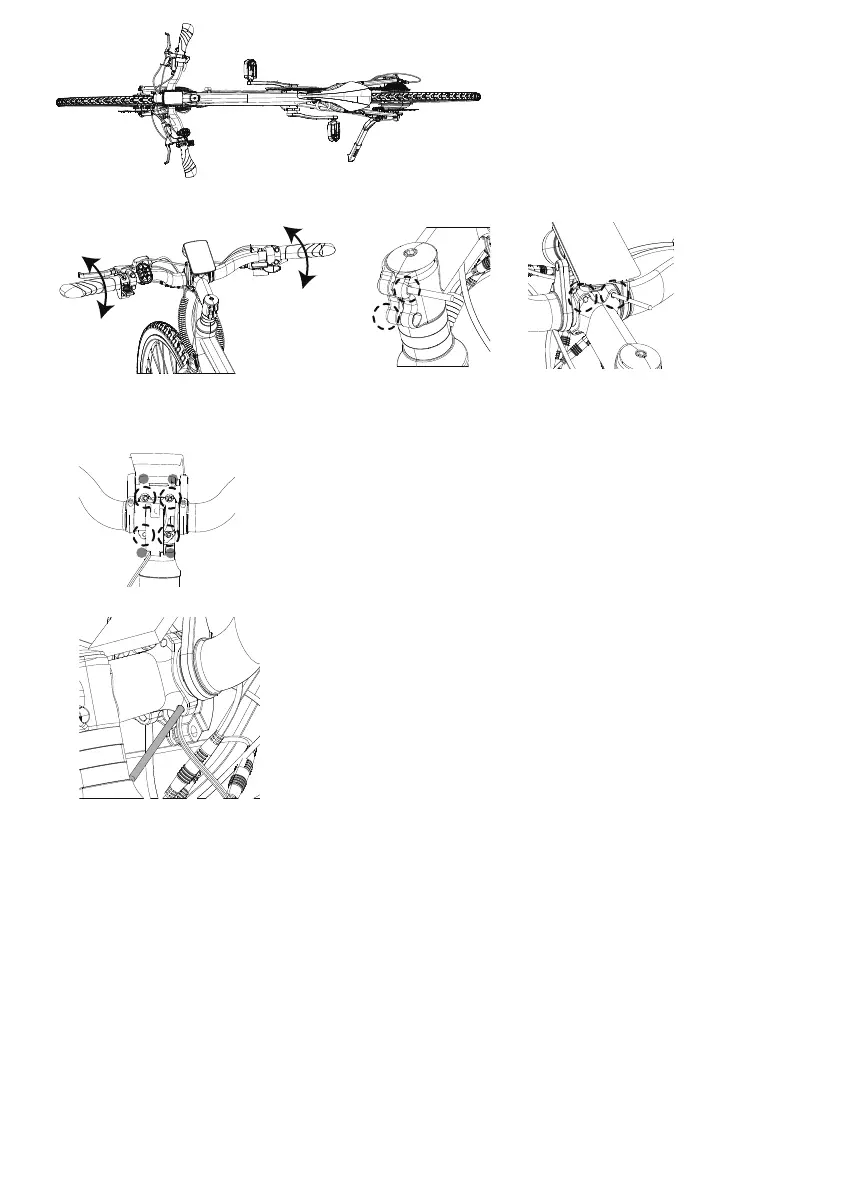
B. Sit on the saddle, adjust the display and handlebar to the desired position and thighten the screws which
secure it to the handlebar.
C. Rotate the handlebar height/angle to the desired position then use a 3mm hex key to tighten the screws
securing it to the frame.
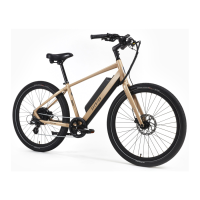
Note: The 4pcs stem screws should be tightened. Follow the sequence in the photo below.
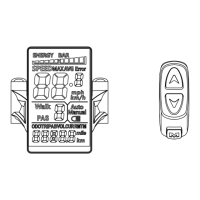
D. Use 3mm hex key to tighten the display clamp to desired angle.
1
2
3
4
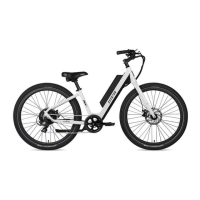
Step 7: Pedal Installation
Use a pedal wrench to install the pedals. Locate the pedal with a smooth pedal axle enterior and an "R"
stamped into the end of the pedal axle (1, below), which indicate it is the right pedal. The right pedal goes
on the crank on the right side of the bike (which has the drivechain gears and is the same as a rider's right
side when riding).
The right pedal (1) is threaded so that it is tightened by turning clockwise.
Apply grease to the thread and
carefully thread the right pedal onto the crank on the right side of the bike slowly and by hand. Do not cross thread or
damage the threads.
The left pedal (2) is reverse-threaded and tightens counterclockwise. Ensure the remaining pedal has notches
on the exterior of the axle and an “L” stamped into the end of the axle. Apply grease and carefully thread the pedal onto the
left crank by hand slowly. Do not cross thread or damage the threads.
Torque each pedal to 35 Nm.
Identifying marks Right pedal (has a "R" sticker) tightens clockwise Left pedal (has a "L" sticker) tightens
counterclockwise