7
Get Started
Web Interface Setup
You can access your tracking box’s web interface with a DHCP address or a static IP address.
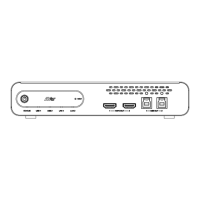
PoE+ port is used for DHCP and static IP connections.
Ethernet port is only used for static IP connection.
The default username/password is admin/admin.
DHCP
1. Download and install AVer IPCam Utility on your computer from AVer Download Center
(https://www.aver.com/download-center).
2. Connect your tracking box to the network using the PoE+ port.
3. Make sure your device and the computer running AVer IPCam Utility are on the same network.
4. Open AVer IPCam Utility. Click Search.
5. Enter the default username/password admin/admin in the Login field.
6. Select the checkbox for your device.
7. Select DHCP in Settings. Click Apply.
8. Double-click on the device row to access the web interface
9. Enter the default username/password admin/admin in the pop-up window.
Static IP
1. Connect your tracking box to the network using the PoE+ or Ethernet port.
2. Set your computer’s IP address to 192.168.1.x.
3. Enter 192.168.1.168 in your browser to access the web interface.
4. Enter the default username/password admin/admin in the pop-up window.
5. You can also use the Ethernet port, its default IP address and computer IP setting to access the
web interface.