15
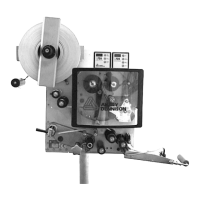
3INSTALLATION AND DEINSTALLATION
2.1 UNPACKING, ASSEMBLING AND CONNECTING THE MACHINE
ALS
20X
256
For machines held from the rear side
– Order number for fixing bolt assembly [4A] (includ-
ing screw and cylinder pins): A7621
Tools:
– 17 mm hexagon socket driver
– 8 and 10 mm hexagon socket drivers
Locate the two cylinder pins [4B] in the holes in the
fixing bolt [4A].
Screw the fixing bolt [5B] onto the flange on the rear
side of the machine with the screw provided [5C].
– The two cylinder pins must locate into the holes
[5A]
in the flange.
– Mount the fixing bolt with its bevelled side pointing
inwards towards the machine.
Tightening torque:350 Nm
[4] Fixing bolt (A) for clamping the machine from the rear side.
The cylinder pins (B) prevent rotation of the fixing bolt.
[5] Mounting the fixing bolt (B).
 Loading...