Installation
Required Tools and Materials
l Small slotted screwdriver with 5/64” or 2 mm blade width — for connecting power when not using Power
over Ethernet.
l Mounting bracket, enclosure or tripod.
Camera Package Contents
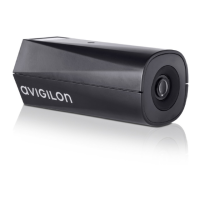
l Avigilon™ H4 HD IP Camera
Installation Steps
Complete the following steps to install the camera:
Mounting the Camera 4
Connecting Cables 5
(Optional) Using the USB Wifi Adapter 5
Assigning an IP Address 5
Accessing the Live VideoStream 6
Aiming and Focusing the Camera 6
(Optional) Configuring Onboard SD Card Storage 6
Configuring the Camera 6
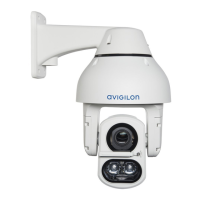
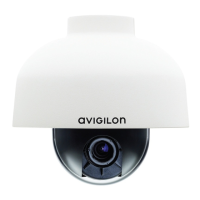
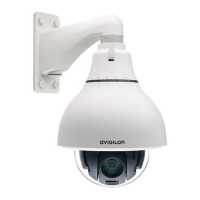
Mounting the Camera
Camera mounting points are provided on both the top and bottom of the camera body. Use these mounting
points to mount the camera on a bracket, in an enclosure, or on a tripod. The mounting points have ¼”-20 UNC
threaded holes which allow them to accept standard photographic mounting bolts.
Consult the installation instructions provided with the bracket, enclosure or tripod for detailed mounting
instructions.
WARNING — Use only UL-listed mounting bracket suitable for the mounting surface and minimum 0.7 kg
(1.6 lb) weight.
Installation 4
 Loading...