4
Installation
Required Tools and Materials
• Small slotted screwdriver with 5/64” or 2 mm blade width — for connecting
power when not using Power over Ethernet.
Camera Package Contents
Ensure the package contains the following:
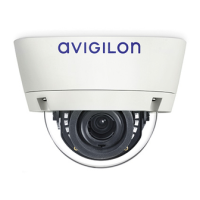
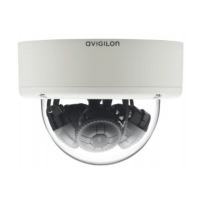
• Avigilon High Definition IP Dome Camera
• Terminal block
• T20 TORX tamper resistant key
• Hole template
Installation Steps
Complete the following procedures to install the dome camera.
1. Removing the Dome Cover on page 4
2. Mounting the Dome Camera on page 5
3. Connecting Cables on page 6
4. Assigning an IP Address on page 6
5. Accessing the Live Video Stream on page 7
6. Aiming the Dome Camera on page 7
7. Removing the Dome Cover on page 7
8. Focusing the Dome Camera on page 8
Removing the Dome Cover
Remove the dome cover by loosening the 2 tamper-proof screws that fix the cover to the
base. The tamper resistant key included with the dome camera can be used to loosen
the screws.
NOTE: Be careful not to scratch the dome bubble.
 Loading...