7
English
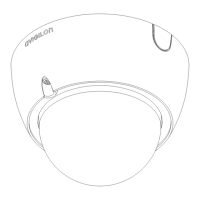
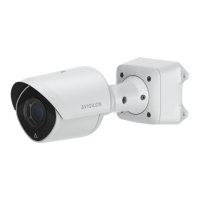
Removing the Dome Cover
Remove the dome cover by loosening the tamper-proof screws that fix
the cover to the base. The tamper resistant key included with the dome
camera can be used to loosen the screws.
NOTE: Be careful not to scratch or touch the dome bubble. The
resulting marks or fingerprints may affect the overall image
quality. Try not to touch the dome bubble and keep the
protective cover on the bubble until after the installation is
complete.
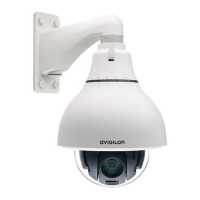
Mounting the Dome Camera
Perform the following steps to mount the dome camera to the ceiling or
wall:
1. Use the drill template to drill four mounting holes and one
cable entry hole in the ceiling or wall.
2. Pull the cables through the cable entry hole in the ceiling or
wall, then through the cable entry hole in the dome
camera.
3. Drive four screws into the mounting holes to fasten the
dome camera to the ceiling or wall.
Warning — Only use UL listed mounting brackets suitable for
the mounting surface and can sustain a minimum 0.60 kg
(1.2 lbs).
Caution — This camera is designed for indoor use only.

 Loading...