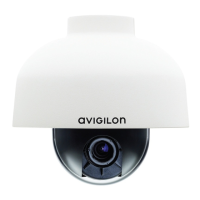
9
English
• The Link LED will turn on once a network link has
been established.
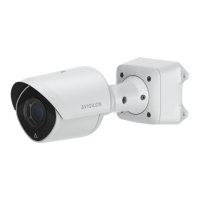
4. Connect power using one of the following methods:
• Power over Ethernet (PoE) Class 3 — If PoE is
available, the camera LEDs will turn on.
• External Power — Connect an external 12 VDC or 24
VAC power source to the power connector block.
For more information, see Connecting Power.
5. Check that the Connection Status LED indicates the correct
state.
For more information, see LED Indicators.
Assigning an IP Address
The camera automatically obtains an IP address by default. Once
connected to a network, it attempts to locate and obtain an IP address
from a DHCP server. If this fails, Zero Configuration Networking
(Zeroconf) is used to choose an IP address. When the IP address is set
using Zeroconf, the IP address is in the 169.254.0.0/16 subnet.
The IP address settings can be changed using one of the following
methods:
• Avigilon Camera Installation Tool software application.
• Camera's web browser interface:
http://<camera IP address>/
• ARP/Ping method. For more information, see Setting the IP
Address through the ARP/Ping Method.
• Network Video Management software application (for
example, Avigilon Control Center).
NOTE: The default camera username is admin and the default
password is admin.
Accessing the Live Video Stream
Live video stream can be viewed using one of the following methods:

 Loading...